Asus A10 Owners Manual - Page 101
Synchronising with a Google™ account, Settings, Google, Sign
 |
View all Asus A10 manuals
Add to My Manuals
Save this manual to your list of manuals |
Page 101 highlights
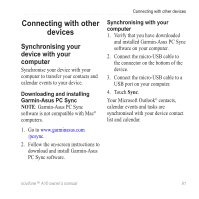
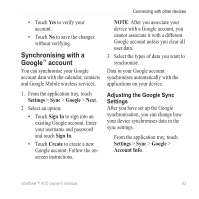
Connecting with other devices • Touch Yes to verify your account. • Touch No to save the changes without verifying. Synchronising with a Google™ account You can synchronise your Google account data with the calendar, contacts and Google Mobile wireless services. Note: After you associate your device with a Google account, you cannot associate it with a different Google account unless you clear all user data. 3. Select the types of data you want to synchronise. Data in your Google account synchronises automatically with the applications on your device. 1. From the application tray, touch Settings > Sync > Google > Next. 2. Select an option: • Touch Sign In to sign into an existing Google account. Enter your username and password and touch Sign In. • Touch Create to create a new Google account. Follow the onscreen instructions. Adjusting the Google Sync Settings After you have set up the Google synchronisation, you can change how your device synchronises data in the sync settings. From the application tray, touch Settings > Sync > Google > Account Info. nüvifone™ A10 owner's manual 93
-
 1
1 -
2
-
3
-
4
-
5
-
6
-
7
-
8
-
9
-
10
-
11
-
12
-
13
-
14
-
15
-
16
-
17
-
18
-
19
-
20
-
21
-
22
-
23
-
24
-
25
-
26
-
27
-
28
-
29
-
30
-
31
-
32
-
33
-
34
-
35
-
36
-
37
-
38
-
39
-
40
-
41
-
42
-
43
-
44
-
45
-
46
-
47
-
48
-
49
-
50
-
51
-
52
-
53
-
54
-
55
-
56
-
57
-
58
-
59
-
60
-
61
-
62
-
63
-
64
-
65
-
66
-
67
-
68
-
69
-
70
-
71
-
72
-
73
-
74
-
75
-
76
-
77
-
78
-
79
-
80
-
81
-
82
-
83
-
84
-
85
-
86
-
87
-
88
-
89
-
90
-
91
-
92
-
93
-
94
-
95
-
 96
96 -
 97
97 -
 98
98 -
 99
99 -
 100
100 -
 101
101 -
 102
102 -
 103
103 -
 104
104 -
 105
105 -
 106
106 -
107
-
108
-
109
-
110
-
111
-
112
-
113
-
114
-
115
-
116
-
117
-
118
-
119
-
120
-
121
-
122
-
123
-
124
-
125
-
126
-
127
-
128
-
129
-
130
-
131
-
132
-
133
-
134
-
135
-
136
 |
 |
