Canon PowerShot ELPH 320 HS Blue User Guide - Page 104
Continuous Shooting
 |
View all Canon PowerShot ELPH 320 HS Blue manuals
Add to My Manuals
Save this manual to your list of manuals |
Page 104 highlights
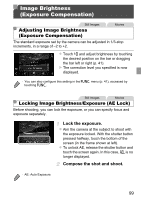
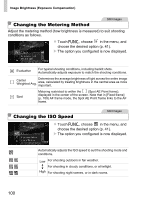
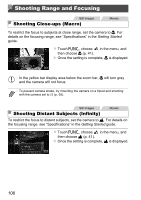
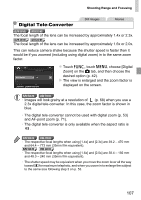
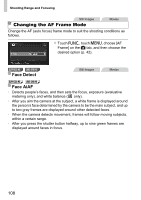
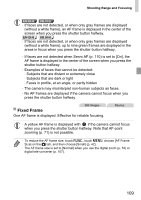
Color and Continuous Shooting Custom Color Choose the desired level of image contrast, sharpness, color saturation, red, green, blue, and skin tones in a range of 1 - 5. Access the setting screen. z Follow the steps in "Changing Image Color Tones (My Colors)" (p. 103) to choose , and then touch on the right edge of the screen. Configure the setting. z Touch qr to choose an option, and then touch the desired position on the bar to specify the value. z For stronger/more intense effects (or darker skin tones), adjust the value to the right, and for weaker/lighter effects (or lighter skin tones), adjust the value to the left. z Touch ^ to complete the setting. Still Images Continuous Shooting Hold the shutter button all the way down to shoot continuously. For details on the continuous shooting speed, see "Specifications" in the Getting Started guide. Configure the setting. z Touch H, choose in the menu, and then choose W (p. 41). X The option you configured is now displayed. X Once the setting is complete, W is displayed. Shoot. X Hold the shutter button all the way down to shoot continuously. 104
-
 1
1 -
2
-
3
-
4
-
5
-
6
-
7
-
8
-
9
-
10
-
11
-
12
-
13
-
14
-
15
-
16
-
17
-
18
-
19
-
20
-
21
-
22
-
23
-
24
-
25
-
26
-
27
-
28
-
29
-
30
-
31
-
32
-
33
-
34
-
35
-
36
-
37
-
38
-
39
-
40
-
41
-
42
-
43
-
44
-
45
-
46
-
47
-
48
-
49
-
50
-
51
-
52
-
53
-
54
-
55
-
56
-
57
-
58
-
59
-
60
-
61
-
62
-
63
-
64
-
65
-
66
-
67
-
68
-
69
-
70
-
71
-
72
-
73
-
74
-
75
-
76
-
77
-
78
-
79
-
80
-
81
-
82
-
83
-
84
-
85
-
86
-
87
-
88
-
89
-
90
-
91
-
92
-
93
-
94
-
95
-
96
-
97
-
98
-
 99
99 -
 100
100 -
 101
101 -
 102
102 -
 103
103 -
 104
104 -
 105
105 -
 106
106 -
 107
107 -
 108
108 -
 109
109 -
110
-
111
-
112
-
113
-
114
-
115
-
116
-
117
-
118
-
119
-
120
-
121
-
122
-
123
-
124
-
125
-
126
-
127
-
128
-
129
-
130
-
131
-
132
-
133
-
134
-
135
-
136
-
137
-
138
-
139
-
140
-
141
-
142
-
143
-
144
-
145
-
146
-
147
-
148
-
149
-
150
-
151
-
152
-
153
-
154
-
155
-
156
-
157
-
158
-
159
-
160
-
161
-
162
-
163
-
164
-
165
-
166
-
167
-
168
-
169
-
170
-
171
-
172
-
173
-
174
-
175
-
176
-
177
-
178
-
179
-
180
-
181
-
182
-
183
-
184
-
185
-
186
-
187
-
188
-
189
-
190
-
191
-
192
-
193
-
194
-
195
-
196
-
197
-
198
-
199
-
200
-
201
-
202
-
203
-
204
-
205
-
206
-
207
-
208
-
209
-
210
-
211
-
212
-
213
-
214
 |
 |
