Casio EX S100 Owners Manual - Page 154
To con print settings for all images, is displayed.
 |
UPC - 079767673741
View all Casio EX S100 manuals
Add to My Manuals
Save this manual to your list of manuals |
Page 154 highlights
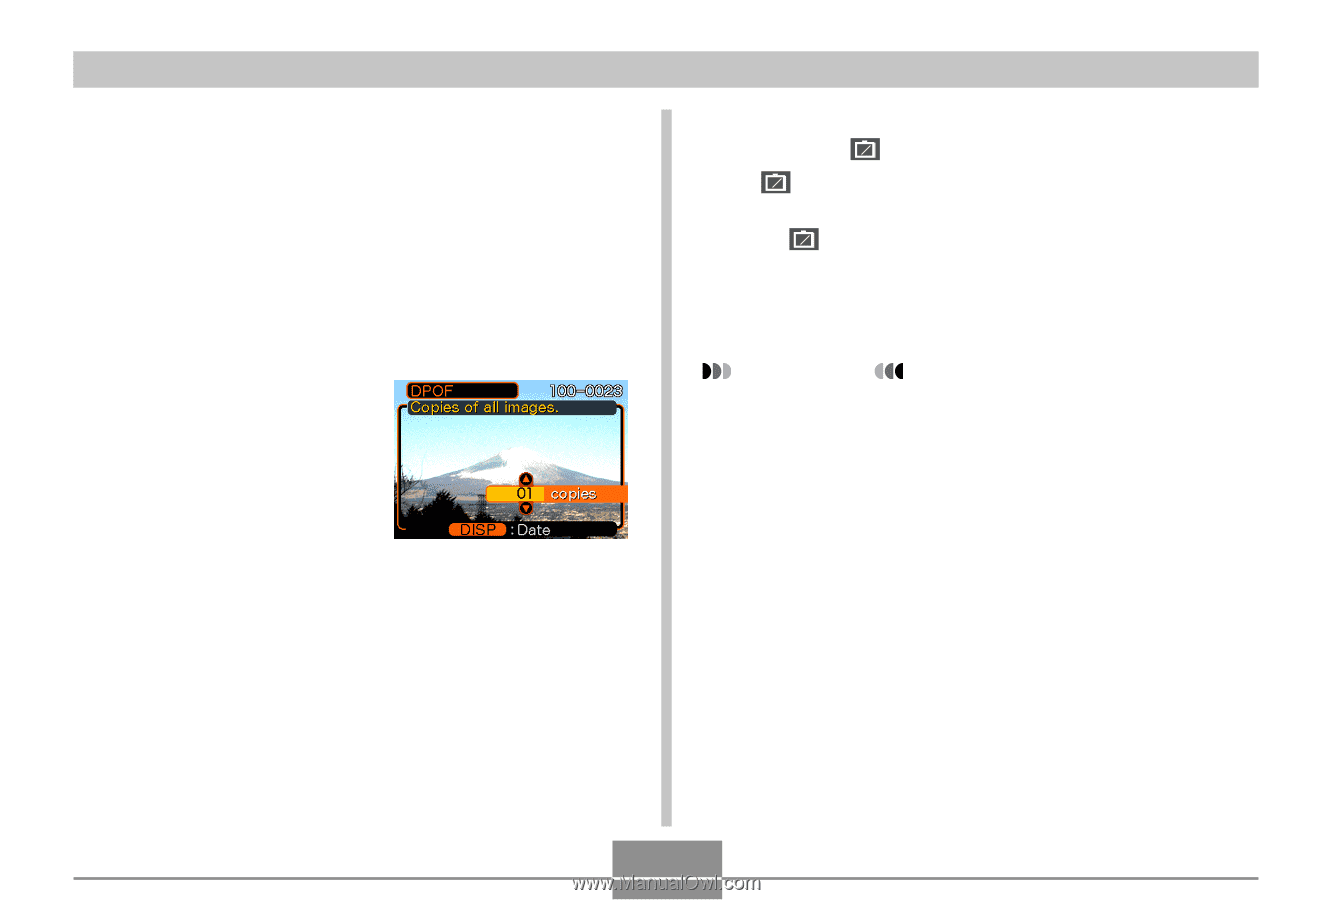
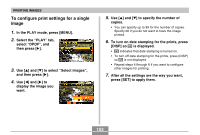
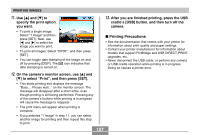
PRINTING IMAGES To configure print settings for all images 1. In the PLAY mode, press [MENU]. 2. Select the " PLAY" tab, select " DPOF" , and then press [̈]. 3. Use [̆] and [̄] to select " All images" , and then press [̈]. 4. Use [̆] and [̄] to specify the number of copies. • You can specify up to 99 for the number of copies. Specify 00 if you do not want to have the image printed. 5. To turn on date stamping for the prints, press [DISP] so 12 1 is displayed. • 12 1 indicates that date stamping is turned on. • To turn off date stamping for the prints, press [DISP] so 12 1 is not displayed. 6. After all the settings are the way you want, press [SET] to apply them. IMPORTANT! • If you take a memory card to a professional print service, be sure to tell them that it includes DPOF settings for the images to be printed and the number of copies. If you don't, they may print all images on the card, including the ones you do not want printed. • Note that some professional print services do not support DPOF printing. Check with your service before ordering prints. • Some printers may have settings that disable date stamp and/or DPOF printing. See the user documentation that comes with your printer for details about how to enable these features. 154
-
 1
1 -
2
-
3
-
4
-
5
-
6
-
7
-
8
-
9
-
10
-
11
-
12
-
13
-
14
-
15
-
16
-
17
-
18
-
19
-
20
-
21
-
22
-
23
-
24
-
25
-
26
-
27
-
28
-
29
-
30
-
31
-
32
-
33
-
34
-
35
-
36
-
37
-
38
-
39
-
40
-
41
-
42
-
43
-
44
-
45
-
46
-
47
-
48
-
49
-
50
-
51
-
52
-
53
-
54
-
55
-
56
-
57
-
58
-
59
-
60
-
61
-
62
-
63
-
64
-
65
-
66
-
67
-
68
-
69
-
70
-
71
-
72
-
73
-
74
-
75
-
76
-
77
-
78
-
79
-
80
-
81
-
82
-
83
-
84
-
85
-
86
-
87
-
88
-
89
-
90
-
91
-
92
-
93
-
94
-
95
-
96
-
97
-
98
-
99
-
100
-
101
-
102
-
103
-
104
-
105
-
106
-
107
-
108
-
109
-
110
-
111
-
112
-
113
-
114
-
115
-
116
-
117
-
118
-
119
-
120
-
121
-
122
-
123
-
124
-
125
-
126
-
127
-
128
-
129
-
130
-
131
-
132
-
133
-
134
-
135
-
136
-
137
-
138
-
139
-
140
-
141
-
142
-
143
-
144
-
145
-
146
-
147
-
148
-
 149
149 -
 150
150 -
 151
151 -
 152
152 -
 153
153 -
 154
154 -
 155
155 -
 156
156 -
 157
157 -
 158
158 -
 159
159 -
160
-
161
-
162
-
163
-
164
-
165
-
166
-
167
-
168
-
169
-
170
-
171
-
172
-
173
-
174
-
175
-
176
-
177
-
178
-
179
-
180
-
181
-
182
-
183
-
184
-
185
-
186
-
187
-
188
-
189
-
190
-
191
-
192
-
193
-
194
-
195
-
196
-
197
-
198
-
199
-
200
-
201
-
202
-
203
-
204
-
205
-
206
-
207
 |
 |