Casio EX S100 Owners Manual - Page 58
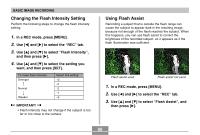
Using the Flash, In a REC mode, press [MENU]., Press, to select the flash mode., Record the image.
 |
UPC - 079767673741
View all Casio EX S100 manuals
Add to My Manuals
Save this manual to your list of manuals |
Page 58 highlights
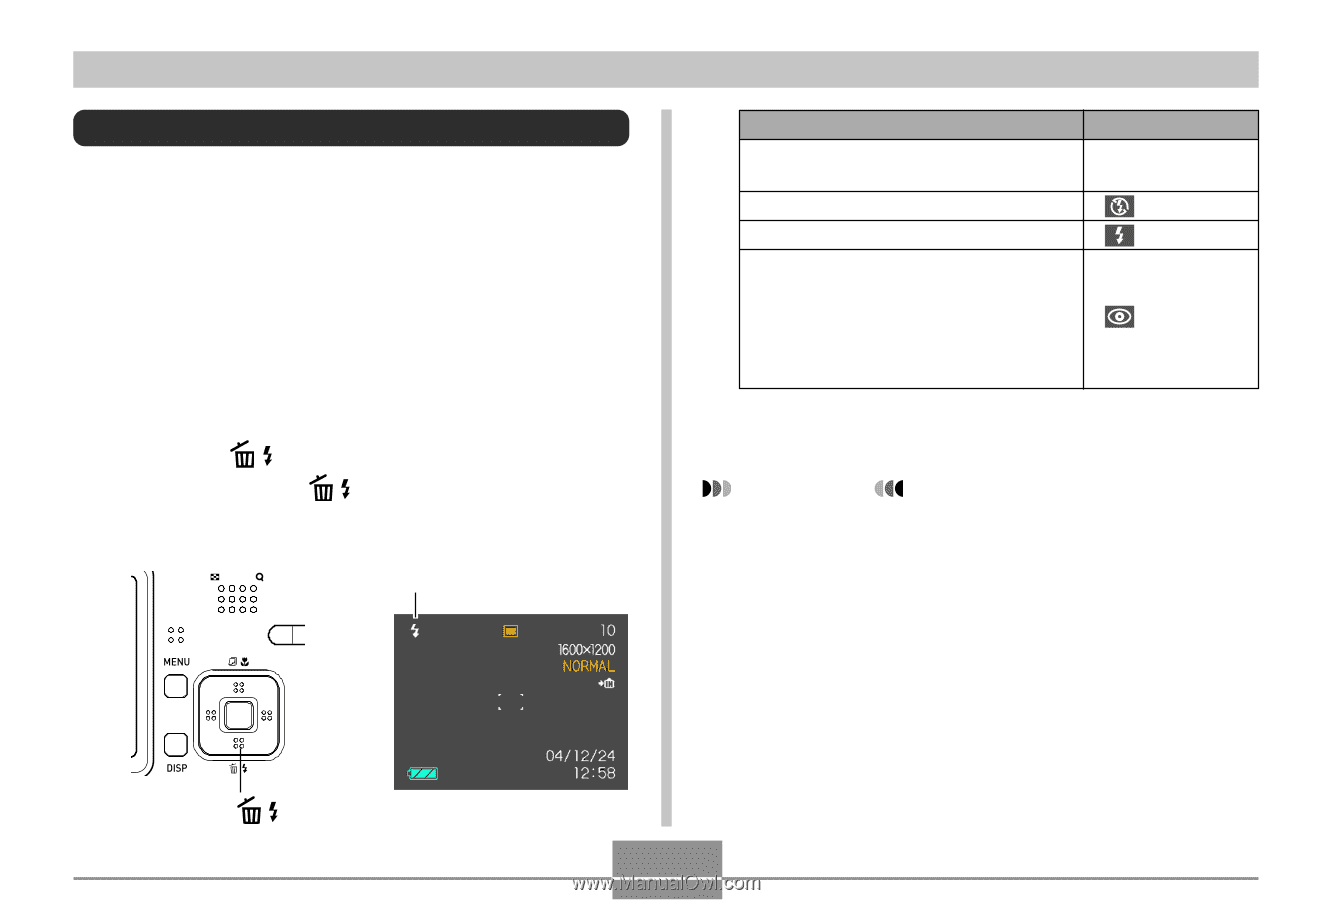
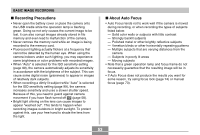
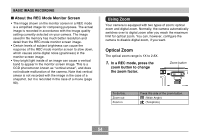
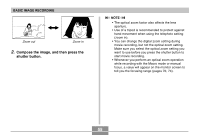
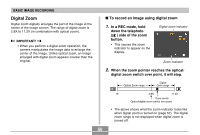
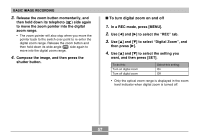
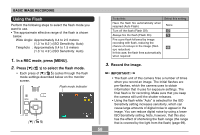
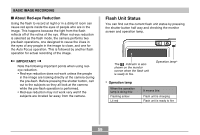
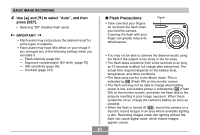
BASIC IMAGE RECORDING Using the Flash Perform the following steps to select the flash mode you want to use. • The approximate effective range of the flash is shown below. Wide Angle : Approximately 0.4 to 2.5 meters (1.3´ to 8.2´) (ISO Sensitivity: Auto) Telephoto : Approximately 0.4 to 1.5 meters (1.3´ to 4.9´) (ISO Sensitivity: Auto) 1. In a REC mode, press [MENU]. 2. Press [̄] ( ) to select the flash mode. • Each press of [̄] ( ) cycles through the flash mode settings described below on the monitor screen. Flash mode indicator [ ̄] ( ) To do this: Have the flash fire automatically when required (Auto Flash) Turn off the flash (Flash Off) Always fire the flash (Flash On) Fire a pre-flash followed by image recording with flash, reducing the chance of red-eye in the image (Redeye reduction) In this case, the flash fires automatically when required Select this setting: None 3. Record the image. IMPORTANT! • The flash unit of this camera fires a number of times when you record an image. The initial flashes are pre-flashes, which the camera uses to obtain information that it uses for exposure settings. The final flash is for recording. Make sure that you keep the camera still until the shutter releases. • Using the flash while "Auto" is selected for the ISO Sensitivity setting increases sensitivity, which can cause large amounts of digital noise to appear in the image. You can reduce digital noise by using a lower ISO Sensitivity setting. Note, however, that this also has the effect of shortening the flash range (the range that is covered by the light from the flash) (page 99). 58
-
 1
1 -
2
-
3
-
4
-
5
-
6
-
7
-
8
-
9
-
10
-
11
-
12
-
13
-
14
-
15
-
16
-
17
-
18
-
19
-
20
-
21
-
22
-
23
-
24
-
25
-
26
-
27
-
28
-
29
-
30
-
31
-
32
-
33
-
34
-
35
-
36
-
37
-
38
-
39
-
40
-
41
-
42
-
43
-
44
-
45
-
46
-
47
-
48
-
49
-
50
-
51
-
52
-
 53
53 -
 54
54 -
 55
55 -
 56
56 -
 57
57 -
 58
58 -
 59
59 -
 60
60 -
 61
61 -
 62
62 -
 63
63 -
64
-
65
-
66
-
67
-
68
-
69
-
70
-
71
-
72
-
73
-
74
-
75
-
76
-
77
-
78
-
79
-
80
-
81
-
82
-
83
-
84
-
85
-
86
-
87
-
88
-
89
-
90
-
91
-
92
-
93
-
94
-
95
-
96
-
97
-
98
-
99
-
100
-
101
-
102
-
103
-
104
-
105
-
106
-
107
-
108
-
109
-
110
-
111
-
112
-
113
-
114
-
115
-
116
-
117
-
118
-
119
-
120
-
121
-
122
-
123
-
124
-
125
-
126
-
127
-
128
-
129
-
130
-
131
-
132
-
133
-
134
-
135
-
136
-
137
-
138
-
139
-
140
-
141
-
142
-
143
-
144
-
145
-
146
-
147
-
148
-
149
-
150
-
151
-
152
-
153
-
154
-
155
-
156
-
157
-
158
-
159
-
160
-
161
-
162
-
163
-
164
-
165
-
166
-
167
-
168
-
169
-
170
-
171
-
172
-
173
-
174
-
175
-
176
-
177
-
178
-
179
-
180
-
181
-
182
-
183
-
184
-
185
-
186
-
187
-
188
-
189
-
190
-
191
-
192
-
193
-
194
-
195
-
196
-
197
-
198
-
199
-
200
-
201
-
202
-
203
-
204
-
205
-
206
-
207
 |
 |