Casio EX S100 Owners Manual - Page 163
Double-click Removable Disk., Depending on your operating system, perform
 |
UPC - 079767673741
View all Casio EX S100 manuals
Add to My Manuals
Save this manual to your list of manuals |
Page 163 highlights
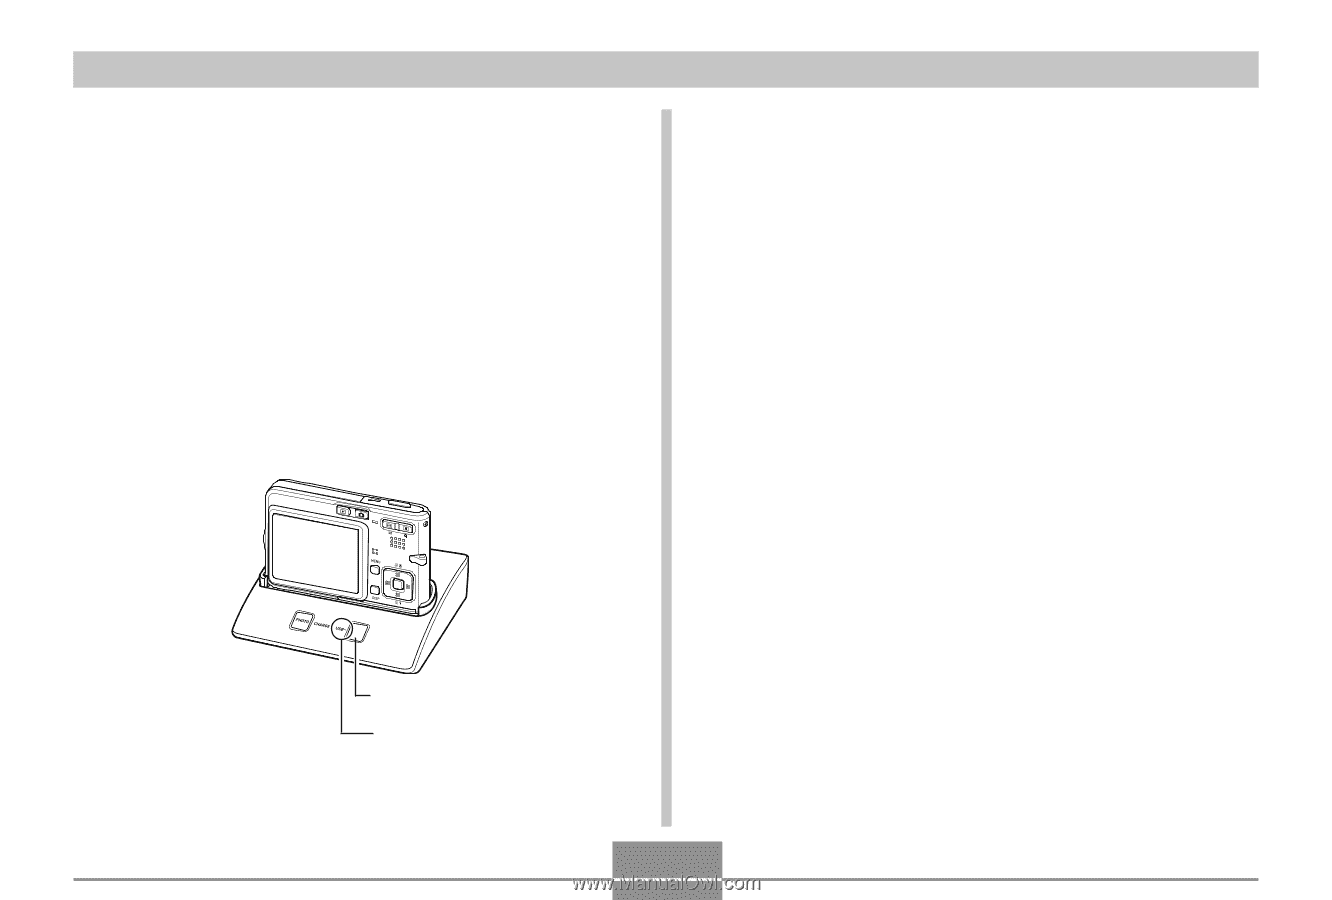
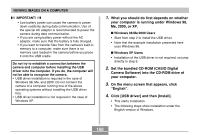
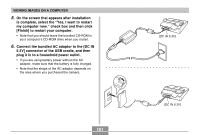
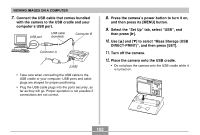
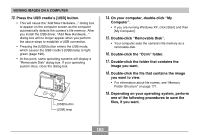
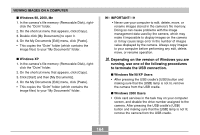
VIEWING IMAGES ON A COMPUTER 13. Press the USB cradle's [USB] button. • This will cause the "Add New Hardware..." dialog box to appear on the computer screen as the computer automatically detects the camera's file memory. After you install the USB driver, "Add New Hardware..." dialog box will no longer appear when you perform the above steps to establish a USB connection. • Pressing the [USB] button enters the USB mode, which causes the USB cradle's [USB] lamp to light green (page 196). • At this point, some operating systems will display a "Removable Disk" dialog box. If your operating system does, close the dialog box. [USB] button [USB] lamp 14. On your computer, double-click "My Computer". • If you are running Windows XP, click [Start] and then [My Computer]. 15. Double-click "Removable Disk". • Your computer sees the camera's file memory as a removable disk. 16. Double-click the "Dcim" folder. 17. Double-click the folder that contains the image you want. 18. Double-click the file that contains the image you want to view. • For information about file names, see "Memory Folder Structure" on page 171. 19. Depending on your operating system, perform one of the following procedures to save the files, if you want. 163
-
 1
1 -
2
-
3
-
4
-
5
-
6
-
7
-
8
-
9
-
10
-
11
-
12
-
13
-
14
-
15
-
16
-
17
-
18
-
19
-
20
-
21
-
22
-
23
-
24
-
25
-
26
-
27
-
28
-
29
-
30
-
31
-
32
-
33
-
34
-
35
-
36
-
37
-
38
-
39
-
40
-
41
-
42
-
43
-
44
-
45
-
46
-
47
-
48
-
49
-
50
-
51
-
52
-
53
-
54
-
55
-
56
-
57
-
58
-
59
-
60
-
61
-
62
-
63
-
64
-
65
-
66
-
67
-
68
-
69
-
70
-
71
-
72
-
73
-
74
-
75
-
76
-
77
-
78
-
79
-
80
-
81
-
82
-
83
-
84
-
85
-
86
-
87
-
88
-
89
-
90
-
91
-
92
-
93
-
94
-
95
-
96
-
97
-
98
-
99
-
100
-
101
-
102
-
103
-
104
-
105
-
106
-
107
-
108
-
109
-
110
-
111
-
112
-
113
-
114
-
115
-
116
-
117
-
118
-
119
-
120
-
121
-
122
-
123
-
124
-
125
-
126
-
127
-
128
-
129
-
130
-
131
-
132
-
133
-
134
-
135
-
136
-
137
-
138
-
139
-
140
-
141
-
142
-
143
-
144
-
145
-
146
-
147
-
148
-
149
-
150
-
151
-
152
-
153
-
154
-
155
-
156
-
157
-
 158
158 -
 159
159 -
 160
160 -
 161
161 -
 162
162 -
 163
163 -
 164
164 -
 165
165 -
 166
166 -
 167
167 -
 168
168 -
169
-
170
-
171
-
172
-
173
-
174
-
175
-
176
-
177
-
178
-
179
-
180
-
181
-
182
-
183
-
184
-
185
-
186
-
187
-
188
-
189
-
190
-
191
-
192
-
193
-
194
-
195
-
196
-
197
-
198
-
199
-
200
-
201
-
202
-
203
-
204
-
205
-
206
-
207
 |
 |