Casio EX S100 Owners Manual - Page 156
Press the USB, to select the paper size
 |
UPC - 079767673741
View all Casio EX S100 manuals
Add to My Manuals
Save this manual to your list of manuals |
Page 156 highlights
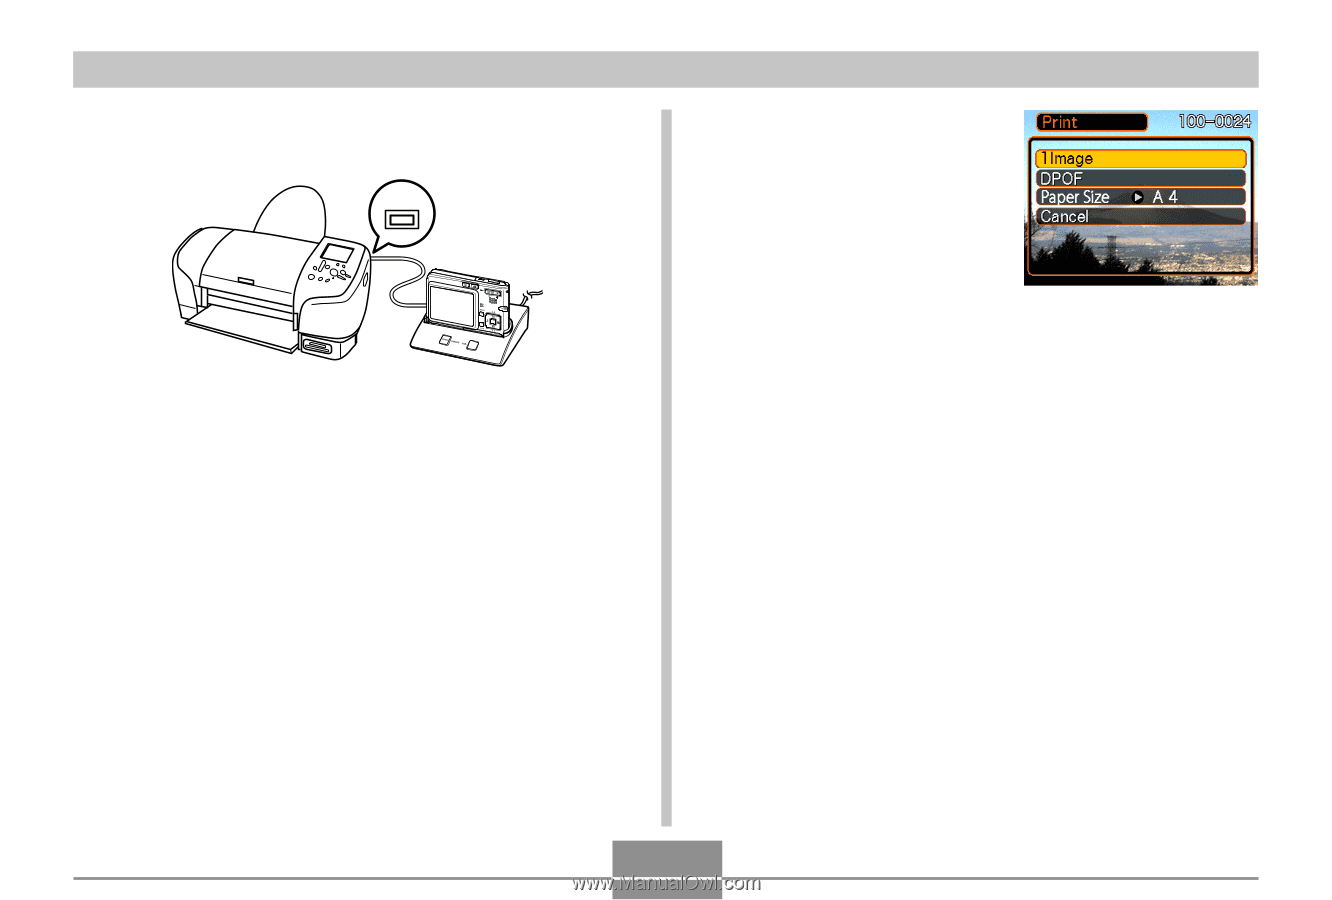
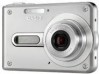
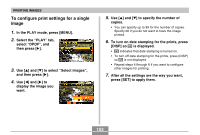
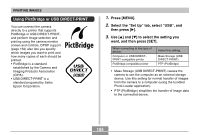
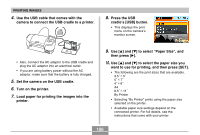
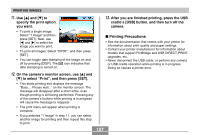
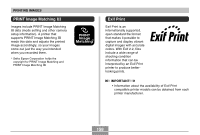
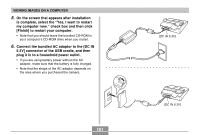
PRINTING IMAGES 4. Use the USB cable that comes with the camera to connect the USB cradle to a printer. USB 8. Press the USB cradle's [USB] button. • This displays the print menu on the camera's monitor screen. • Also, connect the AC adaptor to the USB cradle and plug the AC adaptor into an electrical outlet. • If you are using battery power without the AC adaptor, make sure that the battery is fully charged. 5. Set the camera on the USB cradle. 6. Turn on the printer. 7. Load paper for printing the images into the printer. 9. Use [̆] and [̄] to select " Paper Size" , and then press [̈]. 10. Use [̆] and [̄] to select the paper size you want to use for printing, and then press [SET]. • The following are the print sizes that are available. 3.5˝ × 5˝ 5˝ × 7˝ 4˝ × 6˝ A4 8.5˝ × 11˝ By Printer • Selecting "By Printer" prints using the paper size selected on the printer. • Available paper size settings depend on the connected printer. For full details, see the instructions that come with your printer. 156
-
 1
1 -
2
-
3
-
4
-
5
-
6
-
7
-
8
-
9
-
10
-
11
-
12
-
13
-
14
-
15
-
16
-
17
-
18
-
19
-
20
-
21
-
22
-
23
-
24
-
25
-
26
-
27
-
28
-
29
-
30
-
31
-
32
-
33
-
34
-
35
-
36
-
37
-
38
-
39
-
40
-
41
-
42
-
43
-
44
-
45
-
46
-
47
-
48
-
49
-
50
-
51
-
52
-
53
-
54
-
55
-
56
-
57
-
58
-
59
-
60
-
61
-
62
-
63
-
64
-
65
-
66
-
67
-
68
-
69
-
70
-
71
-
72
-
73
-
74
-
75
-
76
-
77
-
78
-
79
-
80
-
81
-
82
-
83
-
84
-
85
-
86
-
87
-
88
-
89
-
90
-
91
-
92
-
93
-
94
-
95
-
96
-
97
-
98
-
99
-
100
-
101
-
102
-
103
-
104
-
105
-
106
-
107
-
108
-
109
-
110
-
111
-
112
-
113
-
114
-
115
-
116
-
117
-
118
-
119
-
120
-
121
-
122
-
123
-
124
-
125
-
126
-
127
-
128
-
129
-
130
-
131
-
132
-
133
-
134
-
135
-
136
-
137
-
138
-
139
-
140
-
141
-
142
-
143
-
144
-
145
-
146
-
147
-
148
-
149
-
150
-
 151
151 -
 152
152 -
 153
153 -
 154
154 -
 155
155 -
 156
156 -
 157
157 -
 158
158 -
 159
159 -
 160
160 -
 161
161 -
162
-
163
-
164
-
165
-
166
-
167
-
168
-
169
-
170
-
171
-
172
-
173
-
174
-
175
-
176
-
177
-
178
-
179
-
180
-
181
-
182
-
183
-
184
-
185
-
186
-
187
-
188
-
189
-
190
-
191
-
192
-
193
-
194
-
195
-
196
-
197
-
198
-
199
-
200
-
201
-
202
-
203
-
204
-
205
-
206
-
207
 |
 |