Gateway NV-42 Service Guide - Page 49
Using DMITools, Read DMI Information from Memory, Write Product Name to EEPROM
 |
View all Gateway NV-42 manuals
Add to My Manuals
Save this manual to your list of manuals |
Page 49 highlights
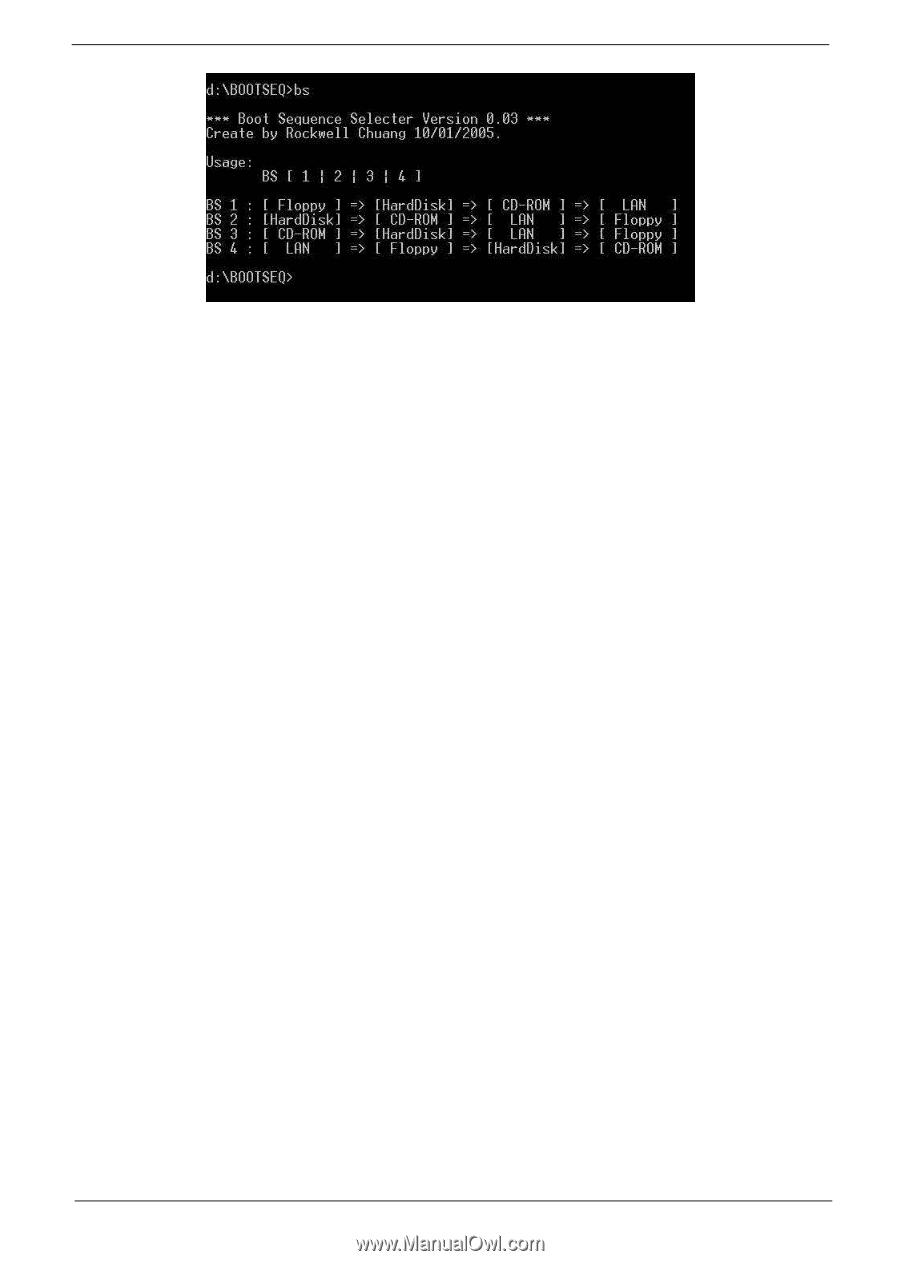
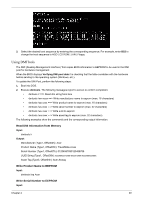
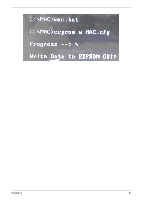
3. Select the desired boot sequence by entering the corresponding sequence. For example, enter BS2 to change the boot sequence to HDD | CD ROM | LAN | Floppy. Using DMITools The DMI (Desktop Management Interface) Tool copies BIOS information to EEPROM to be used in the DMI pool for hardware management. When the BIOS displays Verifying DMI pool data it is checking that the table correlates with the hardware before sending to the operating system (Windows, etc.). To update the DMI Pool, perform the following steps: 1. Boot into DOS. 2. Execute dmitools. The following messages report to screen to confirm completion: • dmitools /r ==> Read dmi string from bios • dmitools /wm xxxx ==> Write manufacturer name to eeprom (max. 16 characters) • dmitools /wp xxxx ==> Write product name to eeprom (max. 16 characters) • dmitools /ws xxxx ==> Write serial number to eeprom (max. 22 characters) • dmitools /wu xxxx ==> Write uuid to eeprom • dmitools /wa xxxx ==> Write asset tag to eeprom (max. 32 characters) The following examples show the commands and the corresponding output information. Read DMI Information from Memory Input: dmitools /r Output: Manufacturer (Type1, Offset04h): Acer Product Name (Type1, Offset05h): TravelMate xxxxx Serial Number (Type1, Offset07h): 01234567890123456789 UUID String (Type1, Offset08h): xxxxxxxx-xxxx-xxxx-xxxx-xxxxxxxxxxxx Asset Tag (Type3, Offset04h): Acer Asstag Write Product Name to EEPROM Input: dmitools /wp Acer Write Serial Number to EEPROM Input: Chapter 2 39
-
 1
1 -
2
-
3
-
4
-
5
-
6
-
7
-
8
-
9
-
10
-
11
-
12
-
13
-
14
-
15
-
16
-
17
-
18
-
19
-
20
-
21
-
22
-
23
-
24
-
25
-
26
-
27
-
28
-
29
-
30
-
31
-
32
-
33
-
34
-
35
-
36
-
37
-
38
-
39
-
40
-
41
-
42
-
43
-
 44
44 -
 45
45 -
 46
46 -
 47
47 -
 48
48 -
 49
49 -
 50
50 -
 51
51 -
 52
52 -
 53
53 -
 54
54 -
55
-
56
-
57
-
58
-
59
-
60
-
61
-
62
-
63
-
64
-
65
-
66
-
67
-
68
-
69
-
70
-
71
-
72
-
73
-
74
-
75
-
76
-
77
-
78
-
79
-
80
-
81
-
82
-
83
-
84
-
85
-
86
-
87
-
88
-
89
-
90
-
91
-
92
-
93
-
94
-
95
-
96
-
97
-
98
-
99
-
100
-
101
-
102
-
103
-
104
-
105
-
106
-
107
-
108
-
109
-
110
-
111
-
112
-
113
-
114
-
115
-
116
-
117
-
118
-
119
-
120
-
121
-
122
-
123
-
124
-
125
-
126
-
127
-
128
-
129
-
130
-
131
-
132
-
133
-
134
-
135
-
136
-
137
-
138
-
139
-
140
-
141
-
142
-
143
-
144
-
145
-
146
-
147
-
148
-
149
-
150
-
151
-
152
-
153
-
154
-
155
-
156
-
157
-
158
-
159
-
160
-
161
-
162
-
163
-
164
-
165
-
166
-
167
-
168
-
169
-
170
-
171
-
172
-
173
-
174
-
175
-
176
-
177
-
178
-
179
-
180
-
181
-
182
-
183
-
184
-
185
-
186
-
187
-
188
-
189
-
190
-
191
-
192
-
193
-
194
-
195
-
196
-
197
-
198
-
199
-
200
 |
 |