HTC S621 User Manual - Page 100
Menu > MMSC Settings > Edit, Menu > New, MMSC URL, WAP Gateway, Connect Via
 |
UPC - 821793000233
View all HTC S621 manuals
Add to My Manuals
Save this manual to your list of manuals |
Page 100 highlights
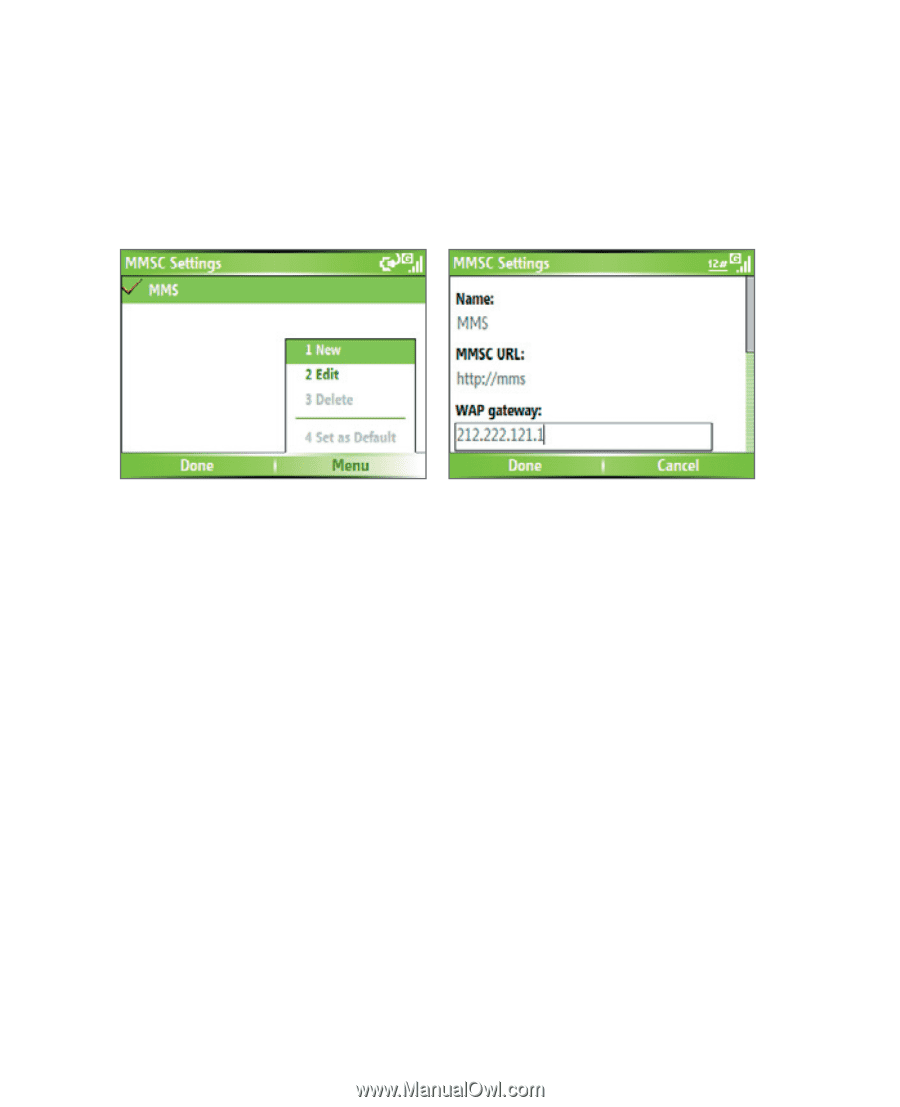
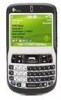
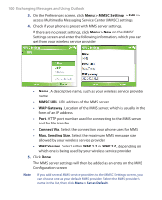
100 Exchanging Messages and Using Outlook 3. On the Preferences screen, click Menu > MMSC Settings > Edit to access Multimedia Messaging Service Center (MMSC) settings. 4. Check if your phone is preset with MMS server settings. If there are no preset settings, click Menu > New on the MMSC Settings screen and enter the following information, which you can get from your wireless service provider: • Name. A descriptive name, such as your wireless service provider name. • MMSC URL. URL address of the MMS server. • WAP Gateway. Location of the MMS server, which is usually in the form of an IP address. • Port. HTTP port number used for connecting to the MMS server and for file transfer. • Connect Via. Select the connection your phone uses for MMS. • Max. Sending Size. Select the maximum MMS message size allowed by your wireless service provider. • WAP Version. Select either WAP 1.2 or WAP 2.0, depending on which one is being used by your wireless service provider. 5. Click Done. The MMS server settings will then be added as an entry on the MMS Configuration screen. Note If you add several MMS service providers to the MMSC Settings screen, you can choose one as your default MMS provider. Select the MMS provider's name in the list, then click Menu > Set as Default.
-
 1
1 -
2
-
3
-
4
-
5
-
6
-
7
-
8
-
9
-
10
-
11
-
12
-
13
-
14
-
15
-
16
-
17
-
18
-
19
-
20
-
21
-
22
-
23
-
24
-
25
-
26
-
27
-
28
-
29
-
30
-
31
-
32
-
33
-
34
-
35
-
36
-
37
-
38
-
39
-
40
-
41
-
42
-
43
-
44
-
45
-
46
-
47
-
48
-
49
-
50
-
51
-
52
-
53
-
54
-
55
-
56
-
57
-
58
-
59
-
60
-
61
-
62
-
63
-
64
-
65
-
66
-
67
-
68
-
69
-
70
-
71
-
72
-
73
-
74
-
75
-
76
-
77
-
78
-
79
-
80
-
81
-
82
-
83
-
84
-
85
-
86
-
87
-
88
-
89
-
90
-
91
-
92
-
93
-
94
-
 95
95 -
 96
96 -
 97
97 -
 98
98 -
 99
99 -
 100
100 -
 101
101 -
 102
102 -
 103
103 -
 104
104 -
 105
105 -
106
-
107
-
108
-
109
-
110
-
111
-
112
-
113
-
114
-
115
-
116
-
117
-
118
-
119
-
120
-
121
-
122
-
123
-
124
-
125
-
126
-
127
-
128
-
129
-
130
-
131
-
132
-
133
-
134
-
135
-
136
-
137
-
138
-
139
-
140
-
141
-
142
-
143
-
144
-
145
-
146
-
147
-
148
-
149
-
150
-
151
-
152
-
153
-
154
-
155
-
156
-
157
-
158
-
159
-
160
-
161
-
162
-
163
-
164
-
165
-
166
-
167
-
168
-
169
-
170
-
171
-
172
 |
 |