HP 1150c HP OfficeJet Pro 1150C - (English) User Guide - Page 31
Change Copy Quality - officejet pro ink
 |
View all HP 1150c manuals
Add to My Manuals
Save this manual to your list of manuals |
Page 31 highlights
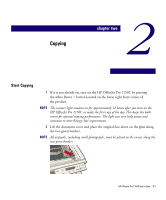
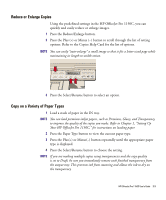
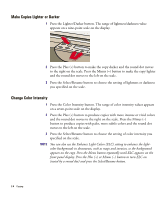
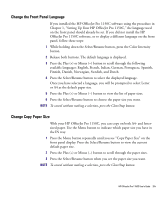
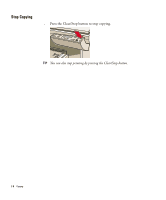
3 Close the document cover. 4 To make more than one copy, press the Plus (+) button until the number of copies you want to make is displayed on the front panel. 5 Press the Copy Quality button until the speed and quality of the copy you want to make is displayed. Refer to the next section on copy quality for more information. 6 Press the Black/White button for a black and white copy or the Color button for a color copy. NOTE To copy bulky originals, remove the top cover by raising it and then pulling straight up. To replace the top cover, insert the two hinges back into the slots on the top of the HP OfficeJet Pro 1150C. Change Copy Quality The Copy Quality button changes the speed and quality of the copy. You can choose from the following three copy settings: Best, Normal, and Draft. The Best setting produces the highest copy quality for all media and eliminates the banding effect that sometimes occurs in solid areas. However, the Best setting copies more slowly than the Normal setting for most documents. The Normal setting delivers high-quality output and is the recommended setting for most of your copying. Normal is the default copy-quality setting for most paper types. The Draft setting copies faster than the Normal setting and delivers comparable output for text. Using Draft also cuts down on the frequency of replacing your print cartridges because it uses less ink. 1 Press the Copy Quality button. 2 Press the Plus (+) or Minus (-) button to view the available copy-quality settings. 3 Press the Select/Resume button to choose a setting. 2-2 Copying
-
 1
1 -
2
-
3
-
4
-
5
-
6
-
7
-
8
-
9
-
10
-
11
-
12
-
13
-
14
-
15
-
16
-
17
-
18
-
19
-
20
-
21
-
22
-
23
-
24
-
25
-
 26
26 -
 27
27 -
 28
28 -
 29
29 -
 30
30 -
 31
31 -
 32
32 -
 33
33 -
 34
34 -
 35
35 -
 36
36 -
37
-
38
-
39
-
40
-
41
-
42
-
43
-
44
-
45
-
46
-
47
-
48
-
49
-
50
-
51
-
52
-
53
-
54
-
55
-
56
-
57
-
58
-
59
-
60
-
61
-
62
-
63
-
64
-
65
-
66
-
67
-
68
-
69
-
70
-
71
-
72
-
73
-
74
 |
 |