HP Deskjet Ink Advantage D700 User Guide - Page 79
To determine which cartridge is having the problem, Check to see if the error has been resolved.
 |
View all HP Deskjet Ink Advantage D700 manuals
Add to My Manuals
Save this manual to your list of manuals |
Page 79 highlights
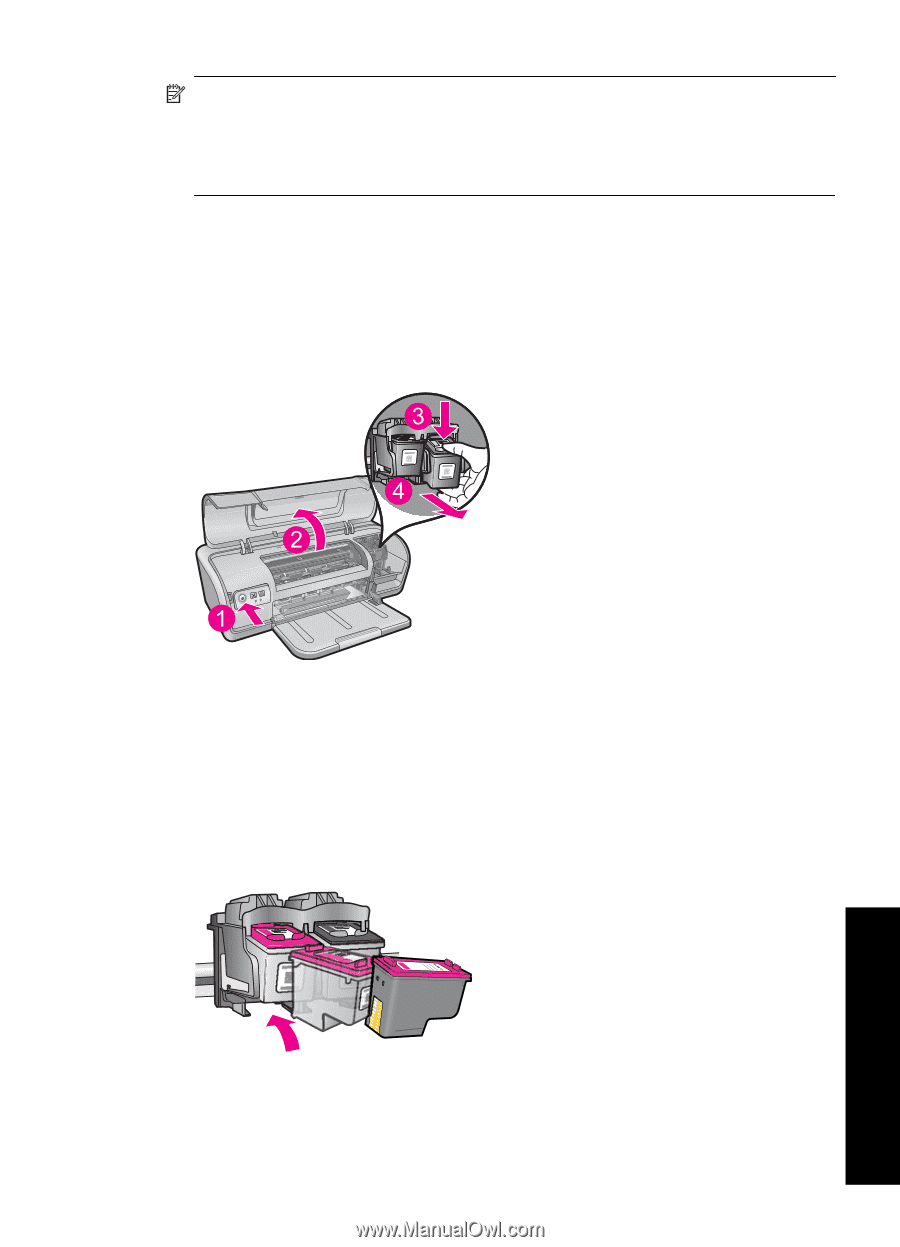
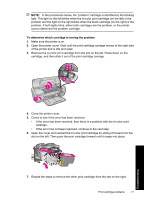
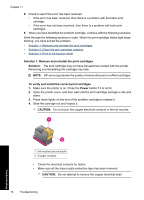
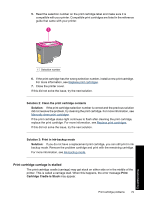
NOTE: In the procedures below, the "problem" cartridge is identified by the blinking light. The light on the left blinks when the tri-color print cartridge (on the left) is the problem and the light on the right blinks when the black cartridge (on the right) is the problem. If both lights blink, either both cartridges are the problem, or the printer cannot determine the problem cartridge. To determine which cartridge is having the problem 1. Make sure the printer is on. 2. Open the printer cover. Wait until the print cartridge carriage moves to the right side of the printer and is idle and quiet. 3. Remove the tri-color print cartridge from the slot on the left. Press down on the cartridge, and then slide it out of the print cartridge carriage. 4. Close the printer cover. 5. Check to see if the error has been resolved. • If the error has been resolved, then there is a problem with the tri-color print cartridge. • If the error has not been resolved, continue to the next step. 6. Open the cover and reinsert the tri-color print cartridge by sliding it forward into the slot on the left. Then push the print cartridge forward until it snaps into place. 7. Repeat the steps to remove the other print cartridge from the slot on the right. Print cartridge problems 77 Troubleshooting
-
 1
1 -
2
-
3
-
4
-
5
-
6
-
7
-
8
-
9
-
10
-
11
-
12
-
13
-
14
-
15
-
16
-
17
-
18
-
19
-
20
-
21
-
22
-
23
-
24
-
25
-
26
-
27
-
28
-
29
-
30
-
31
-
32
-
33
-
34
-
35
-
36
-
37
-
38
-
39
-
40
-
41
-
42
-
43
-
44
-
45
-
46
-
47
-
48
-
49
-
50
-
51
-
52
-
53
-
54
-
55
-
56
-
57
-
58
-
59
-
60
-
61
-
62
-
63
-
64
-
65
-
66
-
67
-
68
-
69
-
70
-
71
-
72
-
73
-
 74
74 -
 75
75 -
 76
76 -
 77
77 -
 78
78 -
 79
79 -
 80
80 -
 81
81 -
 82
82 -
 83
83 -
 84
84 -
85
-
86
-
87
-
88
-
89
-
90
-
91
-
92
-
93
-
94
-
95
-
96
-
97
-
98
-
99
-
100
-
101
-
102
-
103
-
104
-
105
-
106
-
107
-
108
-
109
-
110
-
111
-
112
-
113
-
114
-
115
-
116
-
117
-
118
-
119
-
120
-
121
-
122
 |
 |