HP OfficeJet Pro 8730 User Guide - Page 37
Set up and use accessories, Install and use Tray 2, Work with trays
 |
View all HP OfficeJet Pro 8730 manuals
Add to My Manuals
Save this manual to your list of manuals |
Page 37 highlights
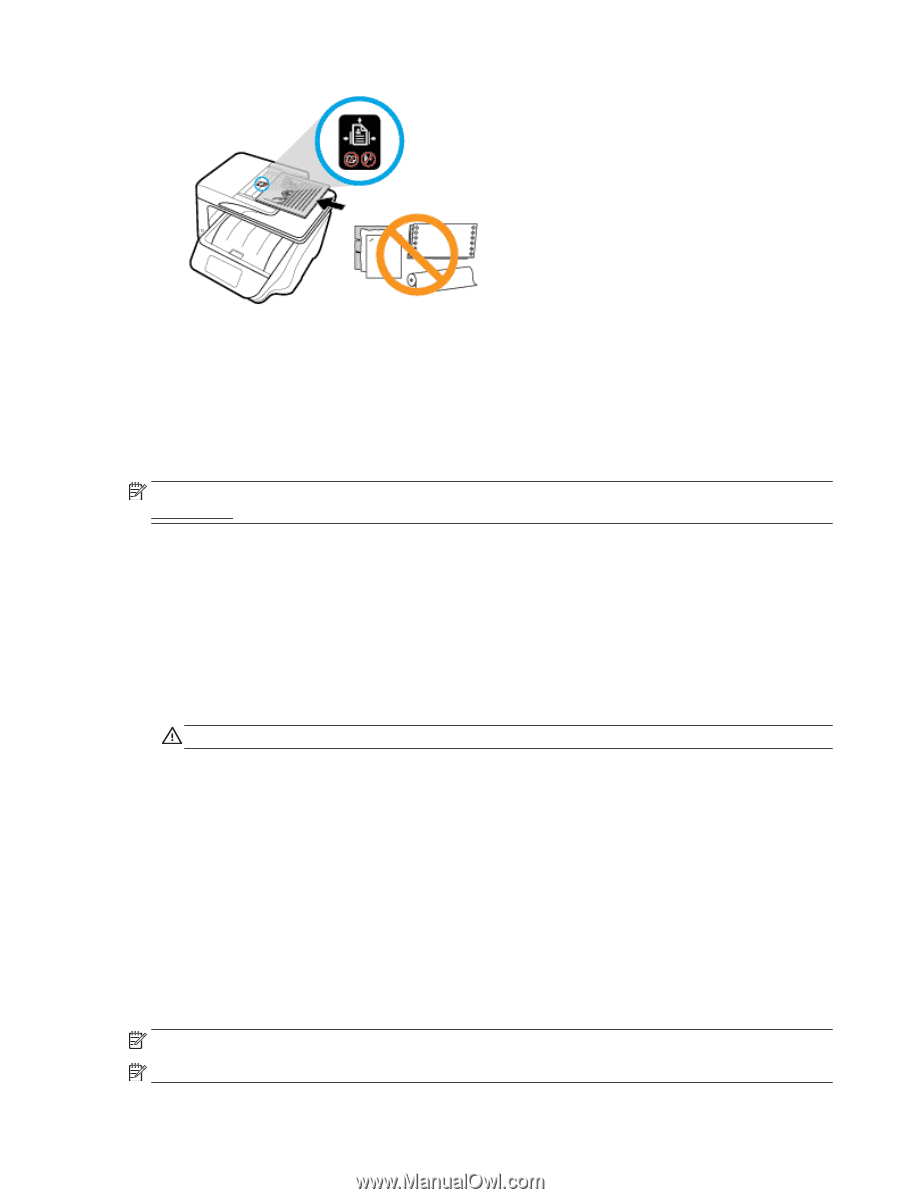
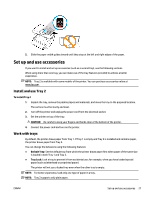
2. Slide the paper-width guides inward until they stop at the left and right edges of the paper. Set up and use accessories If you want to install and set up accessories (such as a second tray), see the following sections. When using more than one tray, you can make use of the tray features provided to achieve a better experience. NOTE: Tray 2 is available with some models of the printer. You can purchase accessories online at www.hp.com . Install and use Tray 2 To install Tray 2 1. Unpack the tray, remove the packing tapes and materials, and move the tray to the prepared location. The surface must be sturdy and level. 2. Turn off the printer and unplug the power cord from the electrical socket. 3. Set the printer on top of the tray. CAUTION: Be careful to keep your fingers and hands clear of the bottom of the printer. 4. Connect the power cord and turn on the printer. Work with trays By default, the printer draws paper from Tray 1. If Tray 1 is empty and Tray 2 is installed and contains paper, the printer draws paper from Tray 2. You can change the behaviors using the following features: ● Default Tray: Set the default tray from which the printer draws paper first when paper of the same size is loaded in both Tray 1 and Tray 2. ● Tray Lock: Lock a tray to prevent it from accidental use; for example, when you have loaded special paper (such as letterhead or preprinted paper). The printer will not use a locked tray even when the other tray is empty. NOTE: For better experience, load only one type of paper in a tray. NOTE: Tray 2 supports only plain paper. ENWW Set up and use accessories 27
-
 1
1 -
2
-
3
-
4
-
5
-
6
-
7
-
8
-
9
-
10
-
11
-
12
-
13
-
14
-
15
-
16
-
17
-
18
-
19
-
20
-
21
-
22
-
23
-
24
-
25
-
26
-
27
-
28
-
29
-
30
-
31
-
 32
32 -
 33
33 -
 34
34 -
 35
35 -
 36
36 -
 37
37 -
 38
38 -
 39
39 -
 40
40 -
 41
41 -
 42
42 -
43
-
44
-
45
-
46
-
47
-
48
-
49
-
50
-
51
-
52
-
53
-
54
-
55
-
56
-
57
-
58
-
59
-
60
-
61
-
62
-
63
-
64
-
65
-
66
-
67
-
68
-
69
-
70
-
71
-
72
-
73
-
74
-
75
-
76
-
77
-
78
-
79
-
80
-
81
-
82
-
83
-
84
-
85
-
86
-
87
-
88
-
89
-
90
-
91
-
92
-
93
-
94
-
95
-
96
-
97
-
98
-
99
-
100
-
101
-
102
-
103
-
104
-
105
-
106
-
107
-
108
-
109
-
110
-
111
-
112
-
113
-
114
-
115
-
116
-
117
-
118
-
119
-
120
-
121
-
122
-
123
-
124
-
125
-
126
-
127
-
128
-
129
-
130
-
131
-
132
-
133
-
134
-
135
-
136
-
137
-
138
-
139
-
140
-
141
-
142
-
143
-
144
-
145
-
146
-
147
-
148
-
149
-
150
-
151
-
152
-
153
-
154
-
155
-
156
-
157
-
158
-
159
-
160
-
161
-
162
-
163
-
164
-
165
-
166
-
167
-
168
-
169
-
170
-
171
-
172
-
173
-
174
-
175
-
176
 |
 |