HP Officejet Pro X451 HP Officejet Pro X451 and X551 - User Guide - Page 153
Inspect the ink cartridge for damage
 |
View all HP Officejet Pro X451 manuals
Add to My Manuals
Save this manual to your list of manuals |
Page 153 highlights
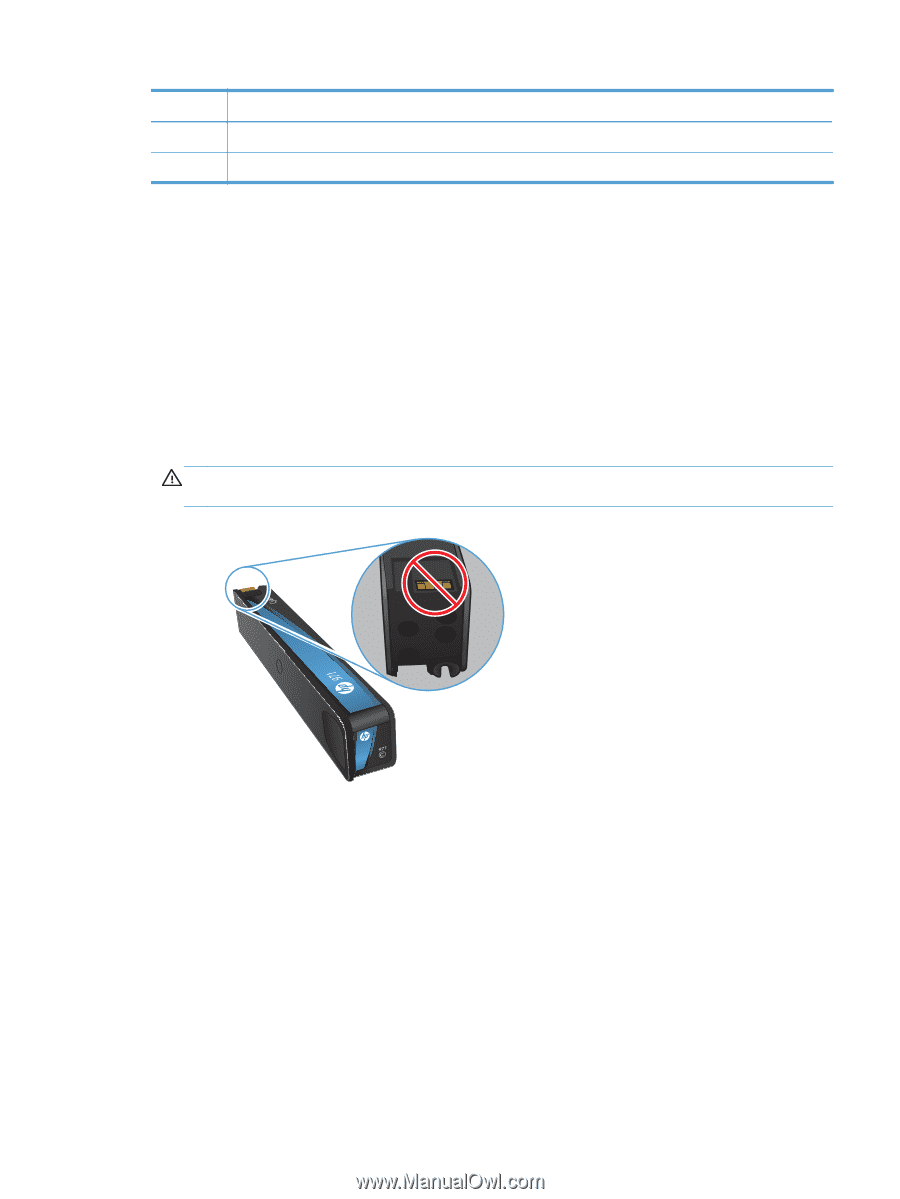
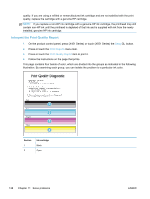
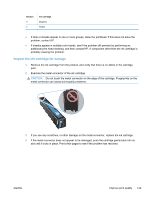
Section 3 4 Ink cartridge Magenta Yellow ● If dots or streaks appear in one or more groups, clean the printhead. If this does not solve the problem, contact HP. ● If streaks appear in multiple color bands, see if the problem still persists by performing an additional print head cleaning, and then contact HP. A component other than the ink cartridge is probably causing the problem. Inspect the ink cartridge for damage 1. Remove the ink cartridge from the product, and verify that there is no debris in the cartridge path. 2. Examine the metal connector of the ink cartridge. CAUTION: Do not touch the metal connector on the edge of the cartridge. Fingerprints on the metal connector can cause print-quality problems. 3. If you see any scratches, or other damage on the metal connector, replace the ink cartridge. 4. If the metal connector does not appear to be damaged, push the cartridge gently back into its slot until it locks in place. Print a few pages to see if the problem has resolved. ENWW Improve print quality 139
-
 1
1 -
2
-
3
-
4
-
5
-
6
-
7
-
8
-
9
-
10
-
11
-
12
-
13
-
14
-
15
-
16
-
17
-
18
-
19
-
20
-
21
-
22
-
23
-
24
-
25
-
26
-
27
-
28
-
29
-
30
-
31
-
32
-
33
-
34
-
35
-
36
-
37
-
38
-
39
-
40
-
41
-
42
-
43
-
44
-
45
-
46
-
47
-
48
-
49
-
50
-
51
-
52
-
53
-
54
-
55
-
56
-
57
-
58
-
59
-
60
-
61
-
62
-
63
-
64
-
65
-
66
-
67
-
68
-
69
-
70
-
71
-
72
-
73
-
74
-
75
-
76
-
77
-
78
-
79
-
80
-
81
-
82
-
83
-
84
-
85
-
86
-
87
-
88
-
89
-
90
-
91
-
92
-
93
-
94
-
95
-
96
-
97
-
98
-
99
-
100
-
101
-
102
-
103
-
104
-
105
-
106
-
107
-
108
-
109
-
110
-
111
-
112
-
113
-
114
-
115
-
116
-
117
-
118
-
119
-
120
-
121
-
122
-
123
-
124
-
125
-
126
-
127
-
128
-
129
-
130
-
131
-
132
-
133
-
134
-
135
-
136
-
137
-
138
-
139
-
140
-
141
-
142
-
143
-
144
-
145
-
146
-
147
-
 148
148 -
 149
149 -
 150
150 -
 151
151 -
 152
152 -
 153
153 -
 154
154 -
 155
155 -
 156
156 -
 157
157 -
 158
158 -
159
-
160
-
161
-
162
-
163
-
164
-
165
-
166
-
167
-
168
-
169
-
170
-
171
-
172
-
173
-
174
-
175
-
176
-
177
-
178
-
179
-
180
-
181
-
182
-
183
-
184
-
185
-
186
-
187
-
188
-
189
-
190
-
191
-
192
-
193
-
194
-
195
-
196
-
197
-
198
-
199
-
200
-
201
-
202
-
203
-
204
-
205
-
206
-
207
-
208
 |
 |