HP T1120 Hp Designjet T1120 SD-MFP - Quick Reference Guide: English - Page 10
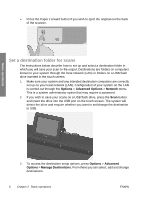
Set a destination folder for scans - scanner configuration
 |
UPC - 884420612513
View all HP T1120 manuals
Add to My Manuals
Save this manual to your list of manuals |
Page 10 highlights
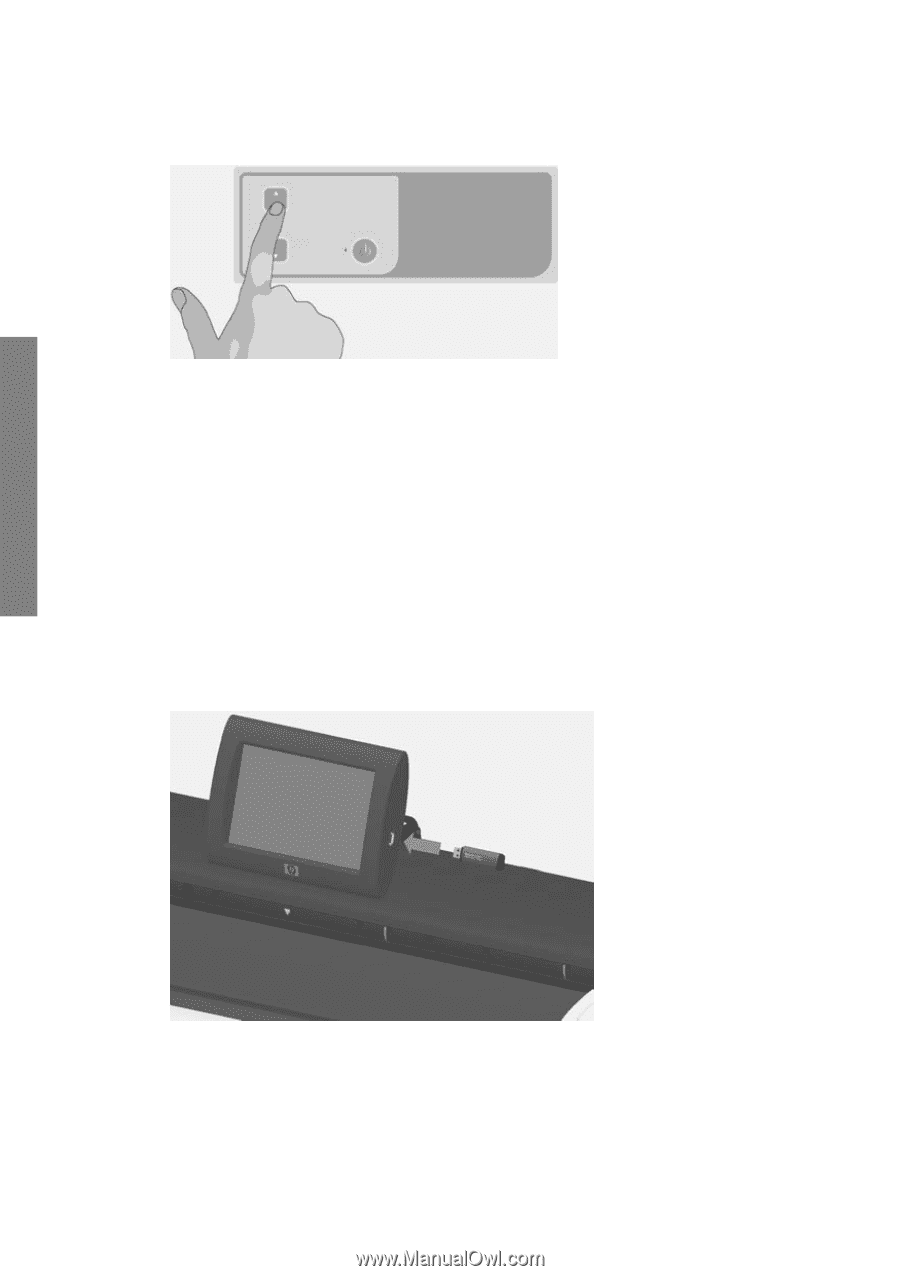
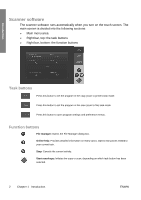
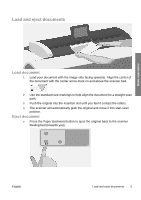
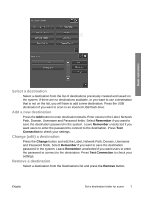
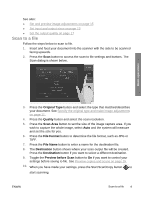
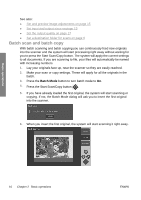
Basic operations ● Press the Paper Forward button if you wish to eject the original out the back of the scanner. Set a destination folder for scans The instructions below describe how to set up and select a destination folder in which you will save your scan-to-file output. Destinations are folders on computers known to your system through the local network (LAN) or folders on a USB flash drive inserted in the touch screen. 1. Make sure your system and any intended destination computers are correctly set up on your local network (LAN). Configuration of your system on the LAN is carried out through the Options > Advanced Options > Network menu. This is a system administrator option that may require a password. 2. If you wish to save your scans on a USB flash drive, press the Scan button and insert the drive into the USB port on the touch screen. The system will detect the drive and enquire whether you want to set/change the destination to USB. 3. To access the destination setup options, press Options > Advanced Options > Manage Destinations. From there you can select, add and change destinations. 6 Chapter 2 Basic operations ENWW
-
 1
1 -
2
-
3
-
4
-
 5
5 -
 6
6 -
 7
7 -
 8
8 -
 9
9 -
 10
10 -
 11
11 -
 12
12 -
 13
13 -
 14
14 -
 15
15 -
16
-
17
-
18
-
19
-
20
-
21
-
22
-
23
-
24
-
25
-
26
-
27
-
28
-
29
-
30
-
31
-
32
-
33
-
34
-
35
-
36
-
37
-
38
-
39
-
40
-
41
-
42
-
43
-
44
-
45
-
46
-
47
-
48
 |
 |