HP T1120 Hp Designjet T1120 SD-MFP - Quick Reference Guide: English - Page 13
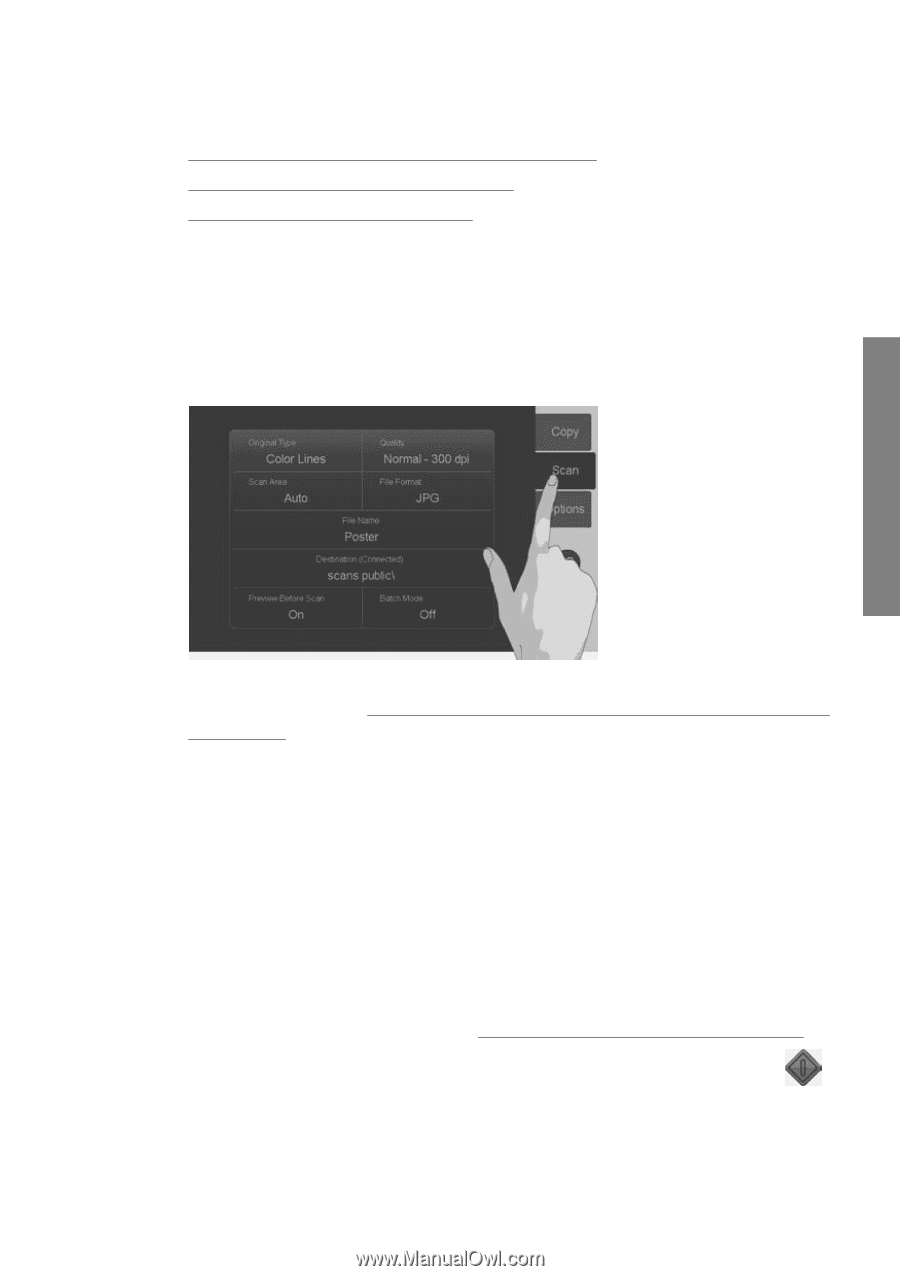
Original Type, Quality, Scan Area, File Format, File Name, Destination, Preview before Scan
 |
UPC - 884420612513
View all HP T1120 manuals
Add to My Manuals
Save this manual to your list of manuals |
Page 13 highlights
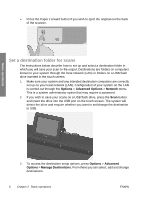
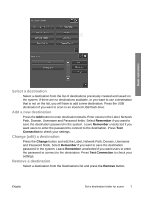
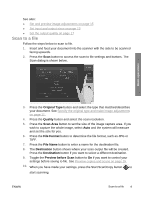
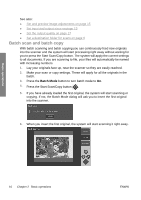
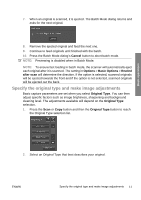
See also: ● Set and preview image adjustments on page 15 ● Set input and output sizes on page 13 ● Set the output quality on page 17 Scan to a file Follow the steps below to scan to file. 1. Insert and feed your document into the scanner with the side to be scanned facing upwards. 2. Press the Scan button to access the scan to file settings and buttons. The Scan dialog is shown below. Basic operations 3. Press the Original Type button and select the type that matches/describes your document. See Specify the original type and make image adjustments on page 11. 4. Press the Quality button and select the scan resolution. 5. Press the Scan Area button to set the size of the image capture area. If you wish to capture the whole image, select Auto and the system will measure and set the size for you. 6. Press the File Format button to determine the file format, such as JPG or TIFF. 7. Press the File Name button to enter a name for the destination file. 8. The Destination button shows where your scan output file will be created. Press the Destination button if you want to select a different destination. 9. Toggle the Preview before Scan button to On if you want to control your settings before saving to file. See Preview copies and scans on page 15. 10. When you have made your settings, press the Start Scan/Copy button to start scanning. ENWW Scan to a file 9
-
 1
1 -
2
-
3
-
4
-
5
-
6
-
7
-
 8
8 -
 9
9 -
 10
10 -
 11
11 -
 12
12 -
 13
13 -
 14
14 -
 15
15 -
 16
16 -
 17
17 -
 18
18 -
19
-
20
-
21
-
22
-
23
-
24
-
25
-
26
-
27
-
28
-
29
-
30
-
31
-
32
-
33
-
34
-
35
-
36
-
37
-
38
-
39
-
40
-
41
-
42
-
43
-
44
-
45
-
46
-
47
-
48
 |
 |