JVC DLA-X550R Instruction Manual - Page 35
Press the [P.ANALYZER] button, Press the [P.ANALYZER] to exit the analysis screen
 |
View all JVC DLA-X550R manuals
Add to My Manuals
Save this manual to your list of manuals |
Page 35 highlights
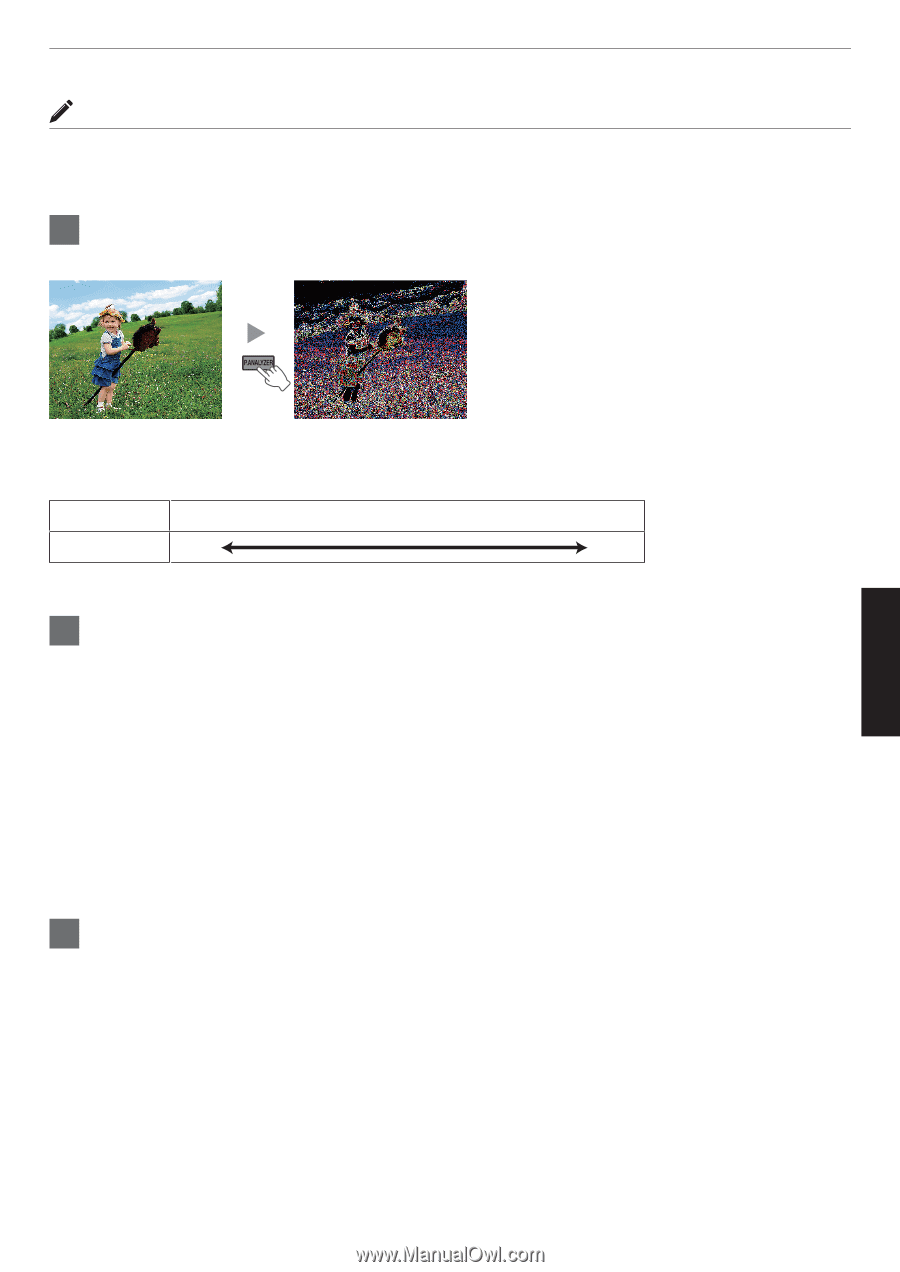
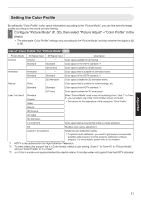
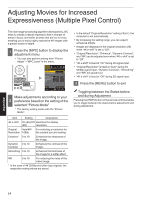
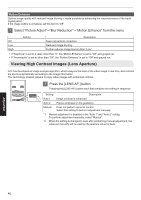
About the analysis screen Pressing the [P.ANALYZER] button on the remote control displays the analysis screen. The operation varies with the state of the OSD. * The analysis screen is not displayed during 4K 50/60p signal input. 1 Press the [P.ANALYZER] button The frequency components of the input image are displayed. . 0 The frequency components are distinguished using different colors. 0 When setting the "Original Resolution" manually, select "4K" if high-frequency components constitute the majority, and a lower resolution if there are more low-frequency components. Frequency Red Low Yellow Green Cyan Blue Purple High . 2 Make adjustments while looking at the analysis screen A Press the [MPC] button to display the adjustment menu You can also perform setting from "Picture Adjust"""MPC Level" in the menu. B Make adjustments according to your preference based on the setting of the selected "Picture Mode"* 0 With "Enhance" selected, pressing the [P.ANALYZER] button displays the analysis screen and the area where the "Enhance" effect is applied appears in "cyan" color. 0 With "Dynamic Contrast" selected, pressing the [P.ANALYZER] button displays the analysis screen and the area where the "Dynamic Contrast" effect is applied appears in "yellow" color. 0 With "Smoothing" and "NR" selected, pressing the [P.ANALYZER] button displays the analysis screen and the area where the "Smoothing" and "NR" effects are applied appears in "magenta" color. * You can make adjustments with the analysis screen displayed. Increasing the value enhances the effect and the color displayed is darker. 3 Press the [P.ANALYZER] to exit the analysis screen Adjust/Set 35
-
 1
1 -
2
-
3
-
4
-
5
-
6
-
7
-
8
-
9
-
10
-
11
-
12
-
13
-
14
-
15
-
16
-
17
-
18
-
19
-
20
-
21
-
22
-
23
-
24
-
25
-
26
-
27
-
28
-
29
-
 30
30 -
 31
31 -
 32
32 -
 33
33 -
 34
34 -
 35
35 -
 36
36 -
 37
37 -
 38
38 -
 39
39 -
 40
40 -
41
-
42
-
43
-
44
-
45
-
46
-
47
-
48
-
49
-
50
-
51
-
52
-
53
-
54
-
55
-
56
-
57
-
58
-
59
-
60
-
61
-
62
-
63
-
64
-
65
-
66
-
67
-
68
-
69
-
70
-
71
-
72
-
73
-
74
-
75
-
76
-
77
-
78
-
79
-
80
 |
 |