Kenmore 5044 Use and Care Guide - Page 12
Touch Screen Care
 |
View all Kenmore 5044 manuals
Add to My Manuals
Save this manual to your list of manuals |
Page 12 highlights
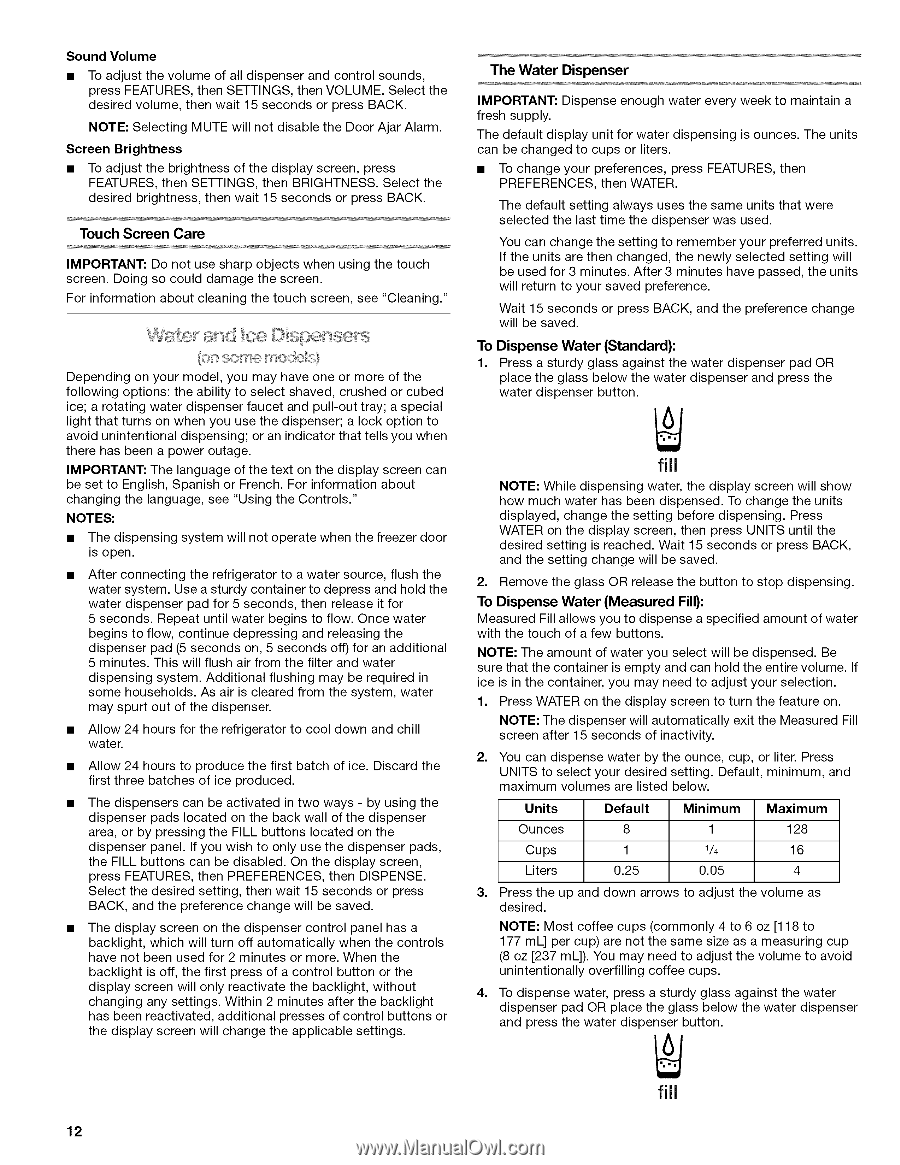
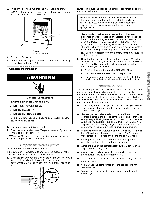
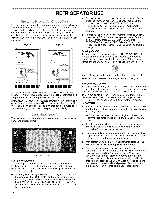
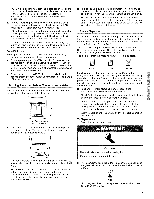
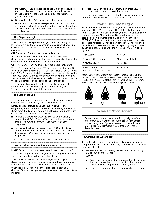
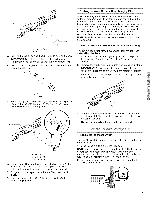
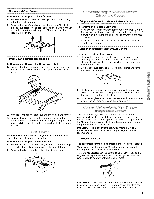
Sound Volume • To adjust the volume of all dispenser and control sounds, press FEATURES, then SETTINGS, then VOLUME. Select the desired volume, then wait 15 seconds or press BACK. NOTE: Selecting MUTE will not disable the Door Ajar Alarm. Screen Brightness • To adjust the brightness of the display screen, press FEATURES, then SETTINGS, then BRIGHTNESS. Select the desired brightness, then wait 15 seconds or press BACK. Touch Screen Care IMPORTANT: Do not use sharp objects when using the touch screen. Doing so could damage the screen. For information about cleaning the touch screen, see "Cleaning." Depending on your model, you may have one or more of the following options: the ability to select shaved, crushed or cubed ice; a rotating water dispenser faucet and pull-out tray; a special light that turns on when you use the dispenser; a lock option to avoid unintentional dispensing; or an indicator that tells you when there has been a power outage. IMPORTANT: The language of the text on the display screen can be set to English, Spanish or French. For information about changing the language, see "Using the Controls." NOTES: • The dispensing system will not operate when the freezer door is open. • After connecting the refrigerator to a water source, flush the water system. Use a sturdy container to depress and hold the water dispenser pad for 5 seconds, then release it for 5 seconds. Repeat until water begins to flow. Once water begins to flow, continue depressing and releasing the dispenser pad (5 seconds on, 5 seconds off) for an additional 5 minutes. This will flush air from the filter and water dispensing system. Additional flushing may be required in some households. As air is cleared from the system, water may spurt out of the dispenser. • Allow 24 hours for the refrigerator to cool down and chill water. • Allow 24 hours to produce the first batch of ice. Discard the first three batches of ice produced. • The dispensers can be activated in two ways - by using the dispenser pads located on the back wall of the dispenser area, or by pressing the FILL buttons located on the dispenser panel. If you wish to only use the dispenser pads, the FILL buttons can be disabled. On the display screen, press FEATURES, then PREFERENCES, then DISPENSE. Select the desired setting, then wait 15 seconds or press BACK, and the preference change will be saved. • The display screen on the dispenser control panel has a backlight, which will turn off automatically when the controls have not been used for 2 minutes or more. When the backlight is off, the first press of a control button or the display screen will only reactivate the backlight, without changing any settings. Within 2 minutes after the backlight has been reactivated, additional presses of control buttons or the display screen will change the applicable settings. The Water Dispenser IMPORTANT: Dispense enough water every week to maintain a fresh supply. The default display unit for water dispensing is ounces. The units can be changed to cups or liters. • To change your preferences, press FEATURES, then PREFERENCES, then WATER. The default setting always uses the same units that were selected the last time the dispenser was used. You can change the setting to remember your preferred units. If the units are then changed, the newly selected setting will be used for 3 minutes. After 3 minutes have passed, the units will return to your saved preference. Wait 15 seconds or press BACK, and the preference change will be saved. To Dispense Water (Standard): 1. Press a sturdy glass against the water dispenser pad OR place the glass below the water dispenser and press the water dispenser button. fill NOTE: While dispensing water, the display screen will show how much water has been dispensed. To change the units displayed, change the setting before dispensing. Press WATER on the display screen, then press UNITS until the desired setting is reached. Wait 15 seconds or press BACK, and the setting change will be saved. 2. Remove the glass OR release the button to stop dispensing. To Dispense Water (Measured Fill): Measured Fill allows you to dispense a specified amount of water with the touch of a few buttons. NOTE: The amount of water you select will be dispensed. Be sure that the container is empty and can hold the entire volume. If ice is in the container, you may need to adjust your selection. 1. Press WATER on the display screen to turn the feature on. NOTE: The dispenser will automatically exit the Measured Fill screen after 15 seconds of inactivity. 2. You can dispense water by the ounce, cup, or liter. Press UNITS to select your desired setting. Default, minimum, and maximum volumes are listed below. Units Ounces Default 8 Minimum 1 Maximum 128 Cups 1 V4 16 Liters 0.25 0.05 4 3. Press the up and down arrows to adjust the volume as desired. NOTE: Most coffee cups (commonly 4 to 6 oz [118 to 177 mL] per cup) are not the same size as a measuring cup (8 oz [237 mL]). You may need to adjust the volume to avoid unintentionally overfilling coffee cups. 4. To dispense water, press a sturdy glass against the water dispenser pad OR place the glass below the water dispenser and press the water dispenser button. fill 12
-
 1
1 -
2
-
3
-
4
-
5
-
6
-
 7
7 -
 8
8 -
 9
9 -
 10
10 -
 11
11 -
 12
12 -
 13
13 -
 14
14 -
 15
15 -
 16
16 -
 17
17 -
18
-
19
-
20
-
21
-
22
-
23
-
24
-
25
-
26
-
27
-
28
-
29
-
30
-
31
-
32
-
33
-
34
-
35
-
36
-
37
-
38
-
39
-
40
-
41
-
42
-
43
-
44
-
45
-
46
-
47
-
48
-
49
-
50
-
51
-
52
-
53
-
54
-
55
-
56
-
57
-
58
-
59
-
60
-
61
-
62
-
63
-
64
-
65
-
66
-
67
-
68
-
69
-
70
-
71
-
72
-
73
-
74
-
75
-
76
-
77
-
78
-
79
-
80
-
81
-
82
-
83
-
84
-
85
-
86
-
87
-
88
-
89
-
90
-
91
-
92
-
93
-
94
-
95
-
96
 |
 |