Kenmore 5044 Use and Care Guide - Page 20
Refrigerator Care
 |
View all Kenmore 5044 manuals
Add to My Manuals
Save this manual to your list of manuals |
Page 20 highlights
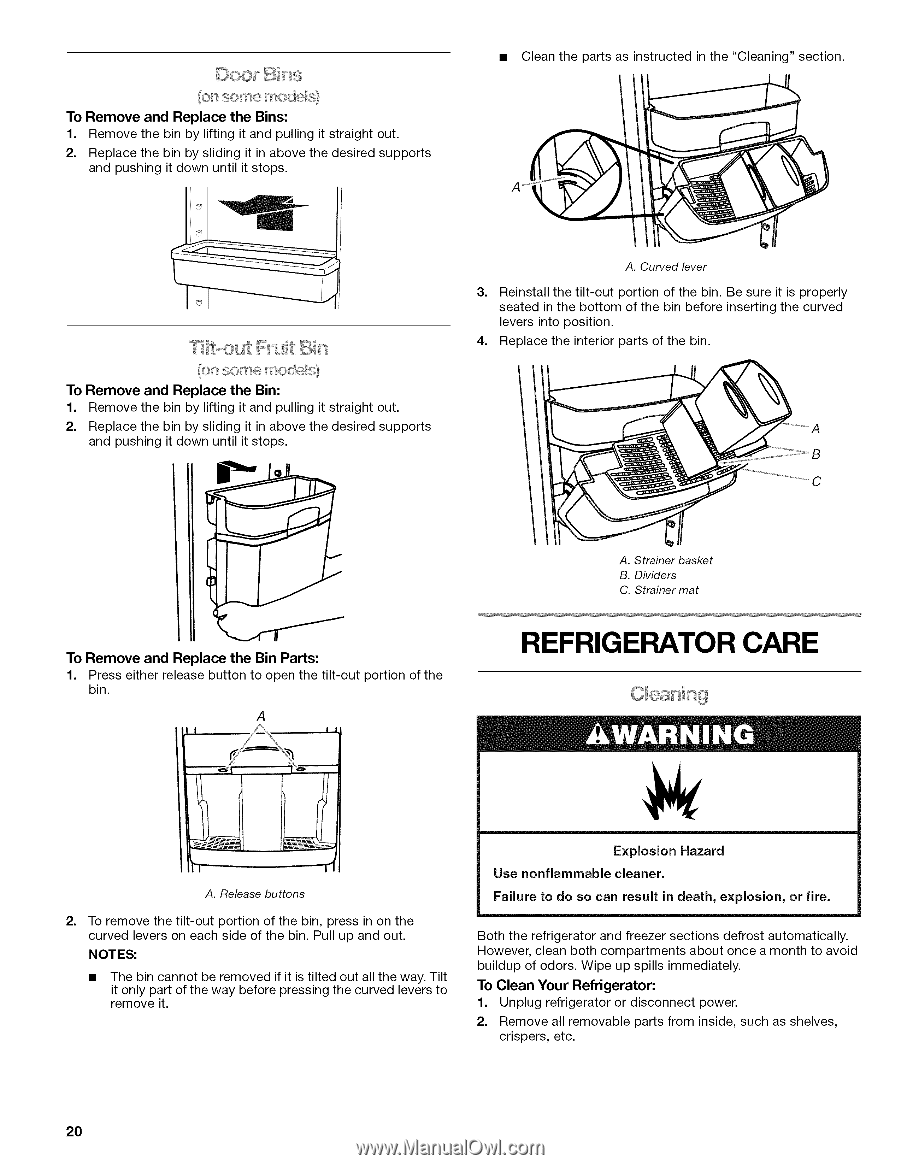
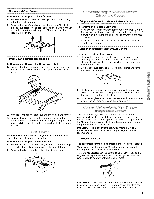
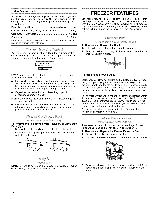
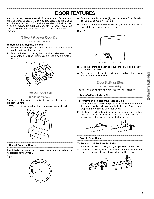
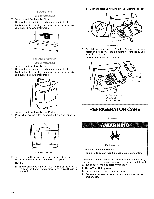
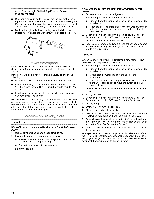
To Remove and Replace the Bins: 1. Remove the bin by lifting it and pulling it straight out. 2. Replace the bin by sliding it in above the desired supports and pushing it down until it stops. • Clean the parts as instructed in the "Cleaning" section. l:_ll,,,-=OIJ[I:I l_,;Ilt_.,, To Remove and Replace the Bin: 1. Remove the bin by lifting it and pulling it straight out. 2. Replace the bin by sliding it in above the desired supports and pushing it down until it stops. A. Curved lever 3. Reinstall the tilt-out portion of the bin. Be sure it is properly seated in the bottom of the bin before inserting the curved levers into position. 4. Replace the interior parts of the bin. To Remove and Replace the Bin Parts: 1. Press either release button to open the tilt-out portion of the bin. A I i/_% II A. Strainer basket B. Dividers C. Strainer mat REFRIGERATOR CARE A. Release buttons 2= To remove the tilt-out portion of the bin, press in on the curved levers on each side of the bin. Pull up and out. NOTES: • The bin cannot be removed if it is tilted out all the way. Tilt it only part of the way before pressing the curved levers to remove it. Explosion Hazard Use nonflammable cleaner. Failure to do so can result in death, explosion, or fire. Both the refrigerator and freezer sections defrost automatically. However, clean both compartments about once a month to avoid buildup of odors. Wipe up spills immediately. To Clean Your Refrigerator: 1. Unplug refrigerator or disconnect power. 2. Remove all removable parts from inside, such as shelves, crispers, etc. 20
-
 1
1 -
2
-
3
-
4
-
5
-
6
-
7
-
8
-
9
-
10
-
11
-
12
-
13
-
14
-
 15
15 -
 16
16 -
 17
17 -
 18
18 -
 19
19 -
 20
20 -
 21
21 -
 22
22 -
 23
23 -
 24
24 -
 25
25 -
26
-
27
-
28
-
29
-
30
-
31
-
32
-
33
-
34
-
35
-
36
-
37
-
38
-
39
-
40
-
41
-
42
-
43
-
44
-
45
-
46
-
47
-
48
-
49
-
50
-
51
-
52
-
53
-
54
-
55
-
56
-
57
-
58
-
59
-
60
-
61
-
62
-
63
-
64
-
65
-
66
-
67
-
68
-
69
-
70
-
71
-
72
-
73
-
74
-
75
-
76
-
77
-
78
-
79
-
80
-
81
-
82
-
83
-
84
-
85
-
86
-
87
-
88
-
89
-
90
-
91
-
92
-
93
-
94
-
95
-
96
 |
 |