NEC NP-M300X M260W : user's manual - Page 60
Convenient Features, Step 2: Connect the projector to a LAN.
 |
UPC - 805736035629
View all NEC NP-M300X manuals
Add to My Manuals
Save this manual to your list of manuals |
Page 60 highlights
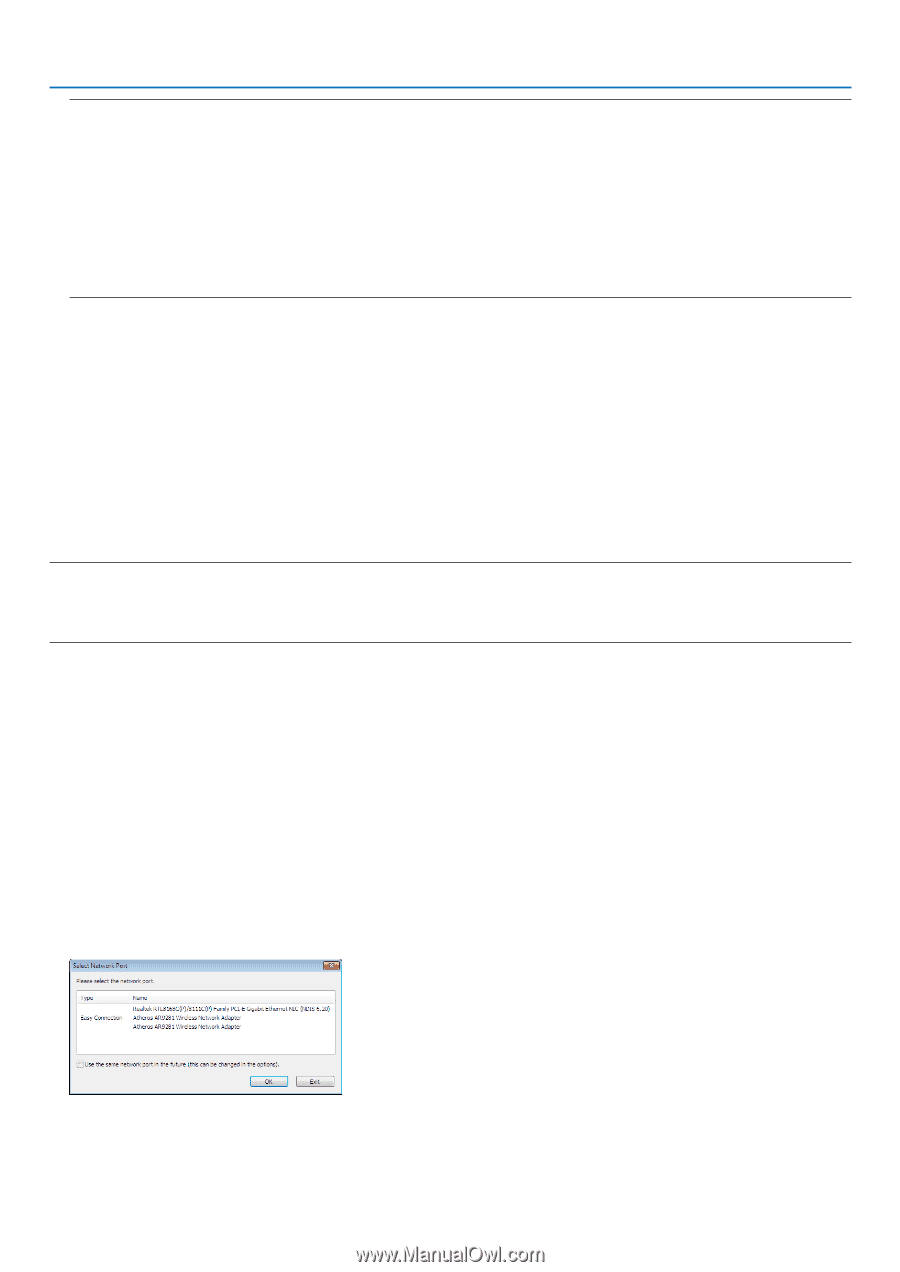
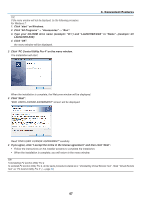
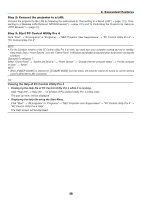
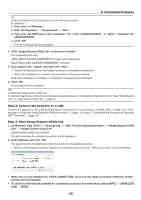
3. Convenient Features TIP: If the menu window will not be displayed, try the following procedure. For Windows 7: 1. Click "start" on Windows. 2. Click "All Programs" → "Accessories" → "Run". 3. Type your CD-ROM drive name (example: "Q:\") and "LAUNCHER.EXE" in "Name". (example: Q:\ LAUNCHER.EXE) 4. Click "OK". The menu window will be displayed. 2. Click "Image Express Utility Lite" on the menu window. The installation will start. "END USER LICENSE AGREEMENT" screen will be displayed. Read "END USER LICENSE AGREEMENT" carefully 3. If you agree, click "I agree." and then click "Next". • Follow the instructions on the installer screens to complete the installation. • When the installation is complete, you will return to the menu window. When the installation is complete, a completion message will be displayed. 4. Click "OK". This completes the installation. TIP: • Uninstalling Image Express Utility Lite To uninstall Image Express Utility Lite, do the same procedures stated as in "Uninstalling Virtual Remote Tool". Read "Virtual Remote Tool" as "Image Express Utility Lite" (→ page 34) Step 2: Connect the projector to a LAN. Connect the projector to the LAN by following the instructions in "Connecting to a Wired LAN" (→ page 102), "Connecting to a Wireless LAN (Optional: NP02LM series)" (→ page 103) and "9. Controlling the Projector by Using an HTTP Browser" (→ page 40) Step 3: Start Image Express Utility Lite. 1. On Windows, click "Start" → "All programs" → "NEC Projector UserSupportware" → "Image Express Utility Lite" → "Image Express Utility Lite". Image Express Utility Lite will start. The select window for network connection will be displayed 2. Select Network and click "OK". The select window for destination will show a list of connectable projectors. • When connecting the computer directly to the projector by one-to-one, "Easy Connection" is recommended. • When one or more networks for "EASY CONNECTION" are found, the "Easy Connection Selection Screen" window will be displayed. • To check for the network available for connected projectors, from the menu, select [INFO.] → [WIRELESS LAN] → [SSID]. 50
-
 1
1 -
2
-
3
-
4
-
5
-
6
-
7
-
8
-
9
-
10
-
11
-
12
-
13
-
14
-
15
-
16
-
17
-
18
-
19
-
20
-
21
-
22
-
23
-
24
-
25
-
26
-
27
-
28
-
29
-
30
-
31
-
32
-
33
-
34
-
35
-
36
-
37
-
38
-
39
-
40
-
41
-
42
-
43
-
44
-
45
-
46
-
47
-
48
-
49
-
50
-
51
-
52
-
53
-
54
-
 55
55 -
 56
56 -
 57
57 -
 58
58 -
 59
59 -
 60
60 -
 61
61 -
 62
62 -
 63
63 -
 64
64 -
 65
65 -
66
-
67
-
68
-
69
-
70
-
71
-
72
-
73
-
74
-
75
-
76
-
77
-
78
-
79
-
80
-
81
-
82
-
83
-
84
-
85
-
86
-
87
-
88
-
89
-
90
-
91
-
92
-
93
-
94
-
95
-
96
-
97
-
98
-
99
-
100
-
101
-
102
-
103
-
104
-
105
-
106
-
107
-
108
-
109
-
110
-
111
-
112
-
113
-
114
-
115
-
116
-
117
-
118
-
119
-
120
-
121
-
122
-
123
-
124
-
125
-
126
-
127
-
128
-
129
-
130
-
131
-
132
-
133
-
134
-
135
-
136
 |
 |