Pioneer AVIC-X910BT Owner's Manual - Page 153
Browsing and replaying the track log, Setting track logger options
 |
UPC - 000125629513
View all Pioneer AVIC-X910BT manuals
Add to My Manuals
Save this manual to your list of manuals |
Page 153 highlights
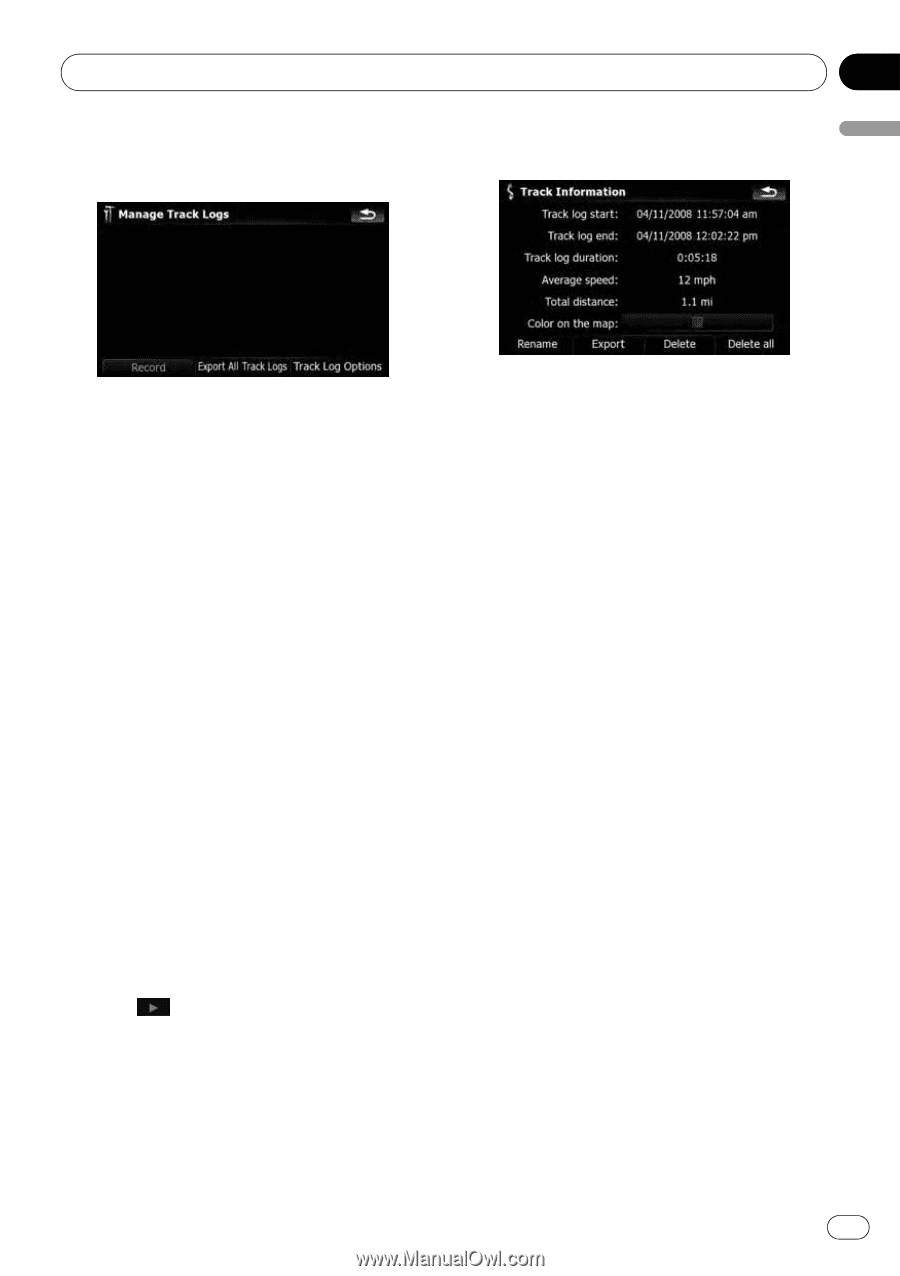
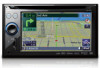
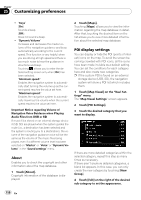
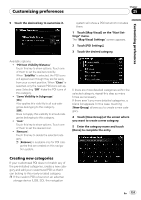
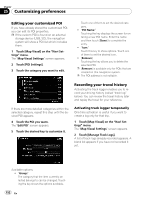
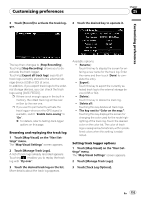
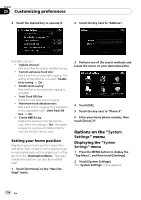
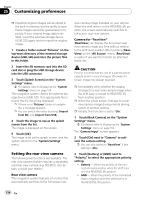
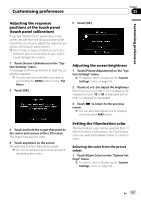
Customizing preferences Chapter 25 3 Touch [Record] to activate the track logger. 4 Touch the desired key to operate it. Customizing preferences The key then changes to [Stop Recording]. Touching [Stop Recording] allows you to deactivate the track logger. Touching [Export all track logs] exports all track logs currently stored to the external storage device (USB or SD) at once. In addition, if you export track logs to the external storage devices, you can check the track logs using [AVIC FEEDS]. p If there is not enough space in the built-in memory, the oldest track log will be overwritten by the new one. p If you want to permanently activate the track logger whenever the GPS signal is available, switch "Enable Auto-saving" to "On". = For details, refer to Setting track logger options on this page. Browsing and replaying the track log 1 Touch [Map Visual] on the "Navi Settings" menu. The "Map Visual Settings" screen appears. 2 Touch [Manage Track Logs]. A list of track logs already recorded appears. Touching enables you to replay the track log with "Fly over". 3 Touch the desired track log on the list. More details about the track log appears. Available options; ! [Rename]: Touch this key to display the screen for entering a new name for the track log. Enter the name and then touch [Done] to complete the entry. ! [Export]: Touch this key to export the currently selected track log to the external storage device (USB or SD). ! [Delete]: Touch this key to delete the track log. ! [Delete all]: Touching this key deletes all track logs. ! The key next to "Color on the map:": Touching this key displays the screen for changing the color used for the route highlighting of the track log. Touch the desired color on the color list. The color of track logs is assigned automatically within predefined colors when this setting is established. Setting track logger options 1 Touch [Map Visual] on the "Navi Settings" menu. The "Map Visual Settings" screen appears. 2 Touch [Manage Track Logs]. 3 Touch [Track Log Options]. En 153
-
 1
1 -
2
-
3
-
4
-
5
-
6
-
7
-
8
-
9
-
10
-
11
-
12
-
13
-
14
-
15
-
16
-
17
-
18
-
19
-
20
-
21
-
22
-
23
-
24
-
25
-
26
-
27
-
28
-
29
-
30
-
31
-
32
-
33
-
34
-
35
-
36
-
37
-
38
-
39
-
40
-
41
-
42
-
43
-
44
-
45
-
46
-
47
-
48
-
49
-
50
-
51
-
52
-
53
-
54
-
55
-
56
-
57
-
58
-
59
-
60
-
61
-
62
-
63
-
64
-
65
-
66
-
67
-
68
-
69
-
70
-
71
-
72
-
73
-
74
-
75
-
76
-
77
-
78
-
79
-
80
-
81
-
82
-
83
-
84
-
85
-
86
-
87
-
88
-
89
-
90
-
91
-
92
-
93
-
94
-
95
-
96
-
97
-
98
-
99
-
100
-
101
-
102
-
103
-
104
-
105
-
106
-
107
-
108
-
109
-
110
-
111
-
112
-
113
-
114
-
115
-
116
-
117
-
118
-
119
-
120
-
121
-
122
-
123
-
124
-
125
-
126
-
127
-
128
-
129
-
130
-
131
-
132
-
133
-
134
-
135
-
136
-
137
-
138
-
139
-
140
-
141
-
142
-
143
-
144
-
145
-
146
-
147
-
 148
148 -
 149
149 -
 150
150 -
 151
151 -
 152
152 -
 153
153 -
 154
154 -
 155
155 -
 156
156 -
 157
157 -
 158
158 -
159
-
160
-
161
-
162
-
163
-
164
-
165
-
166
-
167
-
168
-
169
-
170
-
171
-
172
-
173
-
174
-
175
-
176
-
177
-
178
-
179
-
180
-
181
-
182
-
183
-
184
-
185
-
186
-
187
-
188
-
189
-
190
-
191
-
192
-
193
-
194
-
195
-
196
-
197
-
198
-
199
-
200
-
201
-
202
-
203
-
204
-
205
-
206
-
207
-
208
-
209
-
210
-
211
-
212
-
213
-
214
 |
 |