Vivitar DVR 949HD User Manual - Page 49
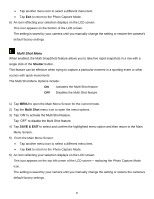
Photo Playback Mode LCD Screen Functions
 |
View all Vivitar DVR 949HD manuals
Add to My Manuals
Save this manual to your list of manuals |
Page 49 highlights
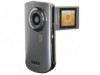
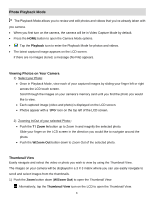
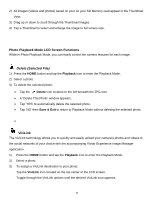
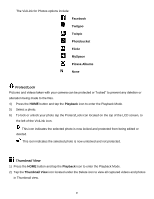
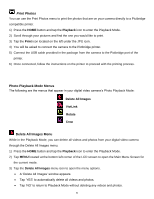
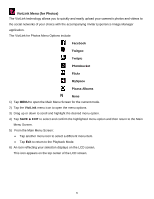
2) All images (videos and photos) saved on your on your SD Memory card appear in the Thumbnail View. 3) Drag up or down to scroll through the Thumbnail images. 4) Tap a Thumbnail to select and enlarge the image to full screen size. Photo Playback Mode LCD Screen Functions While in Photo Playback Mode, you can easily control the camera features for each image. Delete (Selected File) 1) Press the HOME button and tap the Playback icon to enter the Playback Mode. 2) Select a photo. 3) To delete the selected photo: Tap the Delete icon located on the left beneath the JPG icon. A 'Delete This Photo' window appears. Tap 'YES' to automatically delete the selected photo. Tap 'NO' then Save & Exit to return to Playback Mode without deleting the selected photo. ViviLink The ViviLink technology allows you to quickly and easily upload your camera's photos and videos to the social networks of your choice with the accompanying Vivitar Experience Image Manager application. 1) Press the HOME button and tap the Playback icon to enter the Playback Mode. 2) Select a photo. 3) To assign a ViviLink destination to your photo: Tap the ViviLink icon located on the top center of the LCD screen. Toggle through the ViviLink options until the desired ViviLink icon appears. 48
-
 1
1 -
2
-
3
-
4
-
5
-
6
-
7
-
8
-
9
-
10
-
11
-
12
-
13
-
14
-
15
-
16
-
17
-
18
-
19
-
20
-
21
-
22
-
23
-
24
-
25
-
26
-
27
-
28
-
29
-
30
-
31
-
32
-
33
-
34
-
35
-
36
-
37
-
38
-
39
-
40
-
41
-
42
-
43
-
 44
44 -
 45
45 -
 46
46 -
 47
47 -
 48
48 -
 49
49 -
 50
50 -
 51
51 -
 52
52 -
 53
53 -
 54
54 -
55
-
56
-
57
-
58
-
59
-
60
-
61
-
62
-
63
-
64
-
65
-
66
-
67
-
68
 |
 |