Brother International IntelliFax-2820 Users Manual - English - Page 105
Cleaning the drum unit - drum replacement
 |
UPC - 012502613251
View all Brother International IntelliFax-2820 manuals
Add to My Manuals
Save this manual to your list of manuals |
Page 105 highlights
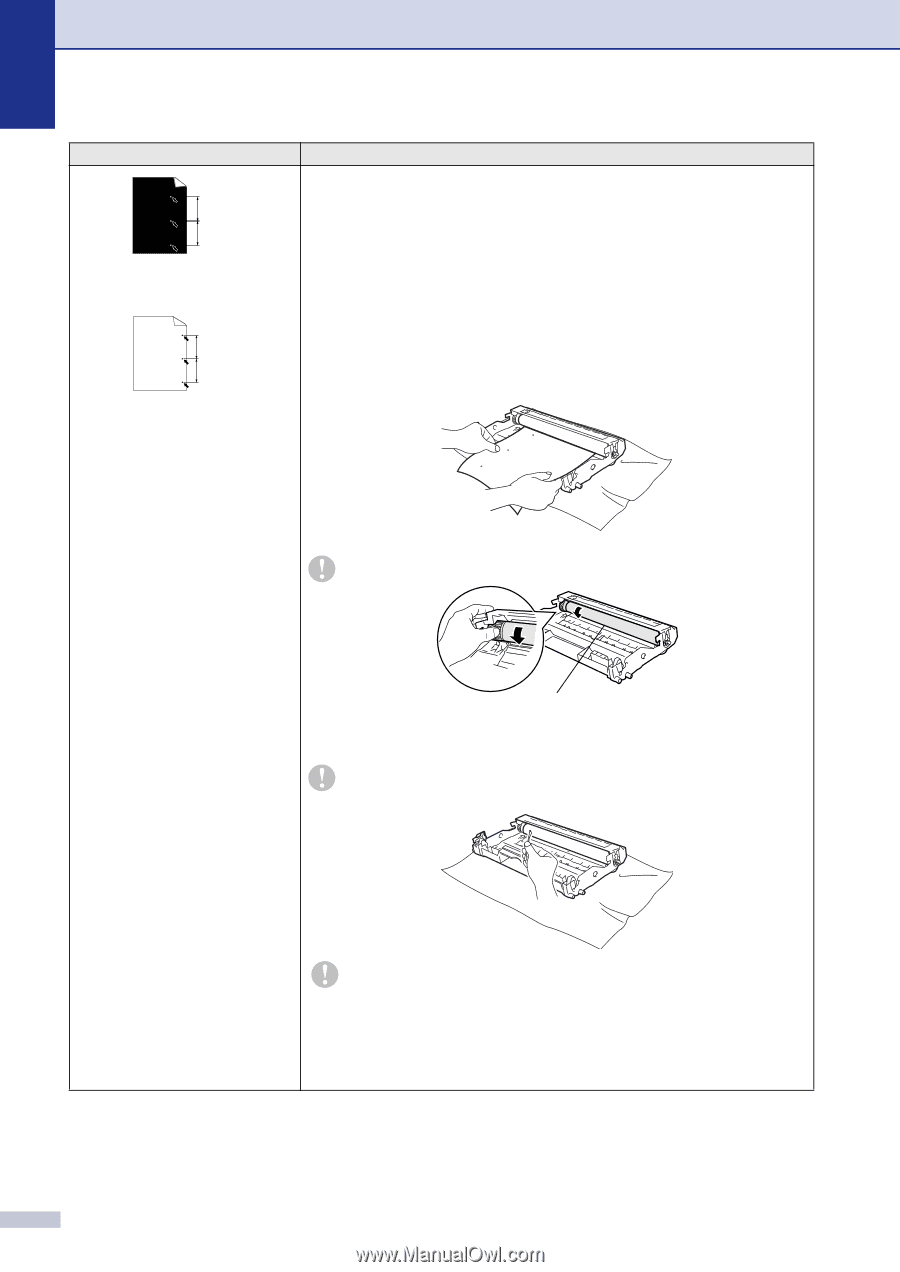
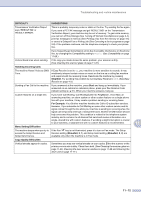
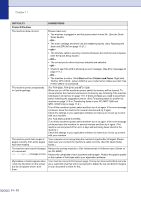
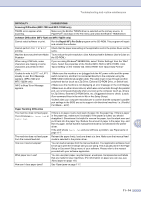
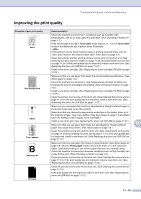
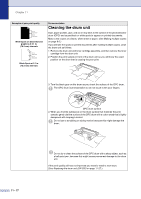
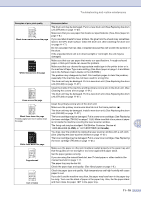
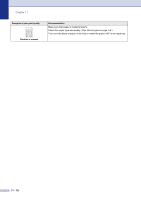
Chapter 11 Examples of poor print quality 3.1 in. (78.5 mm) 3.1 in. (78.5 mm) White Spots on black text and graphics at 3.1 in. (78.5 mm) intervals 3.1 in. (78.5 mm) 3.1 in. (78.5 mm) Black Spots at 3.1 in. (78.5 mm) intervals Recommendation Cleaning the drum unit Dust, paper powder, glue, and so on may stick to the surface of the photosensitive drum (OPC) and cause black or white spots to appear on printed documents. Make a few copies of a blank, white sheet of paper. (See Making multiple copies on page 8-2.) If you still see the spots on printed documents after making multiple copies, clean the drum unit as follows: 1 Remove the drum unit and toner cartridge assembly, and then remove the toner cartridge from the drum unit. 2 Position the print sample in front of the drum unit so you will know the exact position on the drum that is causing the poor print. 3 Turn the black gear on the drum as you check the surface of the OPC drum. The OPC drum is photosensitive so do not touch it with your fingers. OPC drum surface 4 When you find the substance on the drum surface that matches the print sample, gently dab the surface of the OPC drum with a cotton swab that is lightly dampened with isopropyl alcohol. Do not use a scrubbing or wiping motion because this might damage the drum. 11 - 17 Do not try to clean the surface of the OPC drum with a sharp object, such as a ball-point pen, because this might cause permanent damage to the drum unit. If the print quality still has not improved you need to install a new drum. (See Replacing the drum unit (DR-350) on page 11-27.)
-
 1
1 -
2
-
3
-
4
-
5
-
6
-
7
-
8
-
9
-
10
-
11
-
12
-
13
-
14
-
15
-
16
-
17
-
18
-
19
-
20
-
21
-
22
-
23
-
24
-
25
-
26
-
27
-
28
-
29
-
30
-
31
-
32
-
33
-
34
-
35
-
36
-
37
-
38
-
39
-
40
-
41
-
42
-
43
-
44
-
45
-
46
-
47
-
48
-
49
-
50
-
51
-
52
-
53
-
54
-
55
-
56
-
57
-
58
-
59
-
60
-
61
-
62
-
63
-
64
-
65
-
66
-
67
-
68
-
69
-
70
-
71
-
72
-
73
-
74
-
75
-
76
-
77
-
78
-
79
-
80
-
81
-
82
-
83
-
84
-
85
-
86
-
87
-
88
-
89
-
90
-
91
-
92
-
93
-
94
-
95
-
96
-
97
-
98
-
99
-
 100
100 -
 101
101 -
 102
102 -
 103
103 -
 104
104 -
 105
105 -
 106
106 -
 107
107 -
 108
108 -
 109
109 -
 110
110 -
111
-
112
-
113
-
114
-
115
-
116
-
117
-
118
-
119
-
120
-
121
-
122
-
123
-
124
-
125
-
126
-
127
-
128
-
129
-
130
-
131
-
132
-
133
-
134
-
135
-
136
-
137
-
138
-
139
-
140
-
141
-
142
-
143
-
144
-
145
-
146
-
147
-
148
-
149
-
150
-
151
-
152
-
153
-
154
-
155
-
156
-
157
-
158
-
159
 |
 |