Canon PowerShot ELPH 520 HS User Guide - Page 148
Organizing Images by Category My Category
 |
View all Canon PowerShot ELPH 520 HS manuals
Add to My Manuals
Save this manual to your list of manuals |
Page 148 highlights
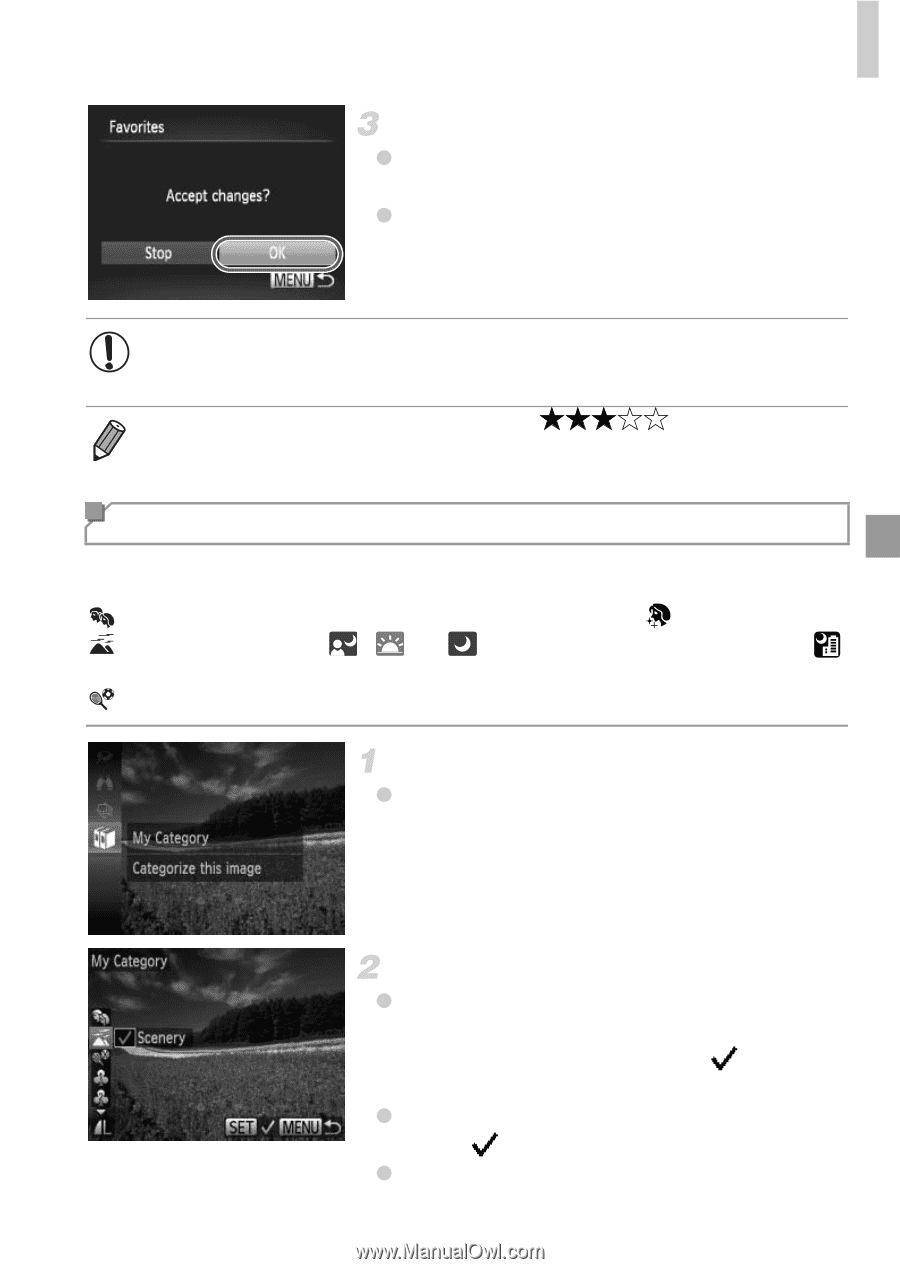
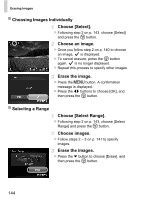
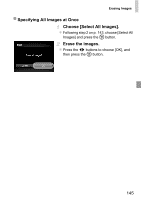
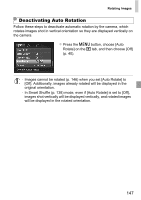
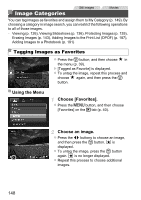
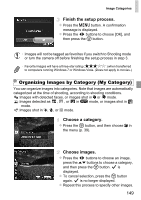
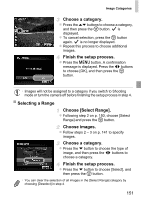
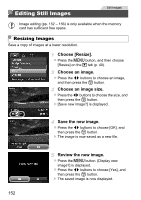
Image Categories Finish the setup process. z Press the n button. A confirmation message is displayed. z Press the qr buttons to choose [OK], and then press the m button. • Images will not be tagged as favorites if you switch to Shooting mode or turn the camera off before finishing the setup process in step 3. • Favorite images will have a three-star rating ( ) when transferred to computers running Windows 7 or Windows Vista. (Does not apply to movies.) Organizing Images by Category (My Category) You can organize images into categories. Note that images are automatically categorized at the time of shooting, according to shooting conditions. :Images with detected faces, or images shot in I or mode. :Images detected as , , or in A mode, or images shot in mode. :Images shot in S, P, or t mode. Choose a category. z Press the m button, and then choose ; in the menu (p. 39). Choose images. z Press the qr buttons to choose an image, press the op buttons to choose a category, and then press the m button. is displayed. z To cancel selection, press the m button again. is no longer displayed. z Repeat this process to specify other images. 149
-
 1
1 -
2
-
3
-
4
-
5
-
6
-
7
-
8
-
9
-
10
-
11
-
12
-
13
-
14
-
15
-
16
-
17
-
18
-
19
-
20
-
21
-
22
-
23
-
24
-
25
-
26
-
27
-
28
-
29
-
30
-
31
-
32
-
33
-
34
-
35
-
36
-
37
-
38
-
39
-
40
-
41
-
42
-
43
-
44
-
45
-
46
-
47
-
48
-
49
-
50
-
51
-
52
-
53
-
54
-
55
-
56
-
57
-
58
-
59
-
60
-
61
-
62
-
63
-
64
-
65
-
66
-
67
-
68
-
69
-
70
-
71
-
72
-
73
-
74
-
75
-
76
-
77
-
78
-
79
-
80
-
81
-
82
-
83
-
84
-
85
-
86
-
87
-
88
-
89
-
90
-
91
-
92
-
93
-
94
-
95
-
96
-
97
-
98
-
99
-
100
-
101
-
102
-
103
-
104
-
105
-
106
-
107
-
108
-
109
-
110
-
111
-
112
-
113
-
114
-
115
-
116
-
117
-
118
-
119
-
120
-
121
-
122
-
123
-
124
-
125
-
126
-
127
-
128
-
129
-
130
-
131
-
132
-
133
-
134
-
135
-
136
-
137
-
138
-
139
-
140
-
141
-
142
-
 143
143 -
 144
144 -
 145
145 -
 146
146 -
 147
147 -
 148
148 -
 149
149 -
 150
150 -
 151
151 -
 152
152 -
 153
153 -
154
-
155
-
156
-
157
-
158
-
159
-
160
-
161
-
162
-
163
-
164
-
165
-
166
-
167
-
168
-
169
-
170
-
171
-
172
-
173
-
174
-
175
-
176
-
177
-
178
-
179
-
180
-
181
-
182
-
183
-
184
-
185
-
186
-
187
-
188
-
189
-
190
-
191
-
192
-
193
-
194
-
195
-
196
-
197
-
198
-
199
-
200
-
201
-
202
-
203
-
204
-
205
-
206
-
207
-
208
-
209
-
210
-
211
-
212
-
213
-
214
-
215
-
216
-
217
 |
 |