Garmin GPSMAP 527 Owner's Manual - Page 11
Acquiring GPS Satellite Signals, Using Simulator Mode, Inserting and Removing SD Cards
 |
View all Garmin GPSMAP 527 manuals
Add to My Manuals
Save this manual to your list of manuals |
Page 11 highlights
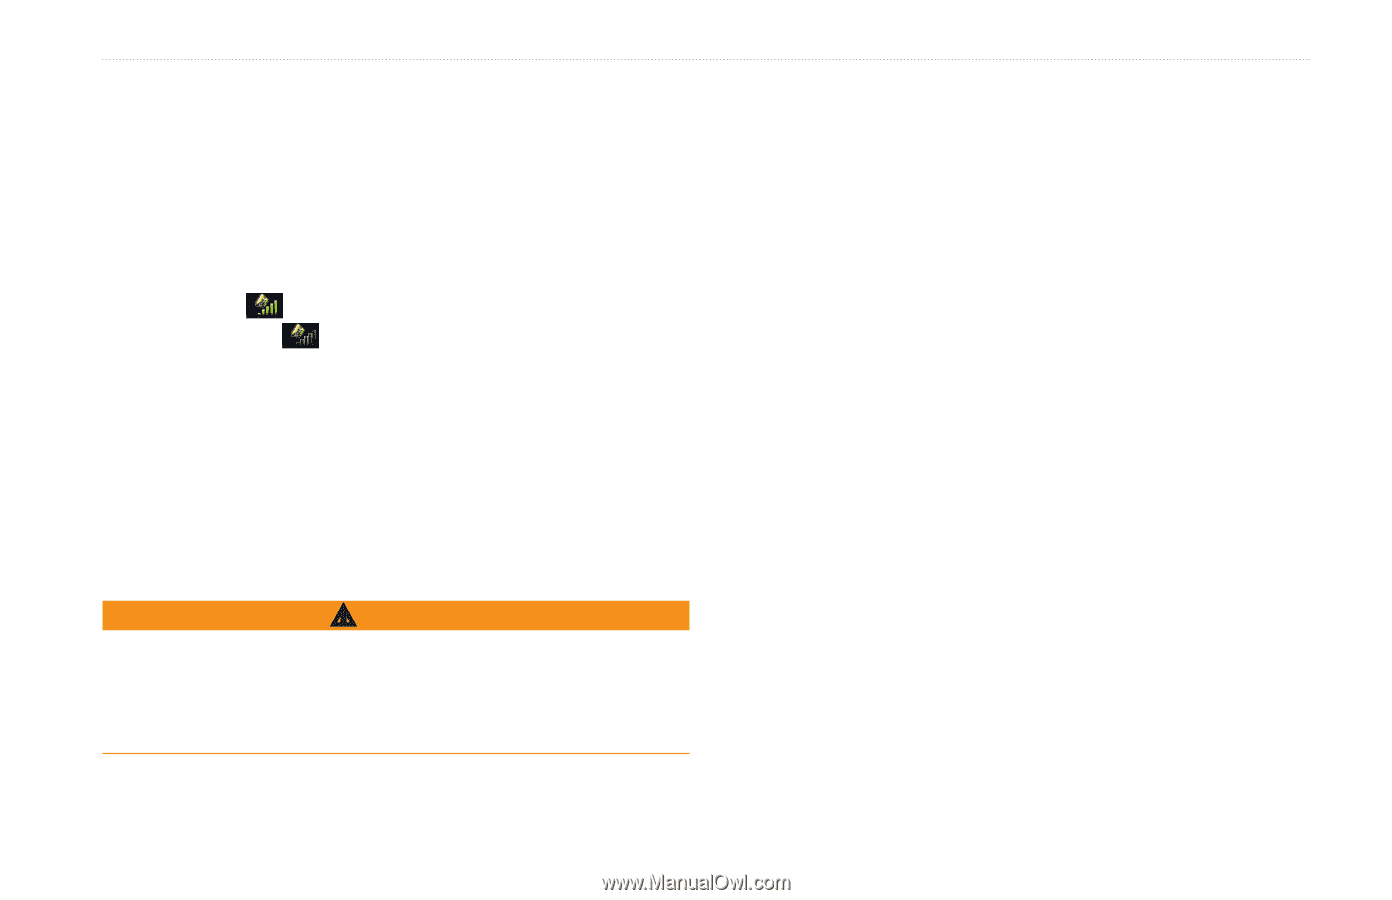
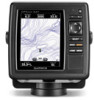
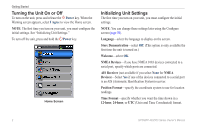
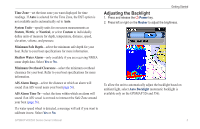
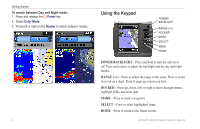
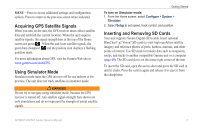
MENU-Press to access additional settings and configuration options. Press to return to the previous screen when indicated. Acquiring GPS Satellite Signals When you turn on the unit, the GPS receiver must collect satellite data and establish the current location. When the unit acquires satellite signals, the signal strength bars at the top of the Home screen are green . When the unit loses satellite signals, the green bars disappear and the position icon displays a flashing question mark. For more information about GPS, visit the Garmin Web site at www.garmin.com/aboutGPS. Using Simulator Mode Simulator mode turns the GPS receiver off for use indoors or for practice. The unit does not track satellites in simulator mode. Warning Do not try to navigate using simulator mode, because the GPS receiver is turned off. Any satellite signal-strength bars shown are only simulations and do not represent the strength of actual satellite signals. Getting Started To turn on Simulator mode: 1. From the Home screen, select Configure > System > Simulator. 2. Select Setup to set speed, track control, and position. Inserting and Removing SD Cards Your unit supports Secure Digital (SD) cards. Insert optional BlueChart® g2 Vision® SD cards to view high-resolution satellite imagery and reference photos of ports, harbors, marinas, and other points of interest. Use SD cards to transfer data such as waypoints, routes, and tracks to another compatible Garmin unit or a computer (page 40). The SD card slot is on the lower-right corner of the unit. To insert the SD card, open the access door and press the SD card in until it clicks. Press the card in again and release it to eject it from the chartplotter. GPSMAP 400/500 Series Owner's Manual 5
-
 1
1 -
2
-
3
-
4
-
5
-
 6
6 -
 7
7 -
 8
8 -
 9
9 -
 10
10 -
 11
11 -
 12
12 -
 13
13 -
 14
14 -
 15
15 -
 16
16 -
17
-
18
-
19
-
20
-
21
-
22
-
23
-
24
-
25
-
26
-
27
-
28
-
29
-
30
-
31
-
32
-
33
-
34
-
35
-
36
-
37
-
38
-
39
-
40
-
41
-
42
-
43
-
44
-
45
-
46
-
47
-
48
-
49
-
50
-
51
-
52
-
53
-
54
-
55
-
56
-
57
-
58
-
59
-
60
-
61
-
62
-
63
-
64
-
65
-
66
-
67
-
68
-
69
-
70
-
71
-
72
-
73
-
74
-
75
-
76
-
77
-
78
-
79
-
80
-
81
-
82
-
83
-
84
 |
 |