Garmin GPSMAP 527 Owner's Manual - Page 16
Navigating to a Point on the Chart, Panning the Navigation Chart, Zooming In and Out on the Map
 |
View all Garmin GPSMAP 527 manuals
Add to My Manuals
Save this manual to your list of manuals |
Page 16 highlights
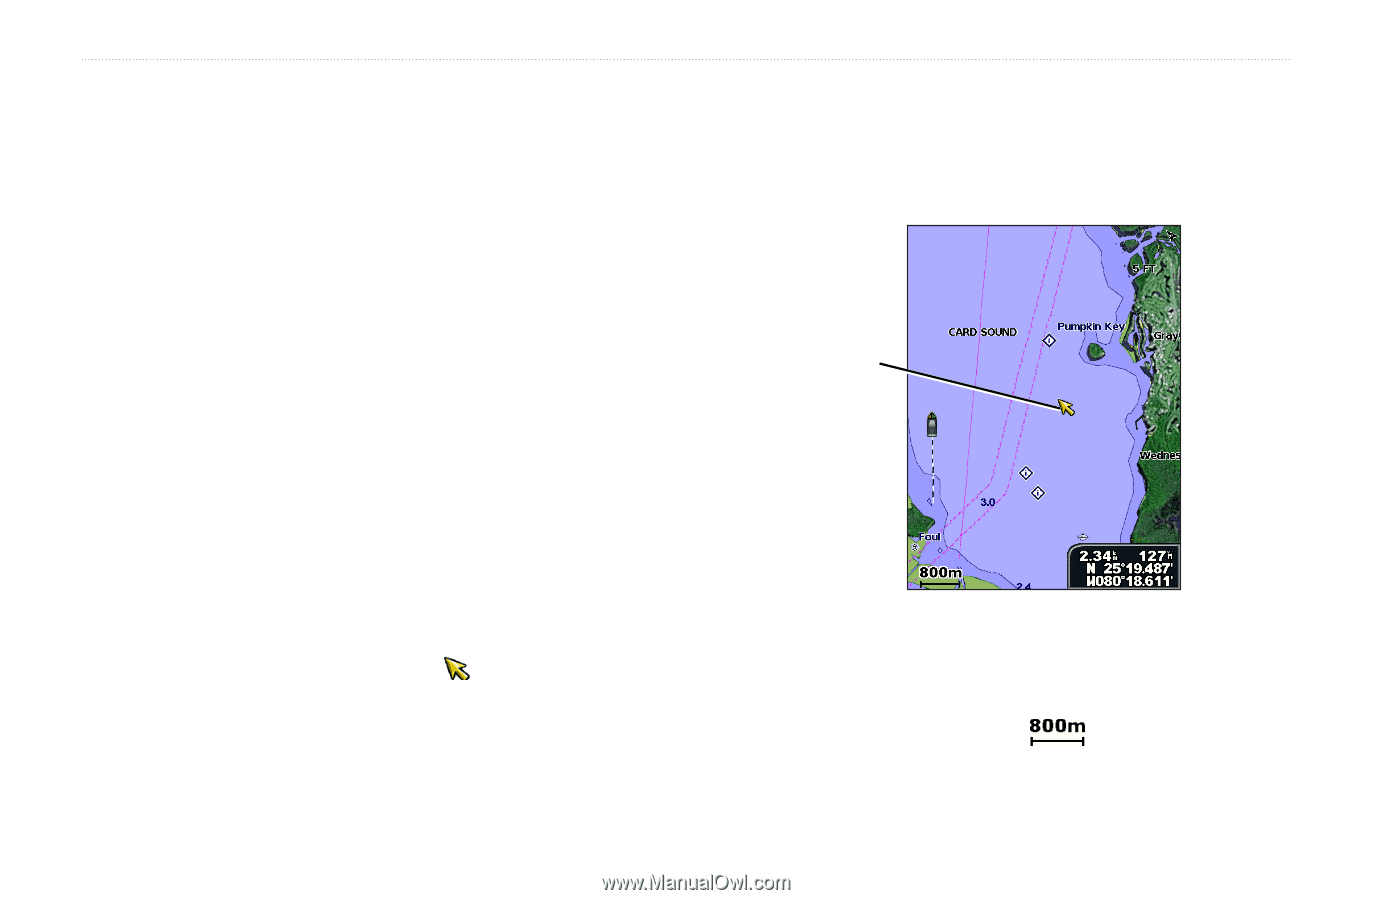
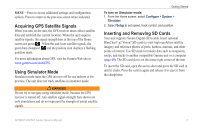
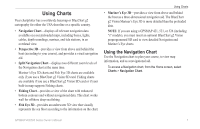
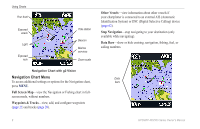
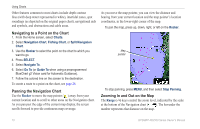
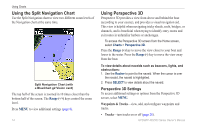
Using Charts Other features common to most charts include depth contour lines (with deep water represented in white), intertidal zones, spot soundings (as depicted on the original paper chart), navigational aids and symbols, and obstructions and cable areas. Navigating to a Point on the Chart 1. From the Home screen, select Charts. 2. Select Navigation Chart, Fishing Chart, or Split Navigation Chart. 3. Use the Rocker to select the point on the chart to which you want to go. 4. Press SELECT. 5. Select Navigate To. 6. Select Go To (or Guide To when using a preprogrammed BlueChart g2 Vision card for Automatic Guidance). 7. Follow the colored line on the screen to the destination. To create a route to a point on the chart, see page 26. Panning the Navigation Chart Use the Rocker to move the map pointer ( ) away from your current location and to scroll to other areas on the Navigation chart. As you pan past the edge of the current map display, the screen scrolls forward to provide continuous map coverage. As you move the map pointer, you can view the distance and bearing from your current location and the map pointer's location coordinates, in the lower-right corner of the map. To pan the map, press up, down, right, or left on the Rocker. Map pointer To stop panning, press MENU, and then select Stop Panning. Zooming In and Out on the Map The Range (-/+) keys control the zoom level, indicated by the scale at the bottom of the Navigation chart ( ). The bar under the number represents that distance on the map. 10 GPSMAP 400/500 Series Owner's Manual
-
 1
1 -
2
-
3
-
4
-
5
-
6
-
7
-
8
-
9
-
10
-
 11
11 -
 12
12 -
 13
13 -
 14
14 -
 15
15 -
 16
16 -
 17
17 -
 18
18 -
 19
19 -
 20
20 -
 21
21 -
22
-
23
-
24
-
25
-
26
-
27
-
28
-
29
-
30
-
31
-
32
-
33
-
34
-
35
-
36
-
37
-
38
-
39
-
40
-
41
-
42
-
43
-
44
-
45
-
46
-
47
-
48
-
49
-
50
-
51
-
52
-
53
-
54
-
55
-
56
-
57
-
58
-
59
-
60
-
61
-
62
-
63
-
64
-
65
-
66
-
67
-
68
-
69
-
70
-
71
-
72
-
73
-
74
-
75
-
76
-
77
-
78
-
79
-
80
-
81
-
82
-
83
-
84
 |
 |