HP LaserJet Pro M1132s User Guide - Page 235
a gray field., Software settings might affect image
 |
View all HP LaserJet Pro M1132s manuals
Add to My Manuals
Save this manual to your list of manuals |
Page 235 highlights
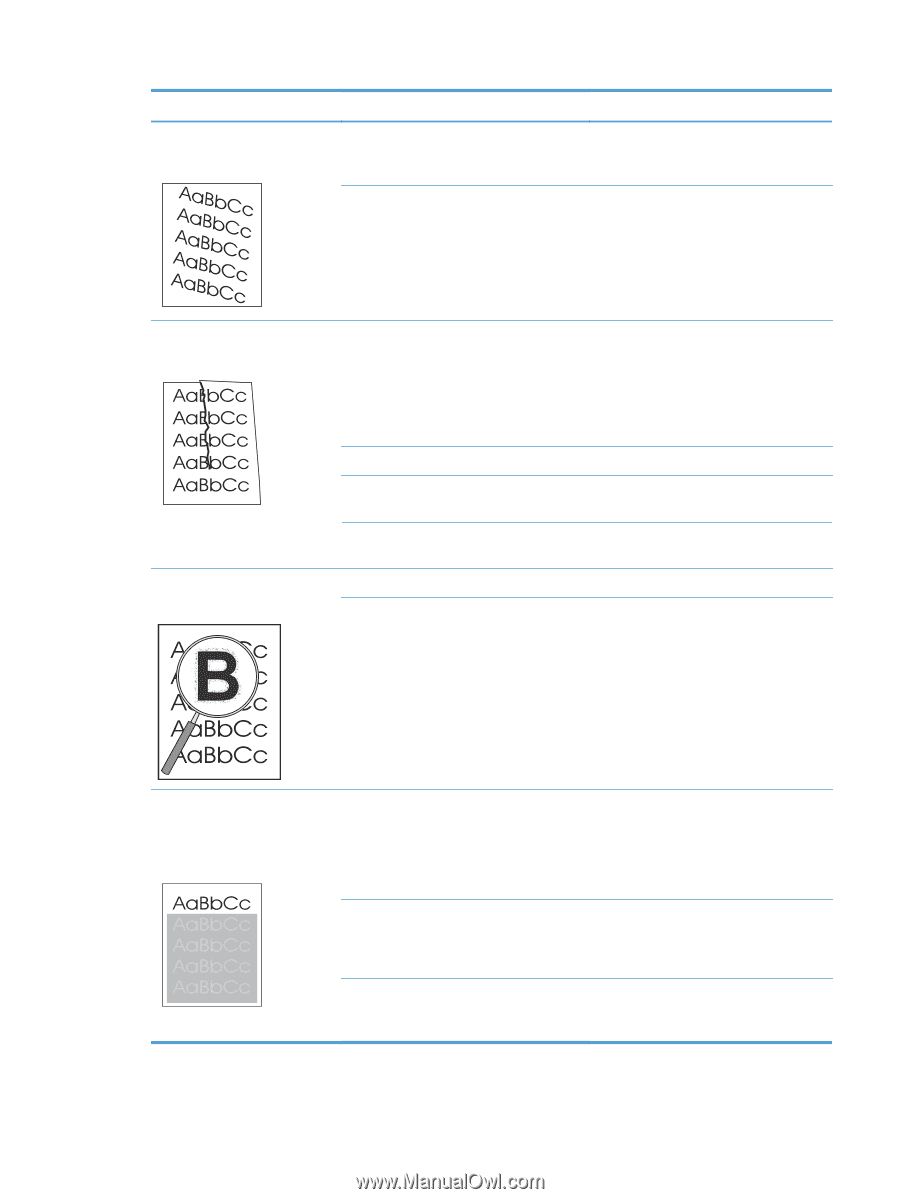
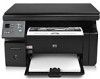
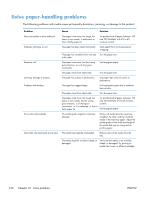
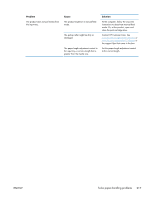
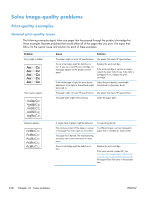
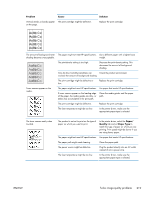
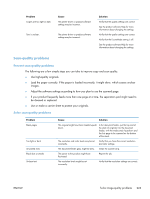
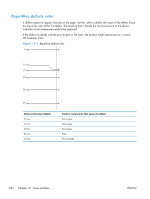
Problem Text or graphics are skewed on the printed page. Cause Solution The paper might be loaded incorrectly or the input tray might be too full. Verify that the paper is loaded correctly and that the paper guides are not too tight or too loose against the stack. The paper might not meet HP specifications. Use a different paper, such as high-quality paper that is intended for laser printers. The printed page contains wrinkles or creases. The paper might be loaded incorrectly or the input tray might be too full. Turn over the stack of paper in the input tray, or try rotating the paper 180° in the input tray. Verify that the paper is loaded correctly and that the paper guides are not too tight or too loose against the stack. There might be a jam in the paper path. Clear any jams in the product. The paper might not meet HP specifications. Use a different paper, such as high-quality paper that is intended for laser printers. Air pockets inside envelopes can cause them Remove the envelope, flatten it, and try to wrinkle. printing again. Toner appears around the printed characters. The paper might be loaded incorrectly. If large amounts of toner have scattered around the characters, the paper might have high resistivity. Turn over the stack of paper in the tray. Use a different paper, such as high-quality paper that is intended for laser printers. An image that appears at the top of the page (in solid black) repeats farther down the page (in a gray field). Software settings might affect image printing. The order of images printed might affect printing. A power surge might have affected the product. In your software program, change the tone (darkness) of the field in which the repeated image appears. In your software program, rotate the whole page 180° to print the lighter image first. Change the order in which the images are printed. For example, have the lighter image at the top of the page, and the darker image farther down the page. If the defect occurs later in a print job, turn the product off for 10 minutes, and then turn on the product to restart the print job. ENWW Solve image-quality problems 221
-
 1
1 -
2
-
3
-
4
-
5
-
6
-
7
-
8
-
9
-
10
-
11
-
12
-
13
-
14
-
15
-
16
-
17
-
18
-
19
-
20
-
21
-
22
-
23
-
24
-
25
-
26
-
27
-
28
-
29
-
30
-
31
-
32
-
33
-
34
-
35
-
36
-
37
-
38
-
39
-
40
-
41
-
42
-
43
-
44
-
45
-
46
-
47
-
48
-
49
-
50
-
51
-
52
-
53
-
54
-
55
-
56
-
57
-
58
-
59
-
60
-
61
-
62
-
63
-
64
-
65
-
66
-
67
-
68
-
69
-
70
-
71
-
72
-
73
-
74
-
75
-
76
-
77
-
78
-
79
-
80
-
81
-
82
-
83
-
84
-
85
-
86
-
87
-
88
-
89
-
90
-
91
-
92
-
93
-
94
-
95
-
96
-
97
-
98
-
99
-
100
-
101
-
102
-
103
-
104
-
105
-
106
-
107
-
108
-
109
-
110
-
111
-
112
-
113
-
114
-
115
-
116
-
117
-
118
-
119
-
120
-
121
-
122
-
123
-
124
-
125
-
126
-
127
-
128
-
129
-
130
-
131
-
132
-
133
-
134
-
135
-
136
-
137
-
138
-
139
-
140
-
141
-
142
-
143
-
144
-
145
-
146
-
147
-
148
-
149
-
150
-
151
-
152
-
153
-
154
-
155
-
156
-
157
-
158
-
159
-
160
-
161
-
162
-
163
-
164
-
165
-
166
-
167
-
168
-
169
-
170
-
171
-
172
-
173
-
174
-
175
-
176
-
177
-
178
-
179
-
180
-
181
-
182
-
183
-
184
-
185
-
186
-
187
-
188
-
189
-
190
-
191
-
192
-
193
-
194
-
195
-
196
-
197
-
198
-
199
-
200
-
201
-
202
-
203
-
204
-
205
-
206
-
207
-
208
-
209
-
210
-
211
-
212
-
213
-
214
-
215
-
216
-
217
-
218
-
219
-
220
-
221
-
222
-
223
-
224
-
225
-
226
-
227
-
228
-
229
-
 230
230 -
 231
231 -
 232
232 -
 233
233 -
 234
234 -
 235
235 -
 236
236 -
 237
237 -
 238
238 -
 239
239 -
 240
240 -
241
-
242
-
243
-
244
-
245
-
246
-
247
-
248
-
249
-
250
-
251
-
252
-
253
-
254
-
255
-
256
-
257
-
258
-
259
-
260
-
261
-
262
-
263
-
264
-
265
-
266
-
267
-
268
-
269
-
270
-
271
-
272
-
273
-
274
-
275
-
276
-
277
-
278
-
279
-
280
-
281
-
282
-
283
-
284
 |
 |