HP Pavilion a1000 Getting Started Guide - Page 23
Using the Sound Effect Manager (6-connector), Selecting the Back Line in/Mic - manual
 |
View all HP Pavilion a1000 manuals
Add to My Manuals
Save this manual to your list of manuals |
Page 23 highlights
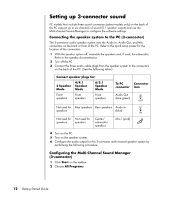
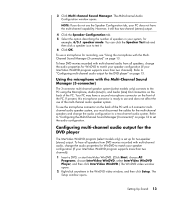
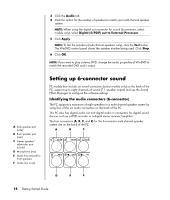
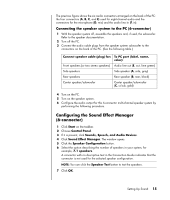
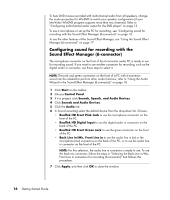
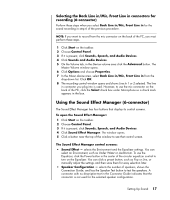
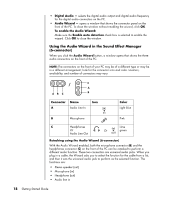
Selecting the Back Line in/Mic, Front Line in connectors for recording (6-connector) Perform these steps when you select Back Line in/Mic, Front Line in for the sound recording in step 6 of the previous procedure. NOTE: If you want to record from the mic connector on the back of the PC, you must perform these steps. 1 Click Start on the taskbar. 2 Choose Control Panel. 3 If it is present, click Sounds, Speech, and Audio Devices. 4 Click Sounds and Audio Devices. 5 On the Volume tab, in the Device volume area click the Advanced button. The Master Volume window opens. 6 Click Options and choose Properties. 7 In the Mixer device area, select Back Line in/Mic, Front Line in from the drop-down list. Click OK. 8 The recording control window opens and shows Line In 1 or 2 selected. The line in connector you plug into is used. However, to use the mic connector on the back of the PC, click the Select check box under Microphone so a check mark appears in the box. Using the Sound Effect Manager (6-connector) The Sound Effect Manager has four buttons that display its control screens. To open the Sound Effect Manager: 1 Click Start on the taskbar. 2 Choose Control Panel. 3 If it is present, click Sounds, Speech, and Audio Devices. 4 Click Sound Effect Manager. The window opens. 5 Click a button near the top of the window to see that control screen. The Sound Effect Manager control screens: • Sound Effect - selects the Environment and the Equalizer settings. You can select an Environment, such as Under Water or Auditorium. To use the Equalizer, click the Power button in the center of the circular equalizer control to turn on the Equalizer. You can click a preset button, such as Pop or Live, or manually adjust the settings and then save them for easy selection later. • Speaker Configuration - selects the number of speakers, shows the Connection Guide, and has the Speaker Test button to test the speakers. A connector with no descriptive text in the Connector Guide indicates that the connector is not used for the selected speaker configuration. Setting Up Sound 17
-
 1
1 -
2
-
3
-
4
-
5
-
6
-
7
-
8
-
9
-
10
-
11
-
12
-
13
-
14
-
15
-
16
-
17
-
 18
18 -
 19
19 -
 20
20 -
 21
21 -
 22
22 -
 23
23 -
 24
24 -
 25
25 -
 26
26 -
 27
27 -
 28
28 -
29
-
30
-
31
-
32
-
33
-
34
-
35
-
36
-
37
-
38
-
39
-
40
-
41
-
42
-
43
-
44
-
45
-
46
-
47
-
48
-
49
-
50
-
51
-
52
-
53
-
54
-
55
-
56
-
57
-
58
-
59
-
60
-
61
-
62
-
63
-
64
-
65
-
66
-
67
-
68
-
69
-
70
-
71
-
72
-
73
-
74
-
75
-
76
-
77
-
78
-
79
-
80
-
81
-
82
-
83
-
84
-
85
-
86
-
87
-
88
-
89
-
90
-
91
-
92
-
93
-
94
-
95
-
96
-
97
-
98
-
99
-
100
 |
 |
