Konica Minolta bizhub C360 bizhub C220/C280/C360 Fax Driver Operations User Ma - Page 41
FAX] tab
 |
View all Konica Minolta bizhub C360 manuals
Add to My Manuals
Save this manual to your list of manuals |
Page 41 highlights
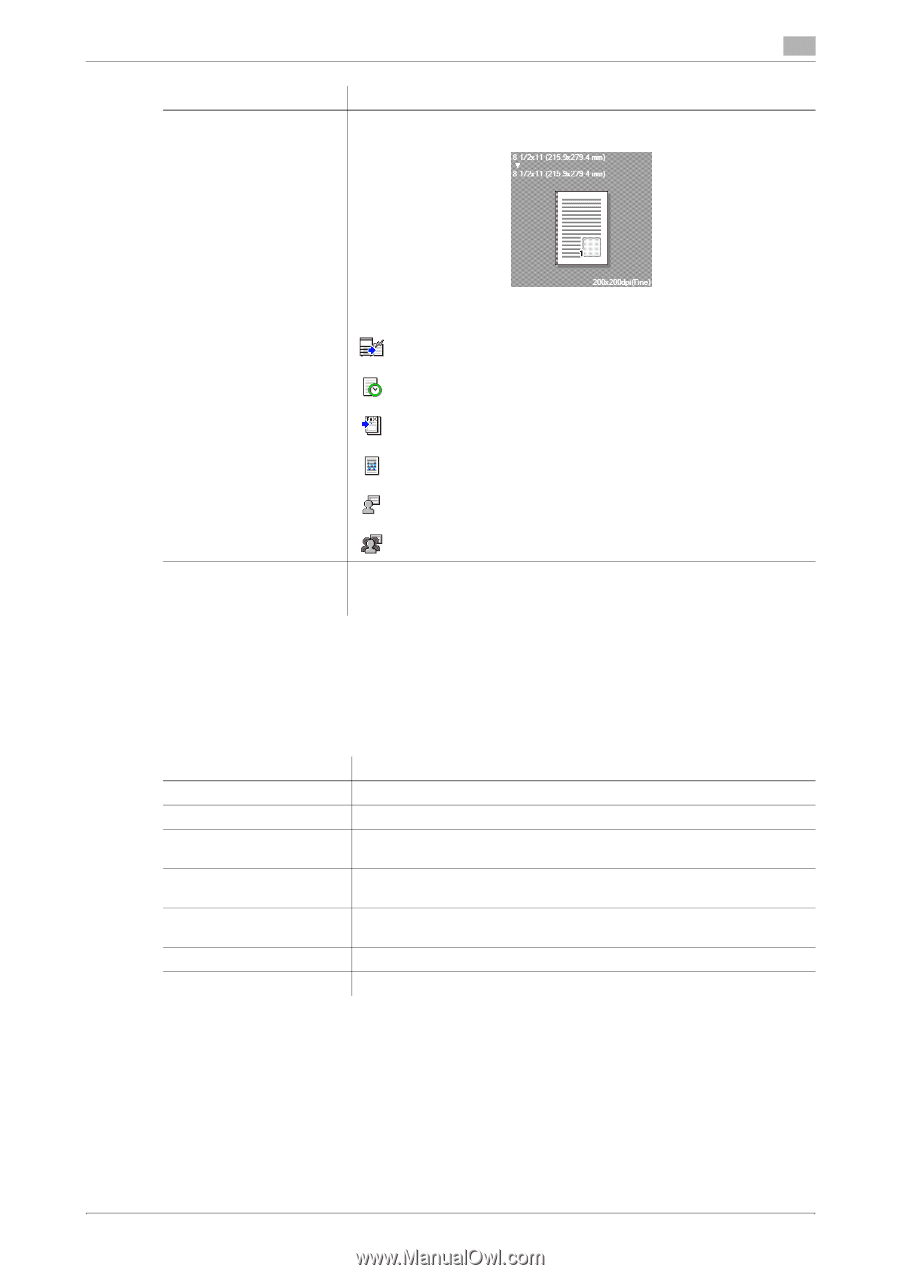
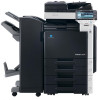
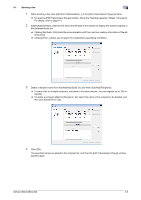
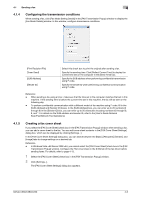
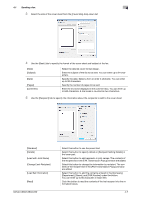
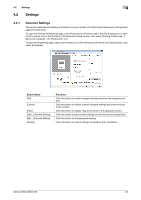
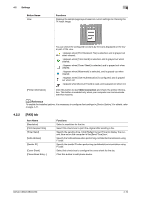
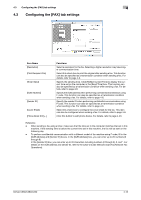
4.2 Settings Button Name View 4 Functions Displays the sample page layout based on current settings for checking the TX result image. You can check the configured functions by the icons displayed on the lower part of the view. : Appears when [Print Recipient File] is selected, and is grayed out when cleared. : Appears when [Timer Send] is selected, and is grayed out when cleared. : Appears when [Cover Sheet] is selected, and is grayed out when cleared. : Appears when [Watermark] is selected, and is grayed out when cleared. : Appears when [User Authentication] is configured, and is grayed out when not. : Appears when [Account Track] is used, and is grayed out when not. [Printer Information] Click this button to start Web Connection and check the printer information. This button is enabled only when your computer can communicate with this machine. d Reference To enable the installed options, it is necessary to configure their settings in [Device Option]. For details, refer to page 4-21. 4.2.2 [FAX] tab Item Name [Resolution] [Print Recipient File] [Timer Send] [SUB Address] [Sender ID] [Cover Sheet] [Phone Book Entry...] Functions Select a resolution for the fax. Select this check box to print the original after sending a fax. Specify the sending time. Click [Reflect Current Time] to display the current time set on the computer in the [Send Time] box. Specify the SUB address when performing confidential transmission using F code. Specify the sender ID when performing confidential communication using F code. Select this check box to configure the cover sheet for the fax. Click this button to edit phone books. bizhub C360/C280/C220 4-10
-
 1
1 -
2
-
3
-
4
-
5
-
6
-
7
-
8
-
9
-
10
-
11
-
12
-
13
-
14
-
15
-
16
-
17
-
18
-
19
-
20
-
21
-
22
-
23
-
24
-
25
-
26
-
27
-
28
-
29
-
30
-
31
-
32
-
33
-
34
-
35
-
 36
36 -
 37
37 -
 38
38 -
 39
39 -
 40
40 -
 41
41 -
 42
42 -
 43
43 -
 44
44 -
 45
45 -
 46
46 -
47
-
48
-
49
-
50
-
51
-
52
-
53
-
54
-
55
-
56
-
57
-
58
-
59
-
60
-
61
-
62
-
63
-
64
-
65
-
66
-
67
-
68
-
69
-
70
-
71
-
72
 |
 |