Kyocera FS-6525MFP Kyocera Command Center RX User Guide Rev-1.60 - Page 48
Save to FAX Box, Sender FAX No./Address
 |
View all Kyocera FS-6525MFP manuals
Add to My Manuals
Save this manual to your list of manuals |
Page 48 highlights
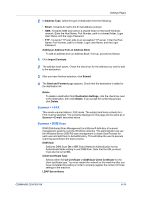
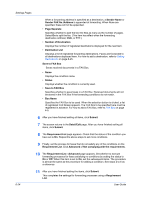
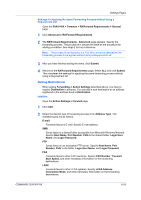
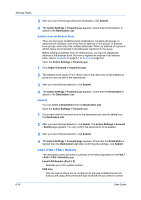
Settings Pages When a forwarding address is specified as a destination, a Sender Name or Sender FAX No./Address is appended at forwarding. When None are specified, these will not be appended. • Page Separate Specifies whether to split the fax into files as many as the number of pages. Select On to split the fax. (This item has effect when the forwarding destination is Email, SMB, or FTP.) • Number of Destination Displays the number of registered destinations displayed for the next item. • Destination List Displays a list of registered forwarding destinations. Faxes are forwarded to all destinations displayed here. For how to add a destination, refer to Setting Destinations on page 6-25. Save to FAX Box Saves received documents in a FAX Box. • Name Displays the condition name. • Status Displays whether the condition is currently used. • Save to FAX Box Specifies whether to save faxes in a FAX Box. Received documents will not be stored in the FAX Box if the forwarding conditions do not match. • Box Name Specifies the FAX Box to be used. When the selection button is clicked, a list of registered FAX Boxes appears. The FAX Box to be specified here must be registered in advance. For how to add a FAX Box, refer to FAX Box on page 4-5. 6 After you have finished setting all items, click Submit. 7 The screen returns to the Detail/Edit page. After you have finished setting all items, click Submit. 8 The Requirement List page appears. Check that the status of the condition you have set is On. Repeat the above steps to set more conditions. 9 Finally, set the process for faxes that do not satisfy any of the conditions on the Requirement List. Click Advanced of Not complying with the requirements. 10 The Requirement List - Advanced page appears. Set whether to execute forwarding processes for faxes satisfying no conditions by setting the status to On or Off. When this item is set to On, set the subsequent items. The procedure is almost the same as the procedure for adding a condition. See steps 2 to 6 as a reference. 11 After you have finished setting the items, click Submit. This completes the settings for forwarding processes using a Requirement List. 6-24 User Guide
-
 1
1 -
2
-
3
-
4
-
5
-
6
-
7
-
8
-
9
-
10
-
11
-
12
-
13
-
14
-
15
-
16
-
17
-
18
-
19
-
20
-
21
-
22
-
23
-
24
-
25
-
26
-
27
-
28
-
29
-
30
-
31
-
32
-
33
-
34
-
35
-
36
-
37
-
38
-
39
-
40
-
41
-
42
-
 43
43 -
 44
44 -
 45
45 -
 46
46 -
 47
47 -
 48
48 -
 49
49 -
 50
50 -
 51
51 -
 52
52 -
 53
53 -
54
-
55
-
56
-
57
-
58
-
59
-
60
-
61
-
62
-
63
-
64
-
65
-
66
-
67
-
68
-
69
-
70
-
71
-
72
-
73
-
74
-
75
-
76
-
77
-
78
-
79
-
80
-
81
-
82
 |
 |