Lexmark Prestige Pro800 SmartSolutions User's Guide - Page 20
E-mailing scanned items (Scan to Email), Browse Icons, Search address book, Preview, More Options
 |
View all Lexmark Prestige Pro800 manuals
Add to My Manuals
Save this manual to your list of manuals |
Page 20 highlights
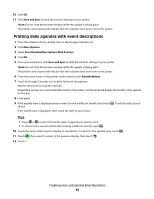
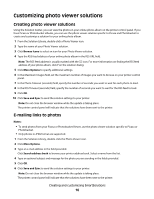
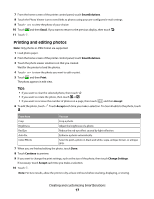
E-mailing scanned items (Scan to Email) You can configure a custom scan solution to automatically send scanned items as an e-mail attachment directly from the printer. Note: Make sure your printer is configured to send e-mail. The printer will prompt you to configure e-mail settings at first use. For more information on configuring e-mail settings, see the printer User's Guide. 1 From the Solution Library, double-click the Scan to Email icon. 2 Type the name of your Scan to Email solution. 3 Click Browse Icons to select an icon for your Scan to Email solution. 4 Enter the e-mail address or contact group name of the recipient of your e-mail. Click Search address book to browse your printer address book. Select a name from the list. You can enter up to 30 e-mail addresses. Separate individual addresses with a comma. 5 Type an optional subject and message in the fields provided. 6 Select the output file type of the document you want to e-mail. JPEG is recommended for photos and graphics, while PDF is recommended for text documents. 7 Select Preview to preview the scanned item on the printer control panel before sending it. 8 Click More Options to specify additional settings such as quality, color, and original size. 9 Click OK. 10 Click Save and Sync to send the solution settings to your printer. Note: Do not close the browser window while the update is taking place. The printer control panel will indicate that the solutions have been loaded to the printer. Faxing scanned items (Scan to Fax) You can configure a custom fax solution to automatically fax a scanned item to a designated number using settings you frequently use. You can also choose fax numbers from the printer address book. Note: Make sure your printer is configured to send faxes and is properly connected to a phone line. You are usually prompted to configure fax settings at first use. For more information on configuring fax settings, see the printer Fax Getting Started Guide or the Faxing chapter of the printer User's Guide. 1 From the Solution Library, double-click the Scan to Fax icon. 2 Type the name of your Scan to Fax solution. 3 Click Browse Icons to select an icon for your Scan to Fax solution. 4 Enter the fax number of the recipient. Click Search address book to browse your printer address book. Select a name from the list. You can enter up to 30 fax numbers. Separate individual numbers with a colon. 5 Click More Options to specify additional settings such as quality, color, and brightness. Creating and customizing SmartSolutions 20
-
 1
1 -
2
-
3
-
4
-
5
-
6
-
7
-
8
-
9
-
10
-
11
-
12
-
13
-
14
-
 15
15 -
 16
16 -
 17
17 -
 18
18 -
 19
19 -
 20
20 -
 21
21 -
 22
22 -
 23
23 -
 24
24 -
 25
25 -
26
-
27
-
28
-
29
-
30
-
31
-
32
-
33
-
34
-
35
-
36
-
37
-
38
-
39
-
40
-
41
-
42
-
43
-
44
-
45
-
46
-
47
-
48
-
49
-
50
-
51
 |
 |