Marantz AV7005 AV7005 User Manual - English - Page 87
Zone Setup - firmware upgrade
 |
View all Marantz AV7005 manuals
Add to My Manuals
Save this manual to your list of manuals |
Page 87 highlights
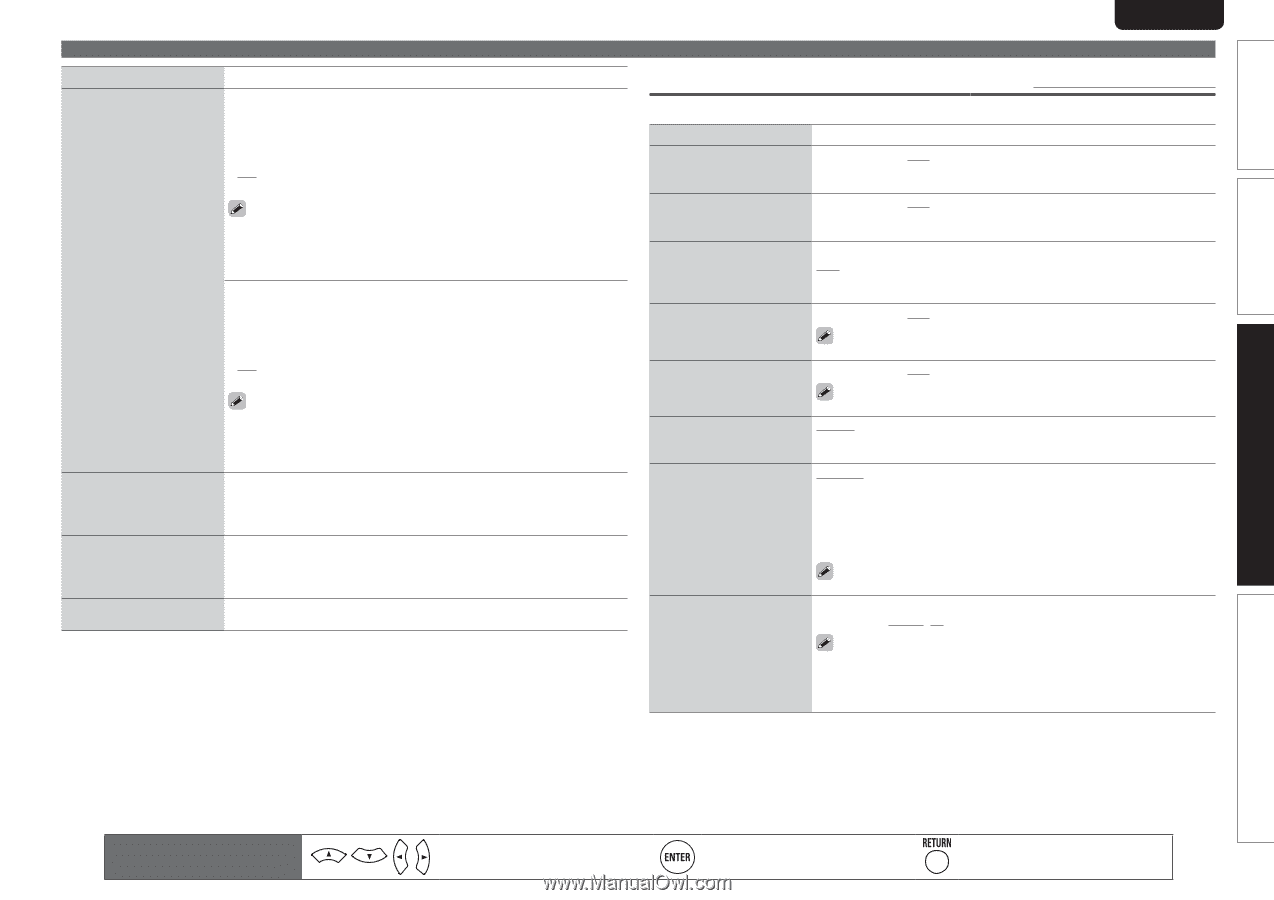
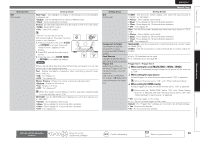
Simple version Basic version SVENSKA NEDERLANDS ESPAÑOL ITALIANO FRANÇAIS DEUTSCH ENGLISH Setting items Other (Continued) Setting details Update Notification : Displays a notification message on this unit's menu screen when the latest firmware is released with "Firmware Update". The notification message is displayed for about 20 seconds when the power is turned on. Connect to broadband Internet (vpage 24) when using this function. • ON : Display update message. • OFF : Do not display update message. • When you press ENTER during display of the notification message, the "Check for Update" screen is displayed. (Refer to page 86 for more information on "Firmware Update") • Press RETURN to erase the notification message. Upgrade Notification : Display a notification message on this unit's menu screen when downloadable firmware is released with "Add New Feature". The notification message is displayed for about 20 seconds when the power is turned on. Connect to broadband Internet (vpage 24) when using this function. • ON : Display upgrade message. • OFF : Do not display upgrade message. • When you press ENTER during display of the notification message, the "Add New Feature" screen is displayed. (Refer to page 86 for more information on "Add New Feature") • Press RETURN to erase the notification message. Rhapsody Account Username / Password / Account Number / Merge / Clear Set or change Username • For character input, see page 65. and Password (vpage 42 "Listening to Rhapsody"). Napster Account Username / Password Set or change Username • For character input, see page 65. and Password (vpage 39 "Listening to Napster"). Network Information Friendly Name / DHCP= ON/OFF / IP Address / MAC Address Display network information. Zone Setup Manual Setup Default settings are underlined. Set the audio to play back with multi-zone (ZONE2, ZONE3). Setting items Setting details Bass -10dB - +10dB (0dB) Adjust low frequency range (bass). Treble -10dB - +10dB (0dB) Adjust high frequency range (treble). HPF Make settings for cutting the low range to reduce distortion in the bass. ON : The low range is attenuated. OFF : The low range is not attenuated. Level Lch Adjust the left channel output level. -12dB - +12dB (0dB) The "Level Lch" can be set when "Channel" (vpage 83) is set to "Stereo". Level Rch Adjust the right channel output level. -12dB - +12dB (0dB) The "Level Rch" can be set when "Channel" (vpage 83) is set to "Stereo". Channel Set the signal output from multi-zone. Stereo : Select stereo output. Mono : Select mono output. Volume Level Variable : Volume adjustment is enabled by main unit and remote control Set the volume output level. unit. -40dB (41) : Fix volume at -40 dB. Set when adjusting volume by external amplifier. 0dB (81) : Fix volume at 0 dB. Set when adjusting volume by external amplifier. Volume Limit Make a setting for maximum volume. When "Amp Assign" (vpage 78) is set to "ZONE2" or "ZONE3", the "Volume Level" setting is automatically set to "Variable". OFF : Do not set a maximum volume. -20dB (61) / -10dB (71) / 0dB (81) • This can be set when the multi-zone "Volume Level" setting (vpage 83) is "Variable". • This is displayed from 0 to 99 when "Volume Display" (vpage 84) is set to "Absolute". Advanced version Information Remote control operation buttons Move the cursor (Up/Down/Left/Right) Confirm the setting Return to previous menu 83
-
 1
1 -
2
-
3
-
4
-
5
-
6
-
7
-
8
-
9
-
10
-
11
-
12
-
13
-
14
-
15
-
16
-
17
-
18
-
19
-
20
-
21
-
22
-
23
-
24
-
25
-
26
-
27
-
28
-
29
-
30
-
31
-
32
-
33
-
34
-
35
-
36
-
37
-
38
-
39
-
40
-
41
-
42
-
43
-
44
-
45
-
46
-
47
-
48
-
49
-
50
-
51
-
52
-
53
-
54
-
55
-
56
-
57
-
58
-
59
-
60
-
61
-
62
-
63
-
64
-
65
-
66
-
67
-
68
-
69
-
70
-
71
-
72
-
73
-
74
-
75
-
76
-
77
-
78
-
79
-
80
-
81
-
 82
82 -
 83
83 -
 84
84 -
 85
85 -
 86
86 -
 87
87 -
 88
88 -
 89
89 -
 90
90 -
 91
91 -
 92
92 -
93
-
94
-
95
-
96
-
97
-
98
-
99
-
100
-
101
-
102
-
103
-
104
-
105
-
106
-
107
-
108
-
109
-
110
-
111
-
112
-
113
-
114
-
115
-
116
-
117
-
118
-
119
-
120
-
121
-
122
-
123
-
124
-
125
-
126
-
127
-
128
 |
 |