Marantz RC9500 RC9500 User Manual - Page 47
Recording a Macro to a Operation Button, Step By Step
 |
View all Marantz RC9500 manuals
Add to My Manuals
Save this manual to your list of manuals |
Page 47 highlights
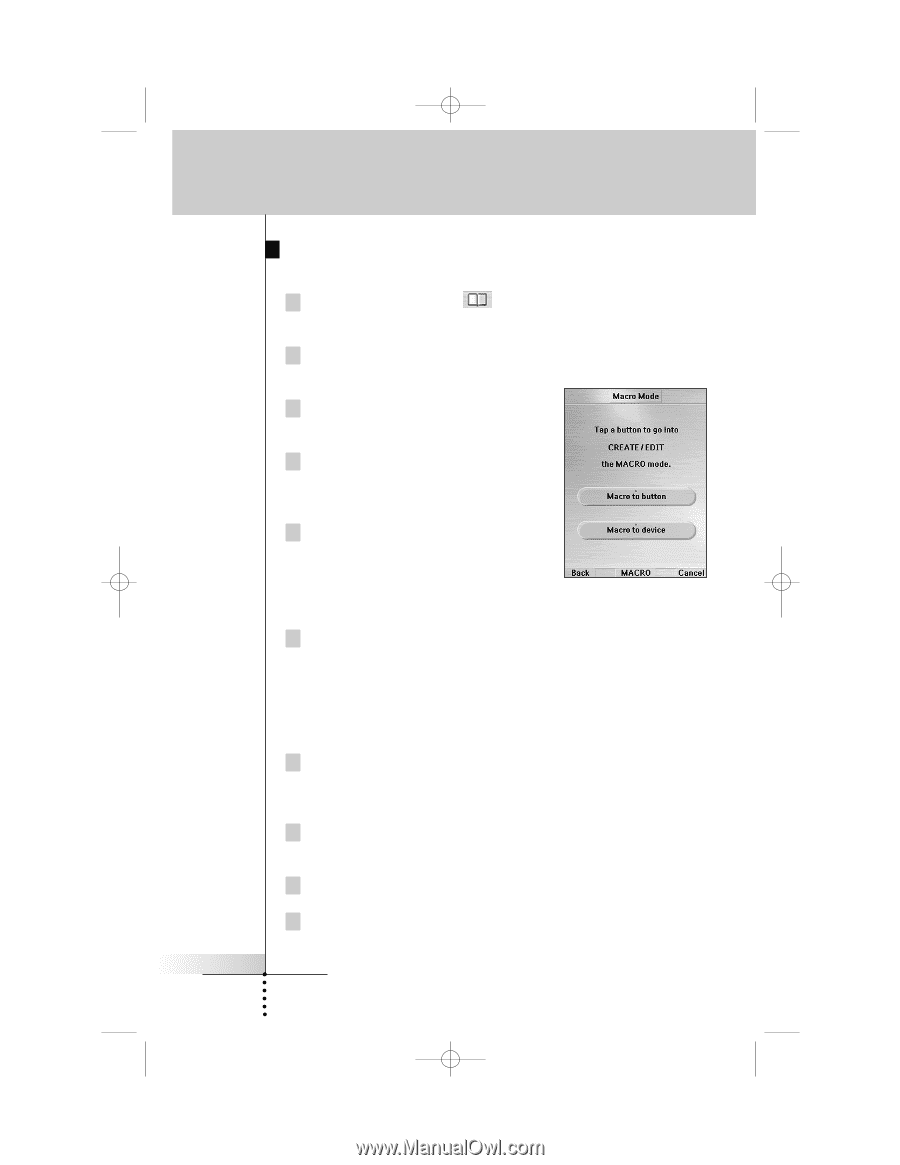
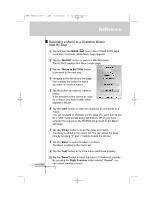
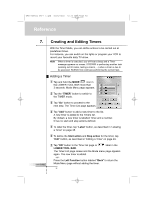
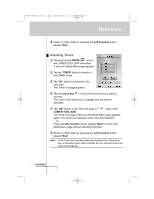
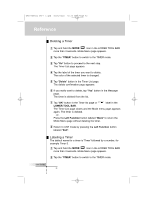
DFU RC9500 Ver1_2.qxd 5/28/2004 10:33 AM Page 47 Reference User Guide Recording a Macro to a Operation Button Step By Step 1 Tap and hold the MODE icon in the LOWER TOOL BAR more than 3 seconds. Mode Menu page appears. 2 Tap the "MACRO" button to switch to MACRO mode. The RC9500 displays first Macro mode page. 3 Tap the "Macro to BUTTON" button to proceed to the next step. 4 Navigate to the device and the page that contains the button for which you want to create a macro. 5 Tap the button you want to create a macro. If the selected button cannot be used for a macro, you hear a beep which signifies a failure. 6 Tap the "Add" button to enter the sequence of commands in a macro. You can navigate to whatever control page you want, just as you do in USE mode except using Tab buttons. When you have selected the sequence, the RC9500 will go back to the Macro edit page. 7 Tap the "Delay" button to enter the delay in a macro. The delay is added in the macro list. You can adjust the delay time by pressing "+" and "-" buttons beside the list box. 8 Tap the "Beep" to enter the beep in a macro. The Beep is added in the macro list. 9 Tap the "Test" button to try if the macro performes properly. 10 Tap the "Done" button to finish the macro if it executed properly. By pressing the Right Function button labeled "Cancel", you can cancel creating a macro. 43
-
 1
1 -
2
-
3
-
4
-
5
-
6
-
7
-
8
-
9
-
10
-
11
-
12
-
13
-
14
-
15
-
16
-
17
-
18
-
19
-
20
-
21
-
22
-
23
-
24
-
25
-
26
-
27
-
28
-
29
-
30
-
31
-
32
-
33
-
34
-
35
-
36
-
37
-
38
-
39
-
40
-
41
-
 42
42 -
 43
43 -
 44
44 -
 45
45 -
 46
46 -
 47
47 -
 48
48 -
 49
49 -
 50
50 -
 51
51 -
 52
52 -
53
-
54
-
55
-
56
-
57
-
58
-
59
-
60
-
61
-
62
-
63
-
64
-
65
-
66
-
67
-
68
-
69
-
70
-
71
-
72
-
73
-
74
-
75
-
76
-
77
-
78
 |
 |