Oki ML591 Troy Etherwind 802.11b Print Server Users Guide - Page 35
HP/UX Configuration, Remote Printer is on BSD System
 |
View all Oki ML591 manuals
Add to My Manuals
Save this manual to your list of manuals |
Page 35 highlights
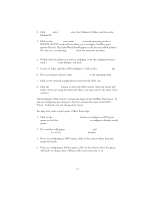
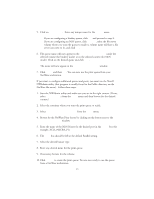
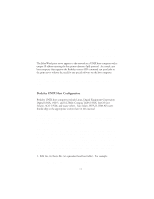
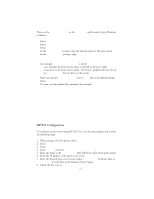
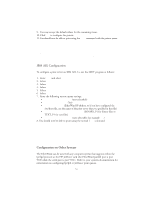
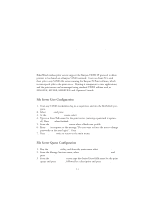
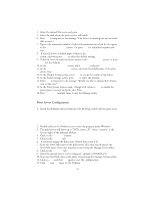
Then use the Printer Manager in the Admintool utility under Open Windows as follows: Select Edit Select Add Select Add Access to Remote Printer At the PrinterName prompt, type any desired name for the print queue At the Printer Server prompt, type: name\!servicename (for example, LaserJet\!BINARY_P1), where: - name matches the print server name as entered in the hosts table. - servicename is the print service name. For binary graphics files use the ser- vice BINARY_P1; for text files use the service TEXT_P1. Make sure that the Print Server OS is set to BSD (this is the default setting). Select Add To print, use the standard lp command; for example: lp -dLaserJet filename Notes: We recommend using the /etc/hosts file for the printer name rather than NIS or other name services. Due to a bug in the Sun lpd implementation on Solaris 2.4 and earlier releases, may cause problems printing very long print jobs. The workaround is to configure the EtherWind as an HP JetDirect card using the HP JetAdmin for UNIX software. Solaris print queues can also be configured from the UNIX shell using the lpadmin command. HP/UX Configuration To configure a print server using HP/UX 10.x, use the sam program and execute the following steps: 1. When you get a list of options, select Printers and Plotters. 2. Select LP Spooler. 3. Select Printers and Plotters. 4. Select Actions and then Add Remote Printer/Plotter. 5. Enter any name as the Printer Name (this will be the name of the print queue). 6. Enter the IP address of the print server as the Remote System Name. 7. Enter the desired print server service name (BINARY_P1 for binary files or TEXT_P1 for text files) as the Remote Printer Name. 8. Check the box next to Remote Printer is on BSD System. 7-3
-
 1
1 -
2
-
3
-
4
-
5
-
6
-
7
-
8
-
9
-
10
-
11
-
12
-
13
-
14
-
15
-
16
-
17
-
18
-
19
-
20
-
21
-
22
-
23
-
24
-
25
-
26
-
27
-
28
-
29
-
 30
30 -
 31
31 -
 32
32 -
 33
33 -
 34
34 -
 35
35 -
 36
36 -
 37
37 -
 38
38 -
 39
39 -
 40
40 -
41
-
42
-
43
-
44
-
45
-
46
-
47
-
48
-
49
-
50
-
51
-
52
-
53
-
54
-
55
-
56
-
57
-
58
-
59
-
60
 |
 |