Oki ML591 Troy Etherwind 802.11b Print Server Users Guide - Page 40
Print Server Configuration, ENTER, Con Queue, Con Paper Formats, Access Lists
 |
View all Oki ML591 manuals
Add to My Manuals
Save this manual to your list of manuals |
Page 40 highlights
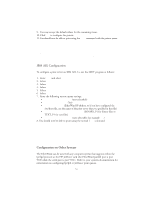
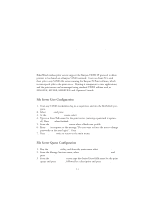
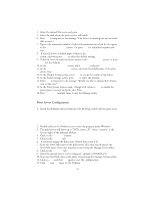
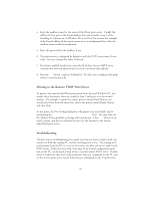
4. Select the desired File server and press ENTER. 5. Select the disk where the print service will reside. 6. Press F10 in response to the message "The service is running but not yet avail- able to users." 7. Type in the maximum number of jobs and maximum size of job for the queue at the Configure Queue screen. Or press F10 for unlimited number and size. 8. If desired choose a default paper format at the Configure Paper Formats screen, otherwise press F10 to select the default settings. 9. If desired enter the authorized user names at the Access Lists screen, or press F10 for the defaults. 10.At the Add a Destination screen, select PCPrint and press ENTER. 11.At the Destination Attributes screen, enter the StreetTalk name of the print server. Press F10. 12.At the Output Strings screen, press F10 to accept the output string values. 13.At the Enable Strings screen, press F10 to select the defaults. 14.Select NO in response to the message "Would you like to add another destination at this time?" 15.At the Print Queue Status screen, change both values to Yes to enable the print queue to accept and print jobs. Press F10. 16.Press ESCAPE multiple times to exit the Manage utility. Print Server Configuration 1. Install the XAdmin software from the CD-ROM provided with the print server. Note: Use XAdmin, not XAdmin32, when configuring a VINES-only network. You can use XAdmin32 on a VINES network only if the PC is running TCP/IP and both the PC and print server have valid IP addresses. 2. Double-click on the XAdmin icon to start the program under Windows. 3. The print server will show up as "XCD_xxxxxx_P1" where "xxxxxxx" is the last six digits of the Ethernet address. 4. Click on the Configure button. 5. Click on the Banyan tab. 6. If necessary change the hop count (default hop count is 2). 7. Enter the StreetTalk name of the print server, this must exactly match the StreetTalk name of the user that was created using the Manage Users utility. 8. Click on the Services tab. 9. Select the desired service to be configured, (default is BINARY_P1). 10.Enter the StreetTalk name of the queue created using the Manage Services utility. 11.Click on OK, and then OK again to save the configuration. 12.Click OK and OK again to exit XAdmin 9-2
-
 1
1 -
2
-
3
-
4
-
5
-
6
-
7
-
8
-
9
-
10
-
11
-
12
-
13
-
14
-
15
-
16
-
17
-
18
-
19
-
20
-
21
-
22
-
23
-
24
-
25
-
26
-
27
-
28
-
29
-
30
-
31
-
32
-
33
-
34
-
 35
35 -
 36
36 -
 37
37 -
 38
38 -
 39
39 -
 40
40 -
 41
41 -
 42
42 -
 43
43 -
 44
44 -
 45
45 -
46
-
47
-
48
-
49
-
50
-
51
-
52
-
53
-
54
-
55
-
56
-
57
-
58
-
59
-
60
 |
 |