Olympus C 4000 C-4000 Zoom Reference Manual (8.2 MB) - Page 135
Editing still pictures Cont., of the trimming frame using the zoom
 |
View all Olympus C 4000 manuals
Add to My Manuals
Save this manual to your list of manuals |
Page 135 highlights
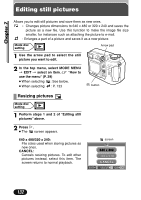
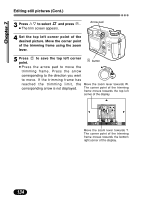
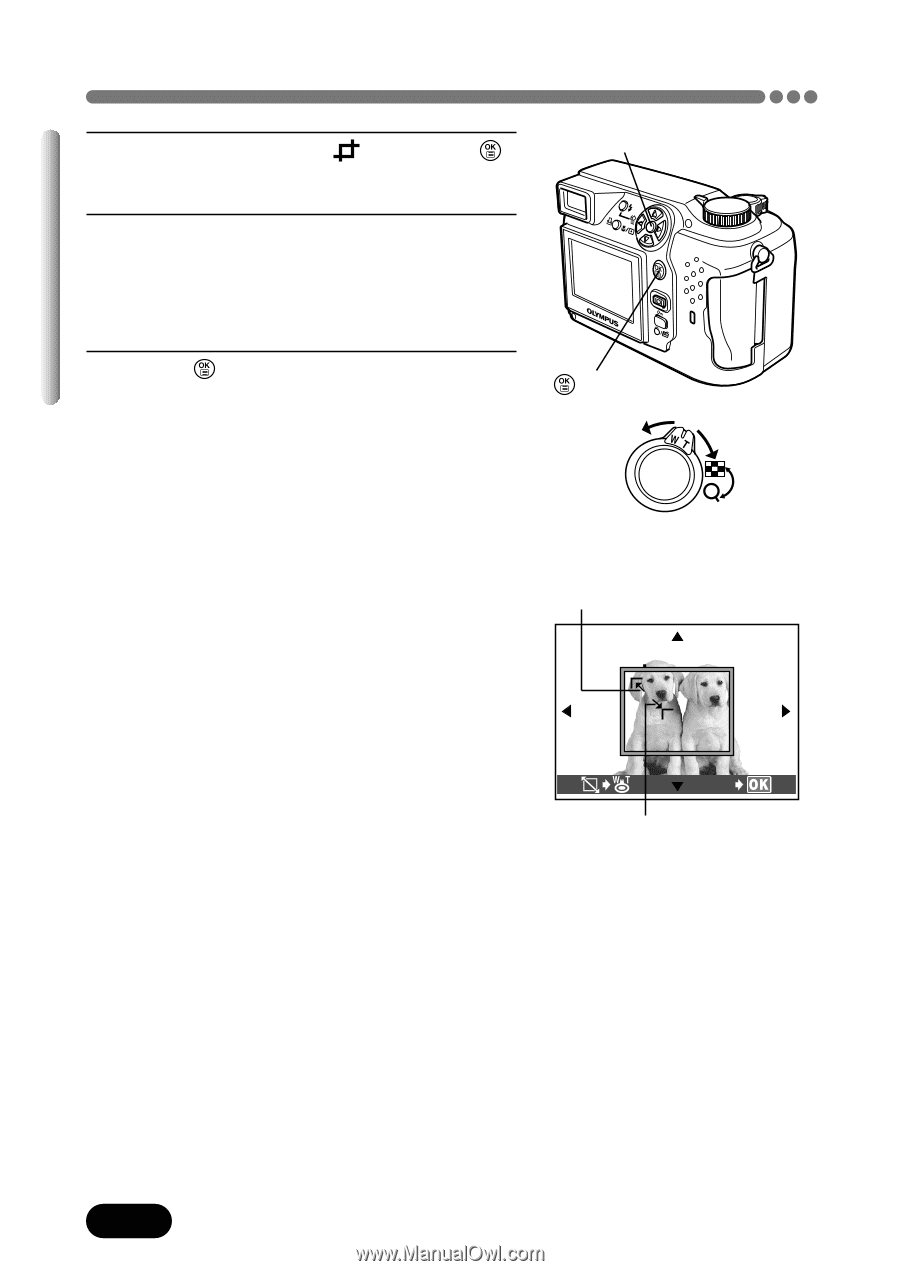
Chapter 7 Editing still pictures (Cont.) 3 Press Ññ to select and press . ● The trim screen appears. Arrow pad 4 Set the top left corner point of the desired picture. Move the corner point of the trimming frame using the zoom lever. 5 Press point. to save the top left corner ● Press the arrow pad to move the trimming frame. Press the arrow corresponding to the direction you want to move. If the trimming frame has reached the trimming limit, the corresponding arrow is not displayed. button Move the zoom lever towards W. The corner point of the trimming frame moves towards the top left corner of the display. GO Move the zoom lever towards T. The corner point of the trimming frame moves towards the bottom right corner of the display. 134
-
 1
1 -
2
-
3
-
4
-
5
-
6
-
7
-
8
-
9
-
10
-
11
-
12
-
13
-
14
-
15
-
16
-
17
-
18
-
19
-
20
-
21
-
22
-
23
-
24
-
25
-
26
-
27
-
28
-
29
-
30
-
31
-
32
-
33
-
34
-
35
-
36
-
37
-
38
-
39
-
40
-
41
-
42
-
43
-
44
-
45
-
46
-
47
-
48
-
49
-
50
-
51
-
52
-
53
-
54
-
55
-
56
-
57
-
58
-
59
-
60
-
61
-
62
-
63
-
64
-
65
-
66
-
67
-
68
-
69
-
70
-
71
-
72
-
73
-
74
-
75
-
76
-
77
-
78
-
79
-
80
-
81
-
82
-
83
-
84
-
85
-
86
-
87
-
88
-
89
-
90
-
91
-
92
-
93
-
94
-
95
-
96
-
97
-
98
-
99
-
100
-
101
-
102
-
103
-
104
-
105
-
106
-
107
-
108
-
109
-
110
-
111
-
112
-
113
-
114
-
115
-
116
-
117
-
118
-
119
-
120
-
121
-
122
-
123
-
124
-
125
-
126
-
127
-
128
-
129
-
 130
130 -
 131
131 -
 132
132 -
 133
133 -
 134
134 -
 135
135 -
 136
136 -
 137
137 -
 138
138 -
 139
139 -
 140
140 -
141
-
142
-
143
-
144
-
145
-
146
-
147
-
148
-
149
-
150
-
151
-
152
-
153
-
154
-
155
-
156
-
157
-
158
-
159
-
160
-
161
-
162
-
163
-
164
-
165
-
166
-
167
-
168
-
169
-
170
-
171
-
172
-
173
-
174
-
175
-
176
-
177
-
178
-
179
-
180
-
181
-
182
-
183
-
184
-
185
-
186
-
187
-
188
-
189
-
190
-
191
-
192
-
193
-
194
-
195
-
196
-
197
-
198
-
199
-
200
-
201
-
202
-
203
-
204
-
205
-
206
-
207
-
208
-
209
-
210
-
211
-
212
-
213
-
214
-
215
-
216
-
217
-
218
-
219
-
220
-
221
-
222
-
223
-
224
-
225
-
226
-
227
-
228
-
229
-
230
-
231
-
232
-
233
-
234
-
235
-
236
-
237
-
238
-
239
-
240
-
241
-
242
-
243
-
244
-
245
 |
 |
134
Chapter 7
Editing still pictures (Cont.)
3
Press
Ññ
to select
and press
.
●
The trim screen appears.
4
Set the top left corner point of the
desired picture. Move the corner point
of the trimming frame using the zoom
lever.
5
Press
to save the top left corner
point.
●
Press the arrow pad to move the
trimming frame. Press the arrow
corresponding to the direction you want
to move. If the trimming frame has
reached the trimming limit, the
corresponding arrow is not displayed.
GO
Move the zoom lever towards W.
The corner point of the trimming
frame moves towards the top left
corner of the display.
Move the zoom lever towards T.
The corner point of the trimming
frame moves towards the bottom
right corner of the display.
Arrow pad
button