Olympus C 4000 C-4000 Zoom Reference Manual (8.2 MB) - Page 136
corner point., to save the bottom right
 |
View all Olympus C 4000 manuals
Add to My Manuals
Save this manual to your list of manuals |
Page 136 highlights
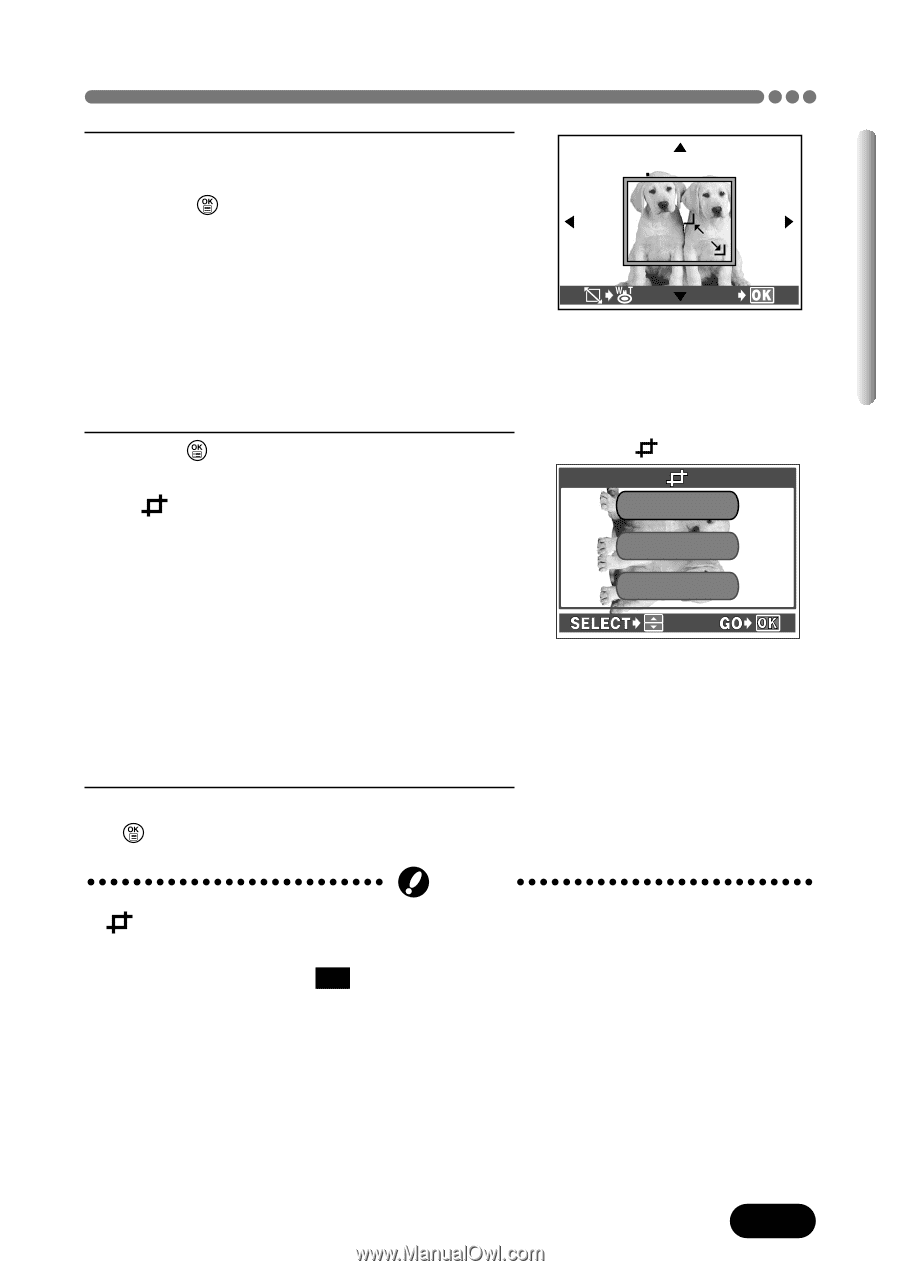
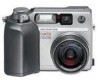
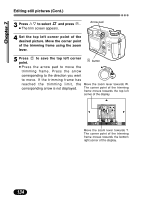
Chapter 7 Editing still pictures (Cont.) 6 Set the bottom right corner point using the zoom lever as described in step 4. Press to save the bottom right corner point. ● Press the arrow pad to move the trimming frame. Press the arrow GO corresponding to the direction you want to move. If the trimming frame has reached the trimming limit, the corresponding arrow is not displayed. 7 Press to complete setting. ● The trimmed image is shown, and the screen is displayed. OK: Saves the trimmed image on the card and returns to normal playback. RESET: Restores the original image. Select this item to trim again. CANCEL: Cancels the trimming and returns to normal playback. screen O K RESET CANCEL 8 Press Ññ to select an item and press . Note ● is not available when the card is protected or when "CARD FULL" appears (indicating insufficient memory). ● If pictures recorded in 3:2 are trimmed, the image proportions are changed to the standard 4:3 aspect ratio. ● If a trimmed image is printed out, it may appear grainy. ● It is not possible to trim images recorded in the ENLARGE SIZE record mode. ● Trimming may not work with images recorded using other cameras. 135
-
 1
1 -
2
-
3
-
4
-
5
-
6
-
7
-
8
-
9
-
10
-
11
-
12
-
13
-
14
-
15
-
16
-
17
-
18
-
19
-
20
-
21
-
22
-
23
-
24
-
25
-
26
-
27
-
28
-
29
-
30
-
31
-
32
-
33
-
34
-
35
-
36
-
37
-
38
-
39
-
40
-
41
-
42
-
43
-
44
-
45
-
46
-
47
-
48
-
49
-
50
-
51
-
52
-
53
-
54
-
55
-
56
-
57
-
58
-
59
-
60
-
61
-
62
-
63
-
64
-
65
-
66
-
67
-
68
-
69
-
70
-
71
-
72
-
73
-
74
-
75
-
76
-
77
-
78
-
79
-
80
-
81
-
82
-
83
-
84
-
85
-
86
-
87
-
88
-
89
-
90
-
91
-
92
-
93
-
94
-
95
-
96
-
97
-
98
-
99
-
100
-
101
-
102
-
103
-
104
-
105
-
106
-
107
-
108
-
109
-
110
-
111
-
112
-
113
-
114
-
115
-
116
-
117
-
118
-
119
-
120
-
121
-
122
-
123
-
124
-
125
-
126
-
127
-
128
-
129
-
130
-
 131
131 -
 132
132 -
 133
133 -
 134
134 -
 135
135 -
 136
136 -
 137
137 -
 138
138 -
 139
139 -
 140
140 -
 141
141 -
142
-
143
-
144
-
145
-
146
-
147
-
148
-
149
-
150
-
151
-
152
-
153
-
154
-
155
-
156
-
157
-
158
-
159
-
160
-
161
-
162
-
163
-
164
-
165
-
166
-
167
-
168
-
169
-
170
-
171
-
172
-
173
-
174
-
175
-
176
-
177
-
178
-
179
-
180
-
181
-
182
-
183
-
184
-
185
-
186
-
187
-
188
-
189
-
190
-
191
-
192
-
193
-
194
-
195
-
196
-
197
-
198
-
199
-
200
-
201
-
202
-
203
-
204
-
205
-
206
-
207
-
208
-
209
-
210
-
211
-
212
-
213
-
214
-
215
-
216
-
217
-
218
-
219
-
220
-
221
-
222
-
223
-
224
-
225
-
226
-
227
-
228
-
229
-
230
-
231
-
232
-
233
-
234
-
235
-
236
-
237
-
238
-
239
-
240
-
241
-
242
-
243
-
244
-
245
 |
 |