Panasonic WVNP472 WVNP472 User Guide - Page 42
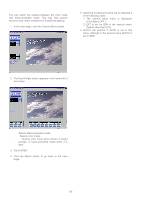
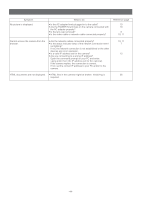
RESETTING ALARM, Click the ALARM RESET button.
 |
View all Panasonic WVNP472 manuals
Add to My Manuals
Save this manual to your list of manuals |
Page 42 highlights
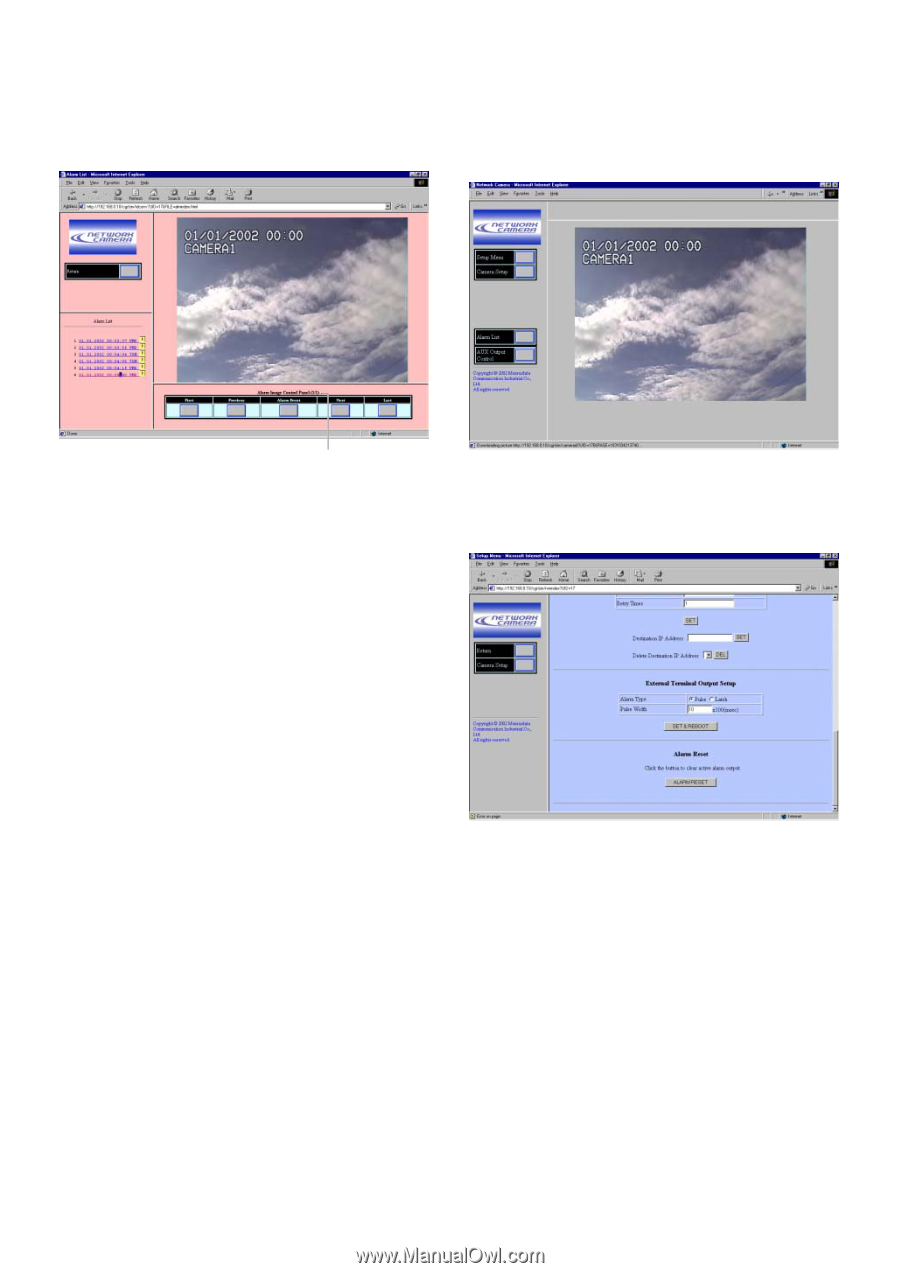
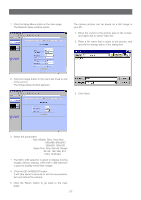
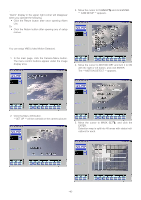
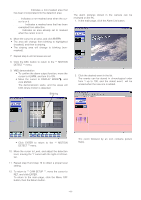
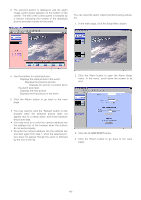
3. The selected picture is displayed, and the alarm image control panel appears on the bottom of the screen. The title of the control panel is followed by a fraction indicating the number of the displayed picture and total number for the event. ■ Resetting Alarm You can reset the alarm output functions being activated. 1. In the main page, click the Setup Menu button. Picture #/ Total 4. Use the buttons to control pictures. First: Displays the initial picture in the event. Previous: Displays the previous picture. Alarm Event: Displays the picture recorded when the alarm was input. Next: Displays the next picture. Last: Displays the final picture in the event. 5. Click the Return button to go back to the main page. Notes: • You may need to click the "Reload" button on the browser when the selected picture does not appear due to a newly arisen event that replaces the picture data. • You may need to re-enter the camera address into the address bar of the browser when the buttons do not work properly. • Re-enter the camera address into the address bar and start again from step 1, when the selected picture does not appear though the event is followed by the icon in the list. 2. Click the Alarm button to open the Alarm Setup menu. In the menu, scroll down the screen to its end. 3. Click the ALARM RESET button. 4. Click the Return button to go back to the main page. -42-
-
 1
1 -
2
-
3
-
4
-
5
-
6
-
7
-
8
-
9
-
10
-
11
-
12
-
13
-
14
-
15
-
16
-
17
-
18
-
19
-
20
-
21
-
22
-
23
-
24
-
25
-
26
-
27
-
28
-
29
-
30
-
31
-
32
-
33
-
34
-
35
-
36
-
 37
37 -
 38
38 -
 39
39 -
 40
40 -
 41
41 -
 42
42 -
 43
43 -
 44
44 -
 45
45 -
 46
46 -
 47
47
 |
 |