Yamaha PSR-S650 Reference Manual - Page 36
Selecting a to be recorded, Setting the Measure Length
 |
View all Yamaha PSR-S650 manuals
Add to My Manuals
Save this manual to your list of manuals |
Page 36 highlights
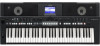
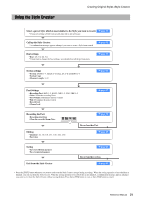
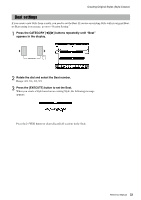
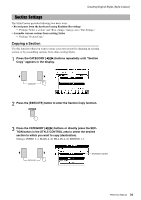
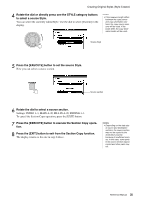
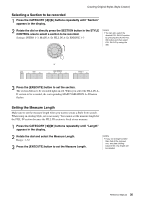
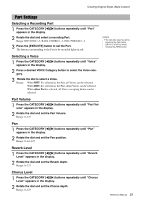
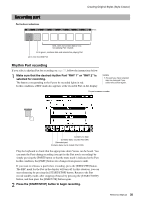
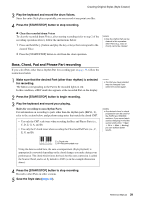
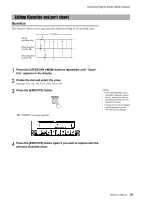
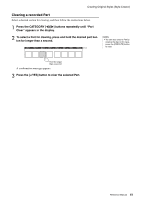
Creating Original Styles (Style Creator) Selecting a Section to be recorded 1 Press the CATEGORY [] buttons repeatedly until "Section" appears in the display. 2 Rotate the dial or directly press the SECTION button in the STYLE CONTROL area to select a section to be recorded. Settings: INTRO 1-3, MAIN A-D, FILL IN A-D, ENDING 1-3 NOTE • You can also select the desired FILL IN A-D section by pressing the [AUTO FILL IN] button and then select FILL IN A-D by using the dial. or 3 Press the [EXECUTE] button to set the section. The section button to be recorded lights in red. When you select the FILL IN A- D section to be recorded, the corresponding MAIN VARIATION A-D button flashes. Setting the Measure Length Make sure to set the measure length when you want to create a Style from scratch. When using an existing Style, set as necessary. You cannot set the measure length for the FILL IN section because the FILL IN section is fixed at one measure. 1 Press the CATEGORY [] buttons repeatedly until "Length" appears in the display. 2 Rotate the dial and select the Measure Length. Range: 1-32 3 Press the [EXECUTE] button to set the Measure Length. NOTE • If you set a length smaller than that of the previous one, any data existing beyond the new length will be deleted. Reference Manual 36
-
 1
1 -
2
-
3
-
4
-
5
-
6
-
7
-
8
-
9
-
10
-
11
-
12
-
13
-
14
-
15
-
16
-
17
-
18
-
19
-
20
-
21
-
22
-
23
-
24
-
25
-
26
-
27
-
28
-
29
-
30
-
 31
31 -
 32
32 -
 33
33 -
 34
34 -
 35
35 -
 36
36 -
 37
37 -
 38
38 -
 39
39 -
 40
40 -
 41
41 -
42
-
43
-
44
-
45
-
46
-
47
-
48
-
49
-
50
-
51
-
52
-
53
 |
 |