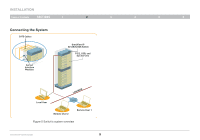
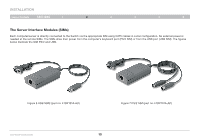
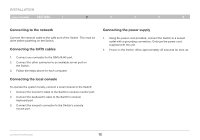
Belkin F1DP216G User Manual - Page 11
Rack-mounting the SMB IP KVM Switch
 |
View all Belkin F1DP216G manuals
Add to My Manuals
Save this manual to your list of manuals |
Page 11 highlights
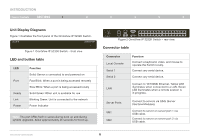
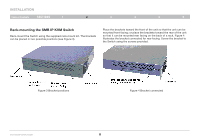
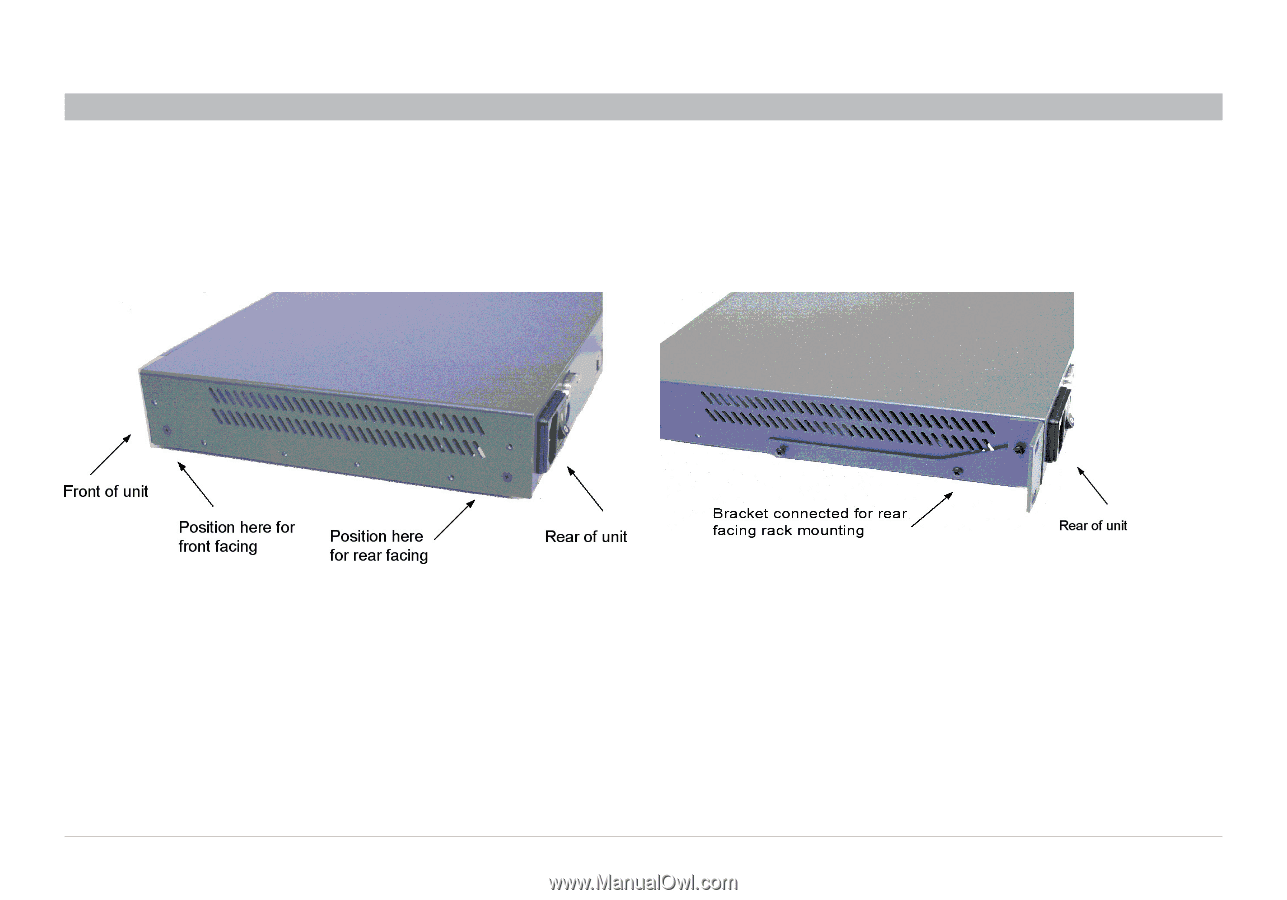
INSTALLATION Table of Contents sections 1 2 3 4 5 6 Rack-mounting the SMB IP KVM Switch Rack-mount the Switch using the supplied rack-mount kit. The brackets can be placed in two possible positions (see Figure 3). Place the brackets toward the front of the unit so that the unit can be mounted front facing; or place the brackets toward the rear of the unit so that it can be mounted rear facing on the back of a rack. Figure 4 illustrates the bracket connected for rear facing. Screw the bracket to the Switch using the screws provided. Figure 3 Bracket positions Figure 4 Bracket connected OmniViewIP 5216K/5232K 8
-
 1
1 -
2
-
3
-
4
-
5
-
 6
6 -
 7
7 -
 8
8 -
 9
9 -
 10
10 -
 11
11 -
 12
12 -
 13
13 -
 14
14 -
 15
15 -
 16
16 -
17
-
18
-
19
-
20
-
21
-
22
-
23
-
24
-
25
-
26
-
27
-
28
-
29
-
30
-
31
-
32
-
33
-
34
-
35
-
36
-
37
-
38
-
39
-
40
-
41
-
42
-
43
-
44
-
45
-
46
-
47
-
48
-
49
-
50
-
51
-
52
-
53
-
54
-
55
-
56
-
57
 |
 |
8
OmniViewIP 5216K/5232K
SECTIONS
Table of Contents
1
3
4
5
6
2
INSTALLATION
Rack-mounting the SMB IP KVM Switch
Rack-mount the Switch using the supplied rack-mount kit. The brackets
can be placed in two possible positions (see Figure 3).
Figure 3 Bracket positions
Place the brackets toward the front of the unit so that the unit can be
mounted front facing; or place the brackets toward the rear of the unit
so that it can be mounted rear facing on the back of a rack. Figure 4
illustrates the bracket connected for rear facing. Screw the bracket to
the Switch using the screws provided.
Figure 4 Bracket connected