Belkin F1DP216G User Manual - Page 16
Setting the IP Address
 |
View all Belkin F1DP216G manuals
Add to My Manuals
Save this manual to your list of manuals |
Page 16 highlights
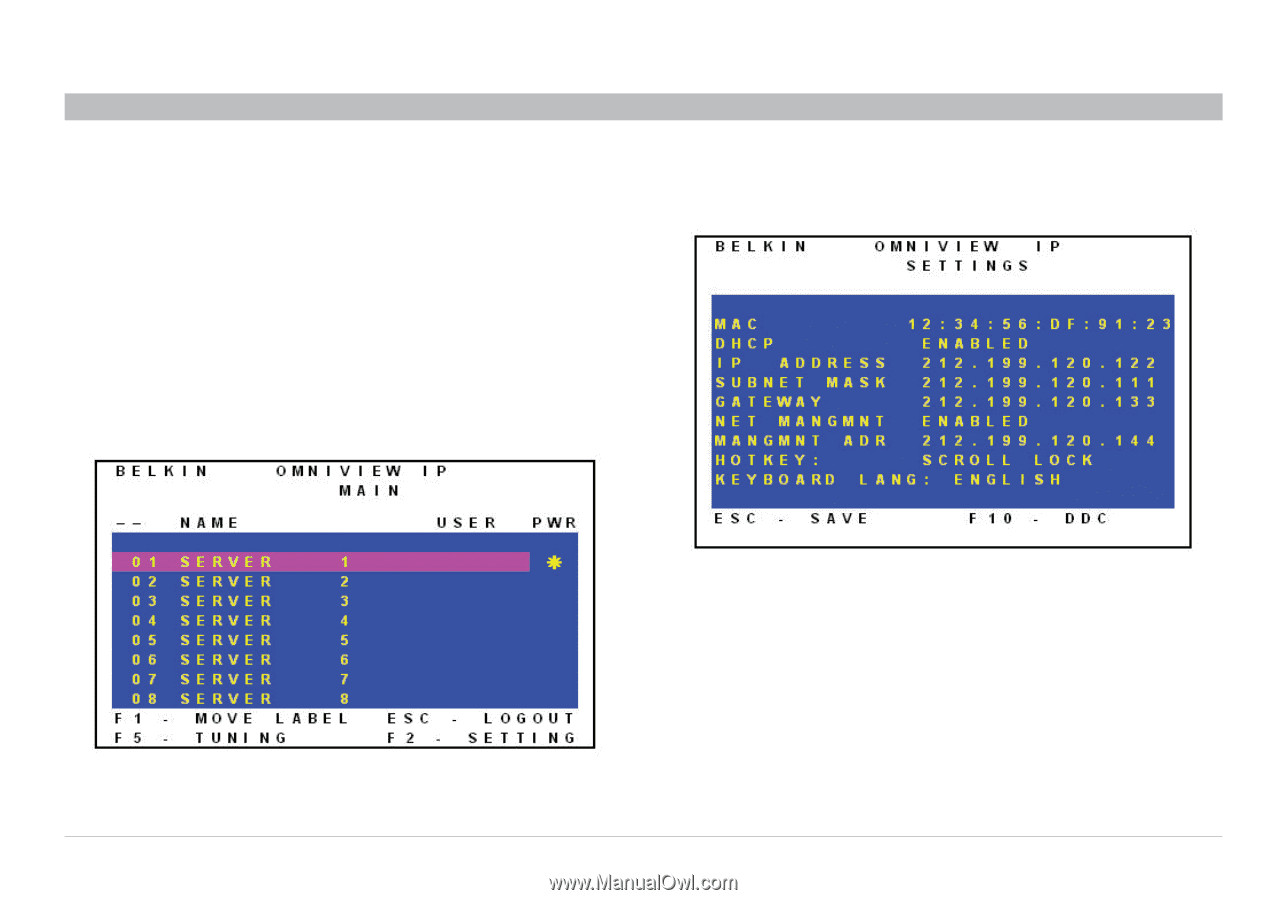
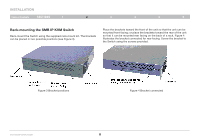
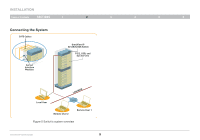
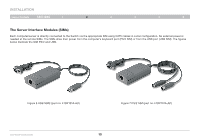
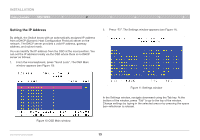
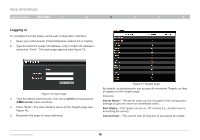
INSTALLATION Table of Contents sections 1 2 3 4 5 6 Setting the IP Address By default, the Switch boots with an automatically assigned IP address from a DHCP (Dynamic Host Configuration Protocol) server on the network. The DHCP server provides a valid IP address, gateway address, and subnet mask. You can identify the IP address from the OSD at the local position. You can set the IP address locally via the OSD where there is no DHCP server as follows: 1. From the local keyboard, press "Scroll Lock". The OSD Main window appears (see Figure 10). 2. Press "F2". The Settings window appears (see Figure 11). Figure 10 OSD Main window OmniViewIP 5216K/5232K Figure 11 Settings window In the Settings window, navigate downward using the Tab key. At the bottom of the window, press "Tab" to go to the top of the window. Change settings by typing in the selected area or by pressing the space bar-whichever is relevant. 13
-
 1
1 -
2
-
3
-
4
-
5
-
6
-
7
-
8
-
9
-
10
-
 11
11 -
 12
12 -
 13
13 -
 14
14 -
 15
15 -
 16
16 -
 17
17 -
 18
18 -
 19
19 -
 20
20 -
 21
21 -
22
-
23
-
24
-
25
-
26
-
27
-
28
-
29
-
30
-
31
-
32
-
33
-
34
-
35
-
36
-
37
-
38
-
39
-
40
-
41
-
42
-
43
-
44
-
45
-
46
-
47
-
48
-
49
-
50
-
51
-
52
-
53
-
54
-
55
-
56
-
57
 |
 |