Belkin F1DP216G User Manual - Page 23
Adding a user, Editing a user, Deleting a user, Blocking a user
 |
View all Belkin F1DP216G manuals
Add to My Manuals
Save this manual to your list of manuals |
Page 23 highlights
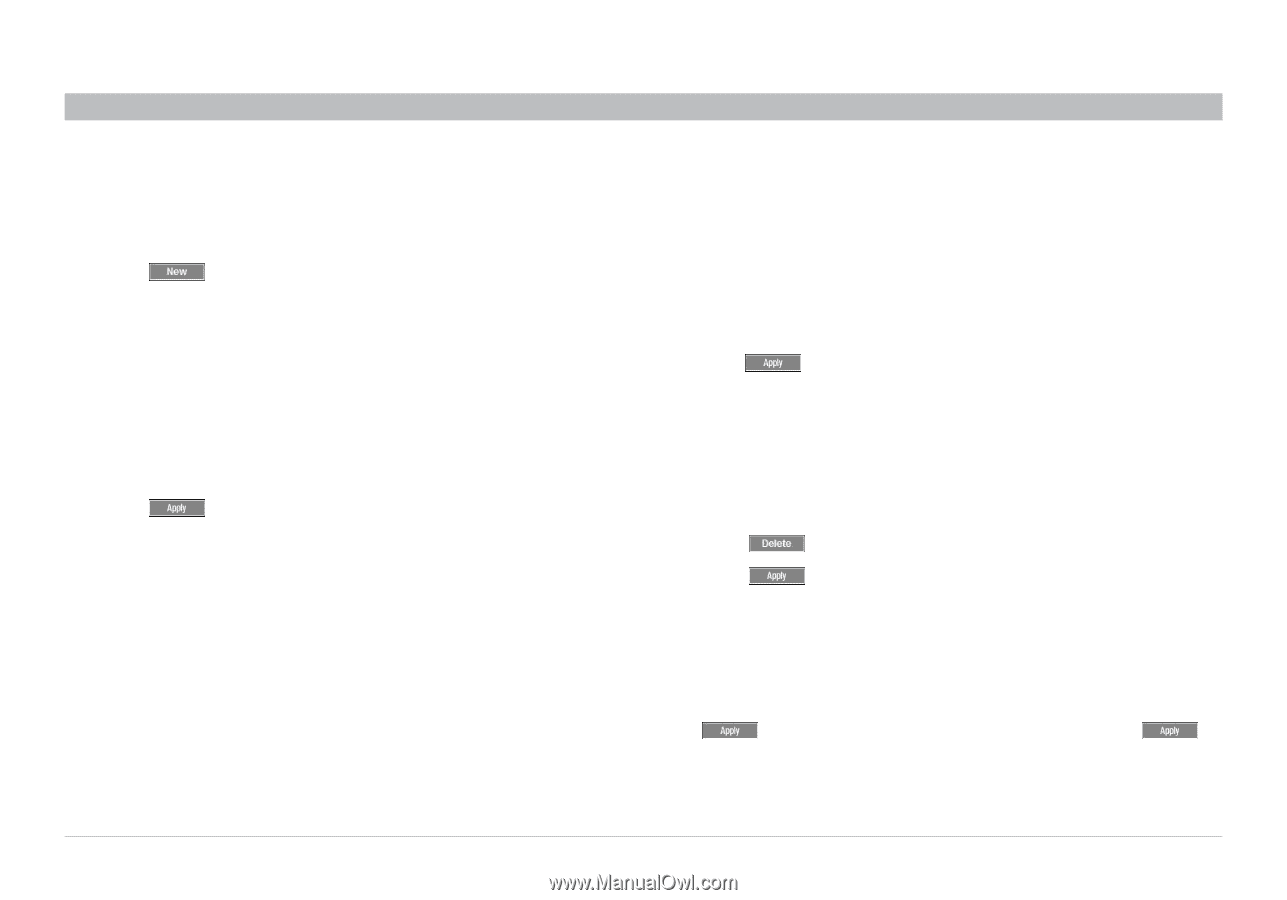
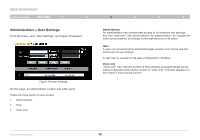
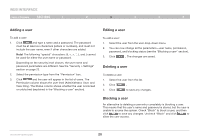
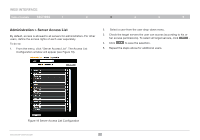
WEB INTERFACE Table of Contents sections 1 2 3 4 5 6 Adding a user To add a user: 1. Click and type a name and a password. The password must be at least six characters (letters or numbers), and must not include the user name, even if other characters are added. Note! The following "special" characters and } cannot be used for either the user name or password. Depending on the security level chosen, the user name and password parameters are different. See the "Security > Settings" section on page 23. 2. Select the permission type from the "Permission" box. 3. Click and the user will appear in the list of users. The Permission column shows the user level (Administrator, User, and View Only). The Status column shows whether the user is blocked or unblocked (explained in the "Blocking a user" section). Editing a user To edit a user: 1. Select the user from the user drop-down menu. 2. You can now change all the parameters-user name, permission, password, and blocking status (see the "Blocking a user" section). 3. Click . The changes are saved. Deleting a user To delete a user: 1. Select the user from the list. 2. Click . 3. Click to save any changes. Blocking a user An alternative to deleting a user entry completely is blocking a user. This means that the user's name and password is stored, but the user is unable to access the system. Check "Block" to block a user, and then click to save any changes. Uncheck "Block" and click to allow the user access. OmniViewIP 5216K/5232K 20
-
 1
1 -
2
-
3
-
4
-
5
-
6
-
7
-
8
-
9
-
10
-
11
-
12
-
13
-
14
-
15
-
16
-
17
-
 18
18 -
 19
19 -
 20
20 -
 21
21 -
 22
22 -
 23
23 -
 24
24 -
 25
25 -
 26
26 -
 27
27 -
 28
28 -
29
-
30
-
31
-
32
-
33
-
34
-
35
-
36
-
37
-
38
-
39
-
40
-
41
-
42
-
43
-
44
-
45
-
46
-
47
-
48
-
49
-
50
-
51
-
52
-
53
-
54
-
55
-
56
-
57
 |
 |