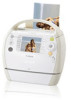
Canon SELPHY ES3 SELPHY ES3 Printer User Guide - Page 10
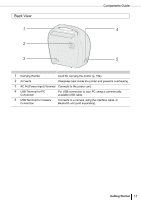
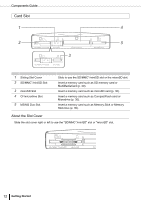
Components Guide - manual
 |
View all Canon SELPHY ES3 manuals
Add to My Manuals
Save this manual to your list of manuals |
Page 10 highlights
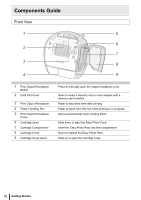
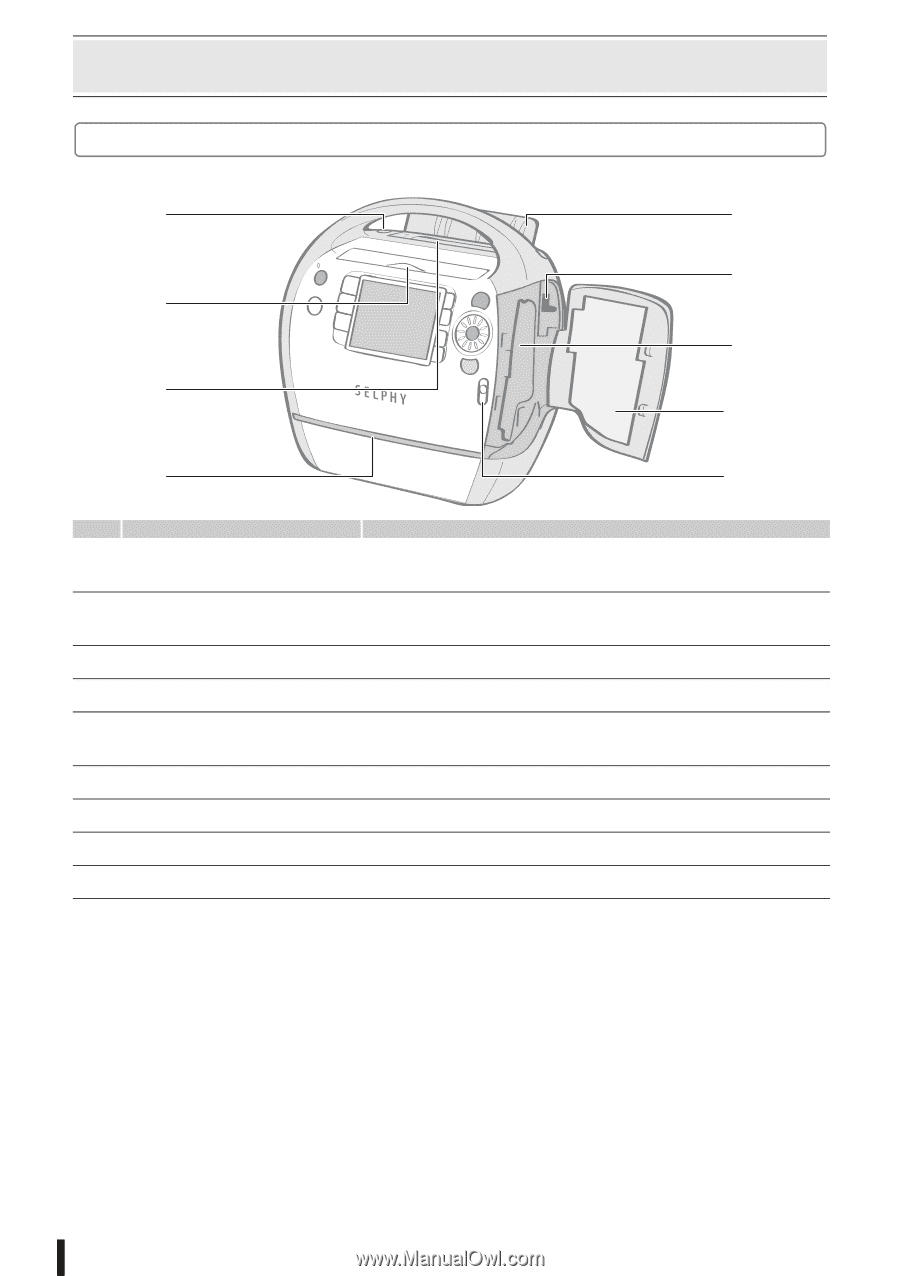
Components Guide Front View 1 5 6 2 7 3 8 4 9 1 Print Output Receptacle Button 2 Card Slot Cover 3 Print Output Receptacle 4 Paper-Handling Slot 5 Print Output Receptacle Cover 6 Cartridge Lever 7 Cartridge Compartment 8 Cartridge Cover 9 Cartridge Cover Lever Press to manually open the output receptacle cover. Open to insert a memory card or card adapter with a memory card inserted. Paper is deposited here after printing. Paper projects from this slot while printing is in progress. Opens automatically when printing starts. Slide down to eject the Easy Photo Pack. Insert the Easy Photo Pack into this compartment. Open to replace the Easy Photo Pack. Slide up to open the cartridge cover. 10 Getting Started
-
 1
1 -
2
-
3
-
4
-
 5
5 -
 6
6 -
 7
7 -
 8
8 -
 9
9 -
 10
10 -
 11
11 -
 12
12 -
 13
13 -
 14
14 -
 15
15 -
16
-
17
-
18
-
19
-
20
-
21
-
22
-
23
-
24
-
25
-
26
-
27
-
28
-
29
-
30
-
31
-
32
-
33
-
34
-
35
-
36
-
37
-
38
-
39
-
40
-
41
-
42
-
43
-
44
-
45
-
46
-
47
-
48
-
49
-
50
-
51
-
52
-
53
-
54
-
55
-
56
-
57
-
58
-
59
-
60
-
61
-
62
-
63
-
64
-
65
-
66
-
67
-
68
-
69
-
70
-
71
-
72
-
73
-
74
-
75
-
76
-
77
-
78
-
79
-
80
-
81
-
82
-
83
-
84
-
85
-
86
-
87
-
88
-
89
-
90
-
91
-
92
-
93
-
94
-
95
-
96
-
97
-
98
-
99
-
100
-
101
-
102
-
103
-
104
-
105
-
106
-
107
-
108
-
109
-
110
-
111
-
112
-
113
-
114
-
115
-
116
-
117
-
118
-
119
-
120
-
121
-
122
-
123
-
124
 |
 |
10
Getting Started
Components Guide
Front View
1
Print Output Receptacle
Button
Press to manually open the output receptacle cover.
2
Card Slot Cover
Open to insert a memory card or card adapter with a
memory card inserted.
3
Print Output Receptacle
Paper is deposited here after printing.
4
Paper-Handling Slot
Paper projects from this slot while printing is in progress.
5
Print Output Receptacle
Cover
Opens automatically when printing starts.
6
Cartridge Lever
Slide down to eject the Easy Photo Pack.
7
Cartridge Compartment
Insert the Easy Photo Pack into this compartment.
8
Cartridge Cover
Open to replace the Easy Photo Pack.
9
Cartridge Cover Lever
Slide up to open the cartridge cover.
1
2
3
4
5
6
7
8
9