HP ProLiant DL388e HP ProLiant DL388e Gen8 Server User Guide - Page 72
Graphics card power cable option
 |
View all HP ProLiant DL388e manuals
Add to My Manuals
Save this manual to your list of manuals |
Page 72 highlights
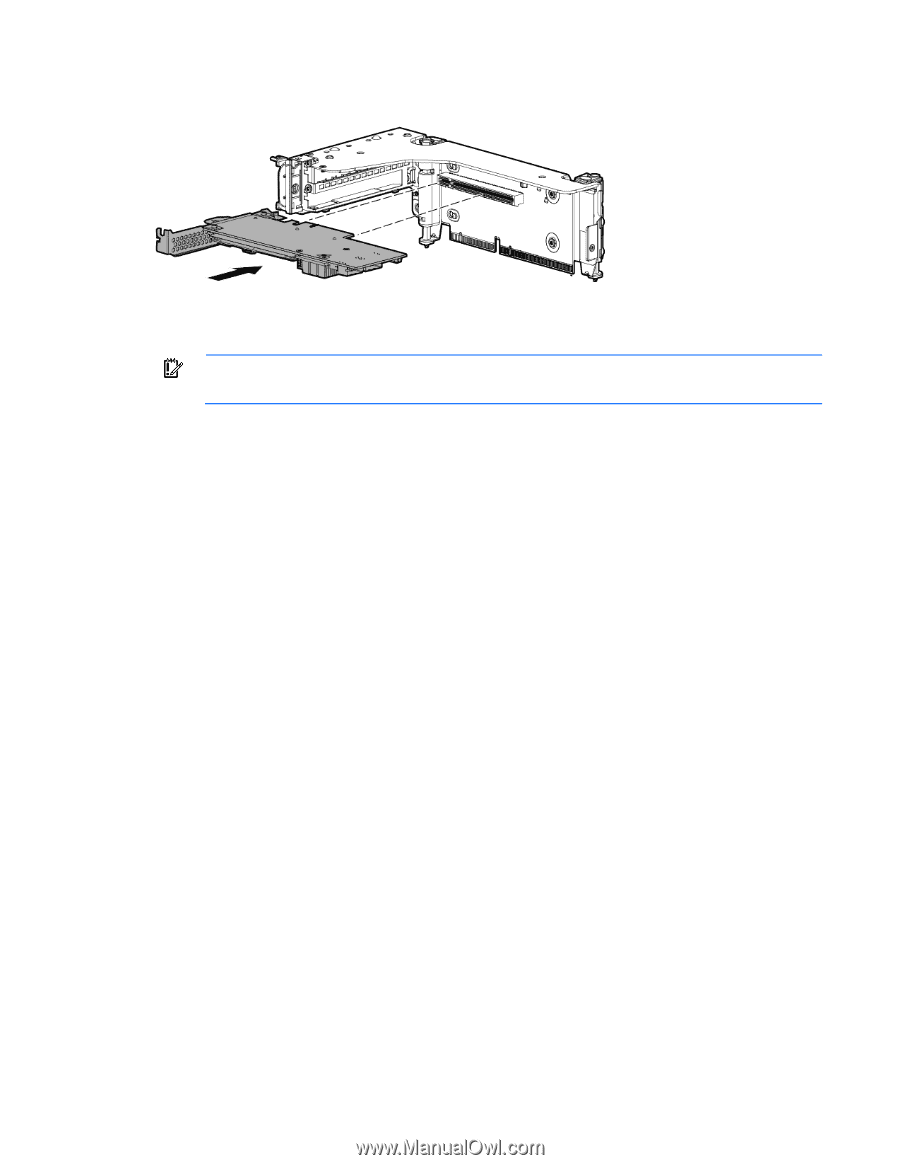
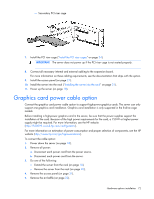
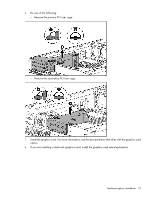
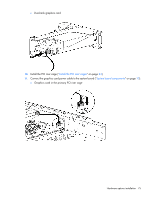
- Secondary PCI riser cage 7. Install the PCI riser cage ("Install the PCI riser cages" on page 24). IMPORTANT: The server does not power up if the PCI riser cage is not seated properly. 8. Connect all necessary internal and external cabling to the expansion board. For more information on these cabling requirements, see the documentation that ships with the option. 9. Install the access panel (on page 21). 10. Install the server into the rack ("Installing the server into the rack" on page 31). 11. Power up the server (on page 18). Graphics card power cable option Connect the graphics card power cable option to support high-power graphics cards. The server can only support one graphics card installation. Graphics card installation is only supported in the 8-drive cage models. Before installing a high-power graphics card in the server, be sure that the power supplies support the installation of the card. Because of the high power requirements for the card, a 750-W or higher power supply might be required. For more information, see the HP website (http://h30099.www3.hp.com/configurator/). For more information on estimation of power consumption and proper selection of components, see the HP website (http://www.hp.com/go/hppoweradvisor). To connect the cable option: 1. Power down the server (on page 18). 2. Remove all power: a. Disconnect each power cord from the power source. b. Disconnect each power cord from the server. 3. Do one of the following: o Extend the server from the rack (on page 18). o Remove the server from the rack (on page 20). 4. Remove the access panel (on page 21). 5. Remove the air baffle (on page 22). Hardware options installation 72
-
 1
1 -
2
-
3
-
4
-
5
-
6
-
7
-
8
-
9
-
10
-
11
-
12
-
13
-
14
-
15
-
16
-
17
-
18
-
19
-
20
-
21
-
22
-
23
-
24
-
25
-
26
-
27
-
28
-
29
-
30
-
31
-
32
-
33
-
34
-
35
-
36
-
37
-
38
-
39
-
40
-
41
-
42
-
43
-
44
-
45
-
46
-
47
-
48
-
49
-
50
-
51
-
52
-
53
-
54
-
55
-
56
-
57
-
58
-
59
-
60
-
61
-
62
-
63
-
64
-
65
-
66
-
 67
67 -
 68
68 -
 69
69 -
 70
70 -
 71
71 -
 72
72 -
 73
73 -
 74
74 -
 75
75 -
 76
76 -
 77
77 -
78
-
79
-
80
-
81
-
82
-
83
-
84
-
85
-
86
-
87
-
88
-
89
-
90
-
91
-
92
-
93
-
94
-
95
-
96
-
97
-
98
-
99
-
100
-
101
-
102
-
103
-
104
-
105
-
106
-
107
-
108
-
109
-
110
-
111
-
112
-
113
-
114
-
115
-
116
-
117
-
118
-
119
-
120
-
121
-
122
-
123
-
124
-
125
-
126
-
127
-
128
-
129
-
130
-
131
-
132
-
133
-
134
-
135
-
136
-
137
-
138
-
139
-
140
 |
 |