Lenovo ThinkPad Yoga 14 (English) User Guide - ThinkPad Yoga 14 - Page 134
Replacing the wireless LAN card, Close the computer display, and turn the computer over.
 |
View all Lenovo ThinkPad Yoga 14 manuals
Add to My Manuals
Save this manual to your list of manuals |
Page 134 highlights
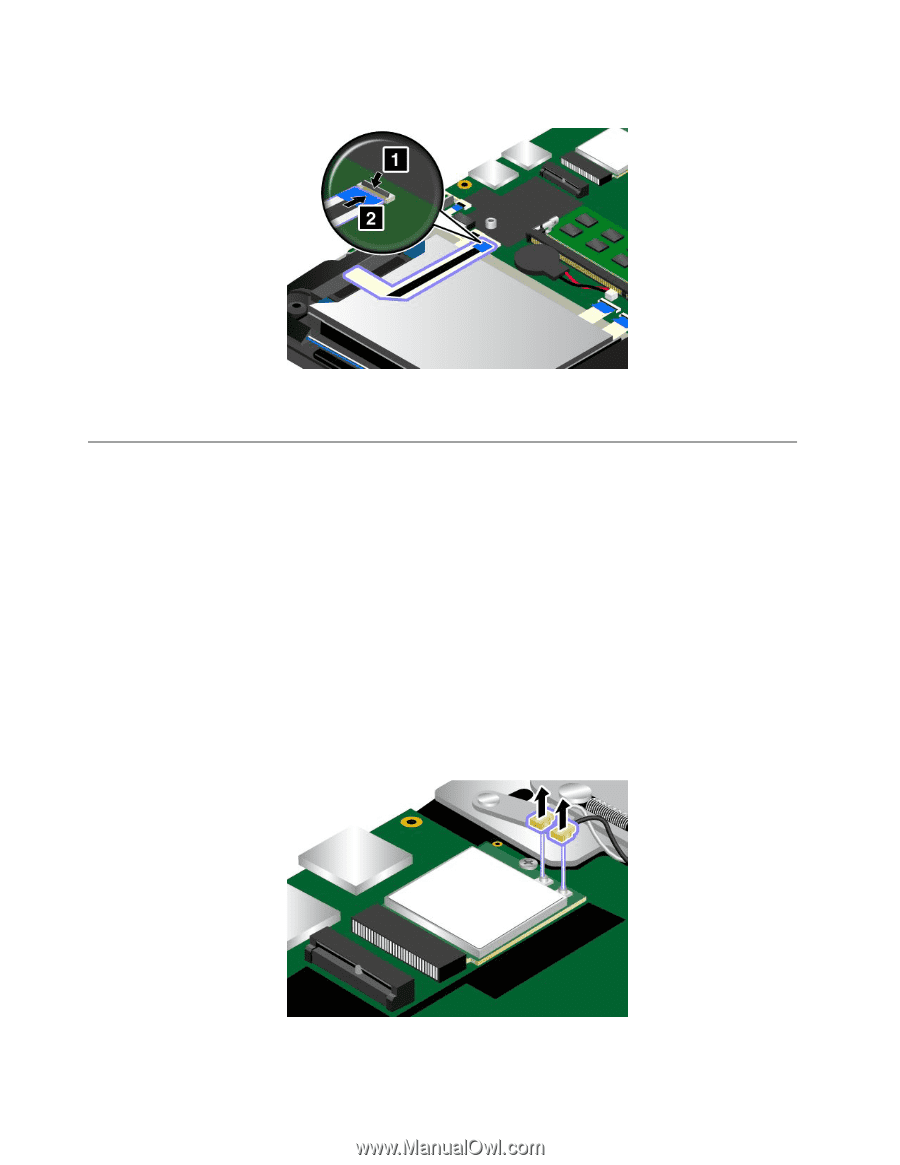
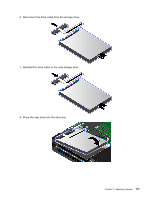
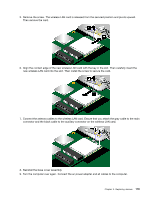
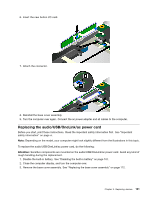
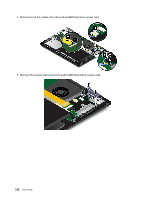
9. Attach the connector. 10. Reinstall the base cover assembly. 11. Turn the computer over again. Connect the ac power adapter and all cables to the computer. Replacing the wireless LAN card Before you start, print these instructions. Read the important safety information first. See "Important safety information" on page vi. Note: Depending on the model, your computer might look slightly different from the illustrations in this topic. Attention: Before you start installing a wireless LAN card, touch a metal table or a grounded metal object. This action reduces any static electricity from your body. Static electricity could damage the card. To replace the wireless LAN card, do the following: 1. Disable the built-in battery. See "Disabling the built-in battery" on page 107. 2. Close the computer display, and turn the computer over. 3. Remove the base cover assembly. See "Replacing the base cover assembly" on page 112. 4. If a tool is provided with the new wireless LAN card to help you disconnect cables, use the tool to disconnect the cables from the wireless LAN card. If no such a tool is provided, hold the cable connector with your fingers and gently disconnect each cable from the wireless LAN card. 118 User Guide
-
 1
1 -
2
-
3
-
4
-
5
-
6
-
7
-
8
-
9
-
10
-
11
-
12
-
13
-
14
-
15
-
16
-
17
-
18
-
19
-
20
-
21
-
22
-
23
-
24
-
25
-
26
-
27
-
28
-
29
-
30
-
31
-
32
-
33
-
34
-
35
-
36
-
37
-
38
-
39
-
40
-
41
-
42
-
43
-
44
-
45
-
46
-
47
-
48
-
49
-
50
-
51
-
52
-
53
-
54
-
55
-
56
-
57
-
58
-
59
-
60
-
61
-
62
-
63
-
64
-
65
-
66
-
67
-
68
-
69
-
70
-
71
-
72
-
73
-
74
-
75
-
76
-
77
-
78
-
79
-
80
-
81
-
82
-
83
-
84
-
85
-
86
-
87
-
88
-
89
-
90
-
91
-
92
-
93
-
94
-
95
-
96
-
97
-
98
-
99
-
100
-
101
-
102
-
103
-
104
-
105
-
106
-
107
-
108
-
109
-
110
-
111
-
112
-
113
-
114
-
115
-
116
-
117
-
118
-
119
-
120
-
121
-
122
-
123
-
124
-
125
-
126
-
127
-
128
-
 129
129 -
 130
130 -
 131
131 -
 132
132 -
 133
133 -
 134
134 -
 135
135 -
 136
136 -
 137
137 -
 138
138 -
 139
139 -
140
-
141
-
142
-
143
-
144
-
145
-
146
-
147
-
148
-
149
-
150
-
151
-
152
-
153
-
154
-
155
-
156
-
157
-
158
-
159
-
160
-
161
-
162
-
163
-
164
-
165
-
166
-
167
-
168
-
169
-
170
-
171
-
172
-
173
-
174
-
175
-
176
-
177
-
178
 |
 |