Marantz SR6004 SR6004 / SR5004 User Manual - English - Page 44
Selecting Analog Audio Input Or, Digital Audio Input, Recording An Analog Source, 1 Ch Input,
 |
View all Marantz SR6004 manuals
Add to My Manuals
Save this manual to your list of manuals |
Page 44 highlights
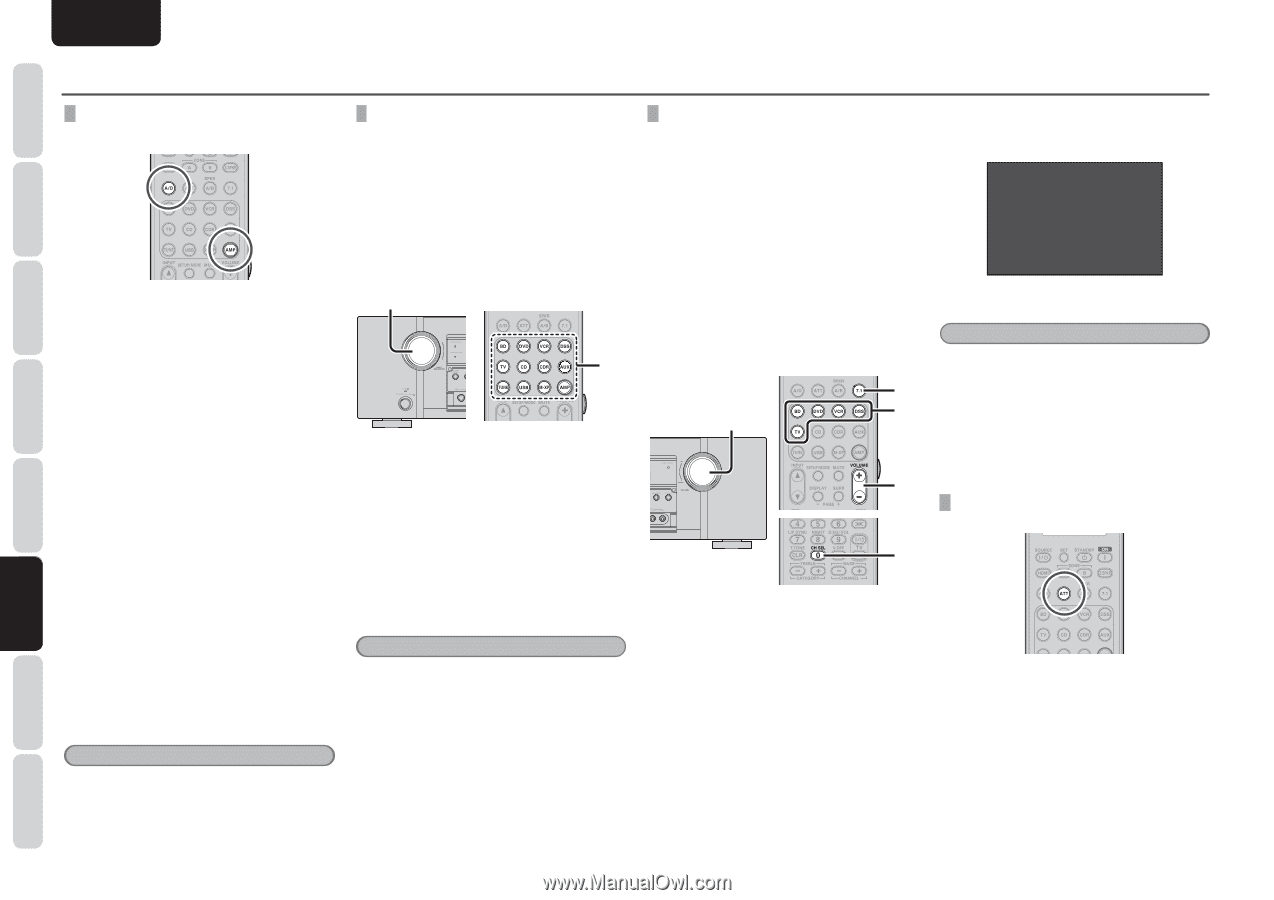
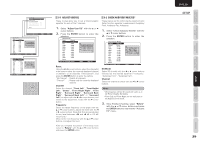
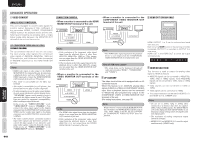
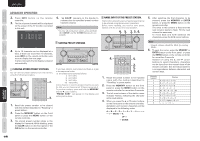
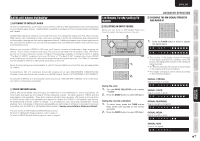
ENGLISH NAMES AND FUNCTIONS CONNECTIONS BASIC OPERATION ADVANCED CONNECTIONS BASIC ADVANCED OPERATION SELECTING ANALOG AUDIO INPUT OR DIGITAL AUDIO INPUT If you have already assigned the digital inputs, you can temporarily select the audio input mode for each input source as following procedures. Press the AMP button and press the A/D button. When this button is pressed, the input mode is switched in the following sequence. Auto → HDMI → Digital → Analog → Auto Auto mode: The types of signals being input to the digital and analog input jacks for the selected input source are detected automatically. If no digital signal is being input, the analog input jacks are selected automatically. HDMI mode: HDMI mode can be selected only when an HDMI input has been assigned as an input source. When "HDMI Audio" under Preference of the Setup Menu is set to "Through", the HDMI mode cannot be selected. Digital mode: The input signal is fixed to an assigned digital input terminal. Analog mode: The analog input jacks are selected. This selection is temporary and will not be stored in memory. To store changes to the input mode, select "Input Setup" from the Main Menu. (See page 25) Note • This function cannot be used when performing USB, M-XPort or Tuner operations. 42 RECORDING AN ANALOG SOURCE In normal operation, the audio or video source selected for listening through this unit is sent to the record outputs. This means that any program you are watching or listening to may be recorded simply by placing machines connected to the outputs for CD/CDR OUT and VCR OUT in the record mode. To record the input source signal you are currently watching or listening to 1. 1. 1. Select the input source to record by turning the INPUT SELECTOR knob on the front panel or simply press the input selector buttons on the remote controller. The input source is now selected and you may watch or listen to it as desired. 2. The currently selected input source signal is output to the CD/CDR OUT and VCR OUT outputs for recording. 3. Start recording to the recording component as desired. Notes • When connecting only digital signal input, output cannot be made to the CD/CDR OUT or VCR OUT terminals. When using recording functions, be sure to also make connections for analog signal input. • Video or audio signals input to HDMI input terminals cannot be recorded. • The S-Video or video signals input from the AUX INPUT terminal are output to the VIDEO OUT (VCR) terminal. However, video recording is not possible when copy control signals are contained in the video signals. 7.1 CH INPUT This unit is equipped for future expansion through the use of Multi channel Super Audio CD multichannel player or DVD-Audio player. When this is selected, the input signals connected to the L(front left), R (front right), CENTER, SL (surround left), SR (surround right) and SBL (surround back left) and SBR (surround back right) channels of the 7.1 CH. In jacks are output directly to the front (left and right), center, surround (left and right) and surround back speaker systems as well as the pre-out jacks without passing through the surround circuitry. In addition, the signal input to the SW (subwoofer) jack is output to the PRE OUT SW (subwoofer) jack. When 7.1 CH. INPUT is selected, the last video input used remains routed to the Monitor Outputs. This permits simultaneous viewing with video sources 2. 4. 1. 4. 3. 1. Select a desired Video source to decide the routed video signal to the Monitor Outputs. 2. Press the 7.1 button on the remote controller to switch the 7.1 channel input. 3. If it is necessary to adjust the output level of each channel, press the CH.SEL button on the remote controller. Adjust the speaker output levels so that you can hear the same sound level from each speaker at the listening position. For the front left, front right, center, surround left, surround right and surround back speakers, the output levels can be adjusted between -12 to +12 dB. The subwoofer can be adjusted between -18 and +12 dB. These adjustments result will be stored to 7.1 CH. INPUT memory. 4. Adjust the main volume with the MAIN VOLUME knob or the VOL buttons on the remote controller. 7.1CH LEVEL ADJUST FRONT.L LEVEL: 0.0 dB CENTER LEVEL: 0.0 dB FRONT.R LEVEL: 0.0 dB SURR.R LEVEL: 0.0 dB S.B R LEVEL: 0.0 dB S.B L LEVEL: 0.0 dB SURR.L LEVEL: 0.0 dB SUB W LEVEL: 0.0 dB To cancel the 7.1 CH. INPUT setting, press the 7.1 button on the remote controller. Notes • When the 7.1 CH. Input is in use, you may not select a surround mode, as the external decoder determines processing. • In addition, there is no signal at the record outputs when the 7.1 CH. Input is in use. • Furthermore, the following functions are not available during 7.1 CH Input use. Test Tone, NIGHT MODE, Source Direct, Pure Direct, HT-EQ, Tone Control, Acoustic EQ. ATTENUATION TO ANALOG INPUT SIGNAL If the selected analog audio input signal is greater than the capable level of internal processing, the "PEAK" indicator will light up on the front display. If this happens, you should press the ATT button on the remote controller. "ATT" indicator will be illuminated when this function is activated. The signal-input level is reduced by about half. Attenuation will not work with the output signal of CD/CDR and VCR-OUT. This function is memorized for each individual input source. SETUP ADVANCED OPERATION TROUBLESHOOTING OTHERS
-
 1
1 -
2
-
3
-
4
-
5
-
6
-
7
-
8
-
9
-
10
-
11
-
12
-
13
-
14
-
15
-
16
-
17
-
18
-
19
-
20
-
21
-
22
-
23
-
24
-
25
-
26
-
27
-
28
-
29
-
30
-
31
-
32
-
33
-
34
-
35
-
36
-
37
-
38
-
 39
39 -
 40
40 -
 41
41 -
 42
42 -
 43
43 -
 44
44 -
 45
45 -
 46
46 -
 47
47 -
 48
48 -
 49
49 -
50
-
51
-
52
-
53
-
54
-
55
-
56
-
57
-
58
-
59
-
60
-
61
-
62
-
63
-
64
-
65
-
66
-
67
-
68
-
69
-
70
-
71
-
72
-
73
-
74
-
75
-
76
-
77
-
78
-
79
-
80
-
81
-
82
-
83
-
84
-
85
-
86
-
87
-
88
-
89
-
90
-
91
-
92
-
93
-
94
-
95
-
96
 |
 |