Marantz SR6004 SR6004 / SR5004 User Manual - English - Page 73
Erasing Programmed Codes, Returning To Initial Settings
 |
View all Marantz SR6004 manuals
Add to My Manuals
Save this manual to your list of manuals |
Page 73 highlights
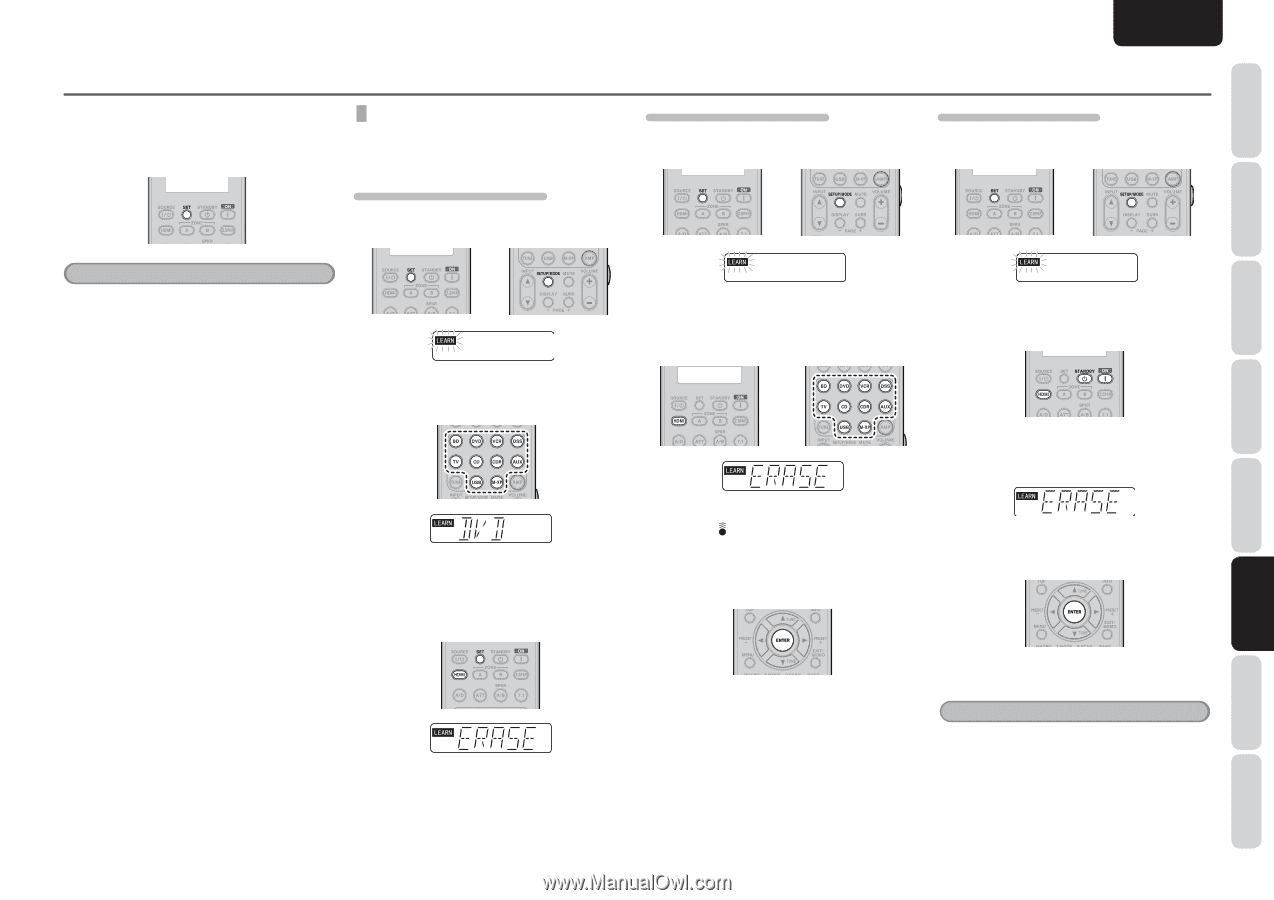
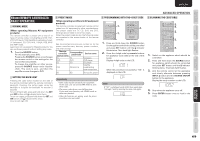
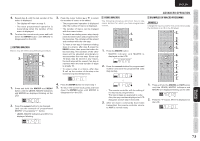
CONNECTIONS FUNCTIONS NAMES AND BASIC BASIC OPERATION ADVANCED CONNECTIONS ENGLISH 8. When you have finished programming the remote controller, press the SET button, then LEARN indicator stops blinking and exits from the LEARN mode. ERASING PROGRAMMED CODES (RETURNING TO INITIAL SETTINGS) Codes can be erased in three ways: by buttons, sources, and by all memory contents. ERASING THE CODE BY BUTTONS 1. Press and hold down the SET and SETUP buttons until LEARN indicator blinks. ERASING THE CODE BY SOURCE 1. Press and hold down the SET and SETUP buttons until LEARN indicator blinks. ADVANCED OPERATION ERASING THE ALL SOURCES 1. Press and hold down the SET and SETUP buttons until LEARN indicator blinks. Notes • When "NG" is displayed on the LCD once again, the transmitting code is unavailable for remote controller, or the transmitting signal is intercepted by noise. • If no buttons are pressed for approximately 1 minute while in the LEARN mode, the remote controller automatically exits from the LEARN mode. 2. Select the SOURCE button to select the button to be erased. The source name is displayed on the LCD. 2. Press and hold down the HDMI button and press the learned SOURCE button twice to be erased. • "ERASE" is displayed on the LCD. 2. Press and hold down the HDMI button and press POWER ON and POWER OFF button. • LEARN indicator lights. 3. Press ENTER button to continue erasing. • "ERASE" is displayed on the LCD and the mode returns to LEARN mode. 3. Press and hold down the HDMI button and press the learned button twice to be erased. • "ERASE" is displayed on the LCD and the mode returns to LEARN mode. 3. Press ENTER button to continue erasing. • The indicator blinks twice and the mode returns to LEARN mode. • To cancel the erasing operation, do not press ENTER button and simply touch any other button. • To cancel the erasing operation, do not press ENTER button and simply touch any other button. 4. To return the NORMAL mode, press the SET button. 4. To return the NORMAL mode, press the SET button. 4. To return the NORMAL mode, press the SET button. Note Erasing codes will return to the factory preset code, or there will leave empty if the button has no factory preset code. SETUP ADVANCED OPERATION TROUBLESHOOTING OTHERS 71
-
 1
1 -
2
-
3
-
4
-
5
-
6
-
7
-
8
-
9
-
10
-
11
-
12
-
13
-
14
-
15
-
16
-
17
-
18
-
19
-
20
-
21
-
22
-
23
-
24
-
25
-
26
-
27
-
28
-
29
-
30
-
31
-
32
-
33
-
34
-
35
-
36
-
37
-
38
-
39
-
40
-
41
-
42
-
43
-
44
-
45
-
46
-
47
-
48
-
49
-
50
-
51
-
52
-
53
-
54
-
55
-
56
-
57
-
58
-
59
-
60
-
61
-
62
-
63
-
64
-
65
-
66
-
67
-
 68
68 -
 69
69 -
 70
70 -
 71
71 -
 72
72 -
 73
73 -
 74
74 -
 75
75 -
 76
76 -
 77
77 -
 78
78 -
79
-
80
-
81
-
82
-
83
-
84
-
85
-
86
-
87
-
88
-
89
-
90
-
91
-
92
-
93
-
94
-
95
-
96
 |
 |