Onkyo TX SR805 Owner Manual - Page 47
Using the HDMI OUT Button - hdmi pass through mode
 |
UPC - 751398007606
View all Onkyo TX SR805 manuals
Add to My Manuals
Save this manual to your list of manuals |
Page 47 highlights
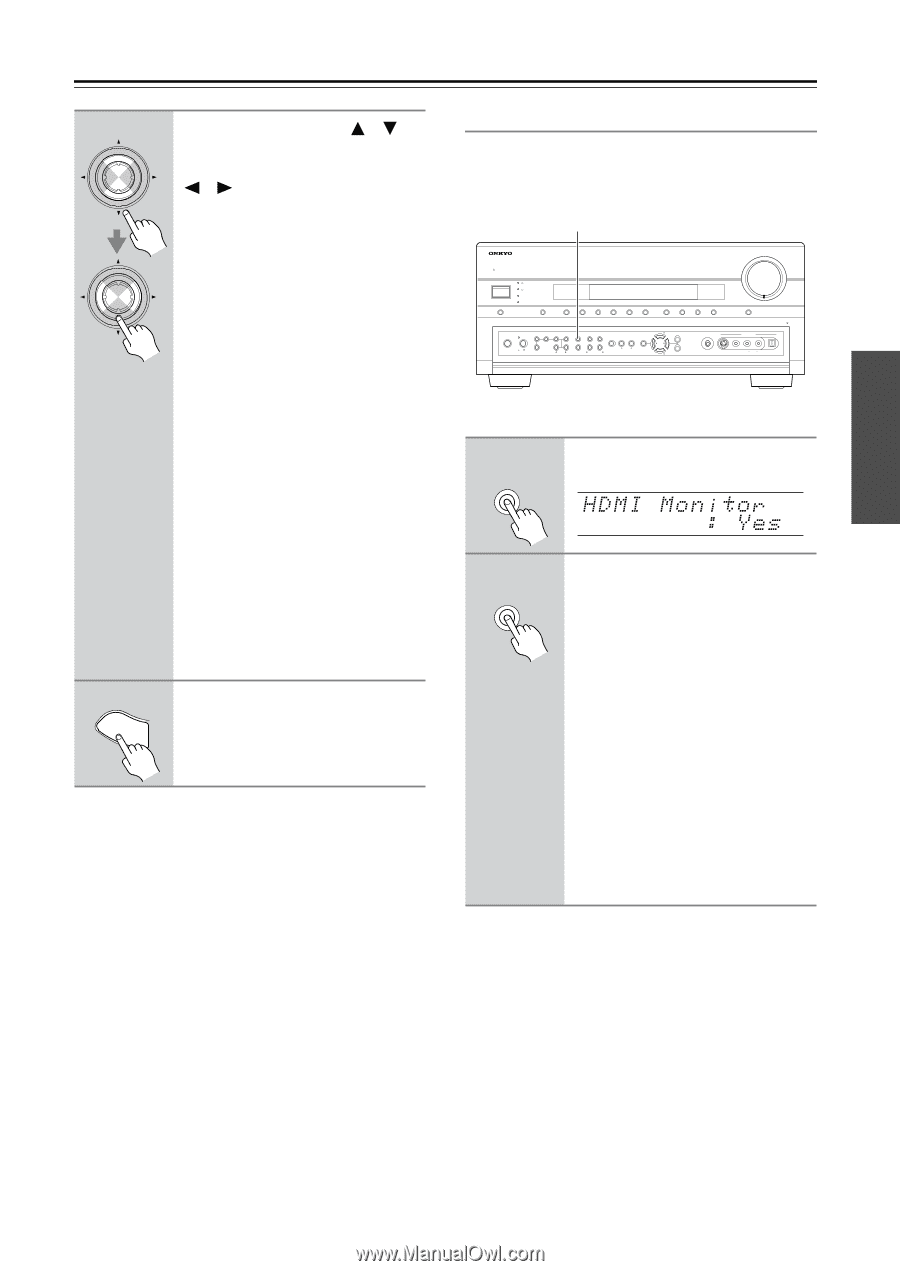
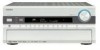
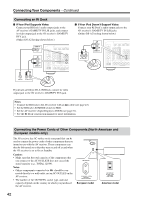
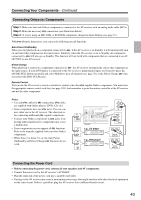
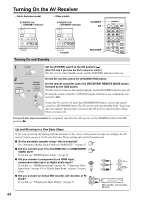
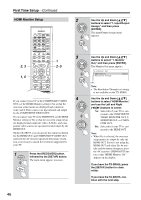
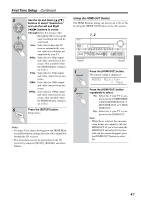
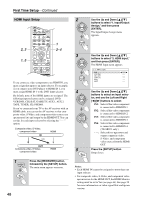
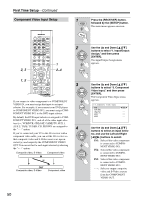
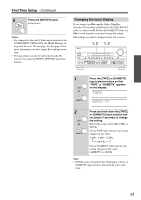
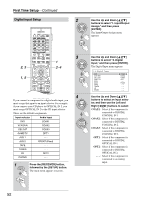
First Time Setup-Continued 5 ENTER ENTER 6 SETUP Use the Up and Down [ ]/[ ] buttons to select "Resolution," and use the Left and Right [ ]/[ ] buttons to select: Through:Select this to pass video through the AV receiver at the same resolution and with no conversion. Auto: Select this to have the AV receiver automatically convert video at resolutions not supported by your TV. 480p: Select this for 480p output and video conversion as necessary. (Not available when the HDMI Monitor setting is set to No.) 720p: Select this for 720p output and video conversion as necessary. 1080i: Select this for 1080i output and video conversion as necessary. 1080p: Select this for 1080p output and video conversion as necessary. (Not available when the HDMI Monitor setting is set to No.) Press the [SETUP] button. Setup closes. Notes: • See page 29 for charts showing how the HDMI Moni- tor and Resolution settings affect the video signal flow through the AV receiver. • This procedure can also be performed on the AV receiver by using its [SETUP], [ENTER], and arrow buttons. Using the HDMI OUT Button The HDMI Monitor setting can also be set to No or Yes by using the [HDMI OUT] button on the AV receiver. 1, 2 STANDBY/ON STANDBY READY ZONE 2 ZONE 3 MASTER VOLUME PURE AUDIO AUDIO SEL DVD VCR/DVR CBL/SAT GAME/TV AUX 1 AUX 2 TAPE TUNER PHONES POWER ZONE 2 OFF LEVEL TONE HDMI OUT STEREO THX TUNING RT/PTY/TP MEMORY MODE SETUP ON OFF ZONE 3 DIGITAL INPUT LISTENING MODE CLEAR TUNING PRESET TUNING RETURN ENTER CD PHONO SETUP MIC DISPLAY AUX 2 INPUT PUSH TO OPEN S VIDEO VIDEO L AUDIO R DIGITAL 1 HDMI OUT Press the [HDMI OUT] button. The current setting is displayed. 2 HDMI OUT Press the [HDMI OUT] button repeatedly to select: No: Select this if your TV is connected to the COMPONENT VIDEO MONITOR OUT, S MONITOR OUT, or V MONITOR OUT. Yes: Select this if your TV is connected to the HDMI OUT. Note: • When Yes is selected, the onscreen setup menus are output by only the HDMI OUT. If you're not using the HDMI OUT and select Yes by mistake and the menus disappear, press the [HDMI OUT] button to select No. 47
-
 1
1 -
2
-
3
-
4
-
5
-
6
-
7
-
8
-
9
-
10
-
11
-
12
-
13
-
14
-
15
-
16
-
17
-
18
-
19
-
20
-
21
-
22
-
23
-
24
-
25
-
26
-
27
-
28
-
29
-
30
-
31
-
32
-
33
-
34
-
35
-
36
-
37
-
38
-
39
-
40
-
41
-
 42
42 -
 43
43 -
 44
44 -
 45
45 -
 46
46 -
 47
47 -
 48
48 -
 49
49 -
 50
50 -
 51
51 -
 52
52 -
53
-
54
-
55
-
56
-
57
-
58
-
59
-
60
-
61
-
62
-
63
-
64
-
65
-
66
-
67
-
68
-
69
-
70
-
71
-
72
-
73
-
74
-
75
-
76
-
77
-
78
-
79
-
80
-
81
-
82
-
83
-
84
-
85
-
86
-
87
-
88
-
89
-
90
-
91
-
92
-
93
-
94
-
95
-
96
-
97
-
98
-
99
-
100
-
101
-
102
-
103
-
104
-
105
-
106
-
107
-
108
-
109
-
110
-
111
-
112
-
113
-
114
-
115
-
116
-
117
-
118
-
119
-
120
 |
 |