Onkyo TX SR805 Owner Manual - Page 95
Satellite Radio, SIRIUS Parental Lock, Notes, Default, Custom, To correct a character
 |
UPC - 751398007606
View all Onkyo TX SR805 manuals
Add to My Manuals
Save this manual to your list of manuals |
Page 95 highlights
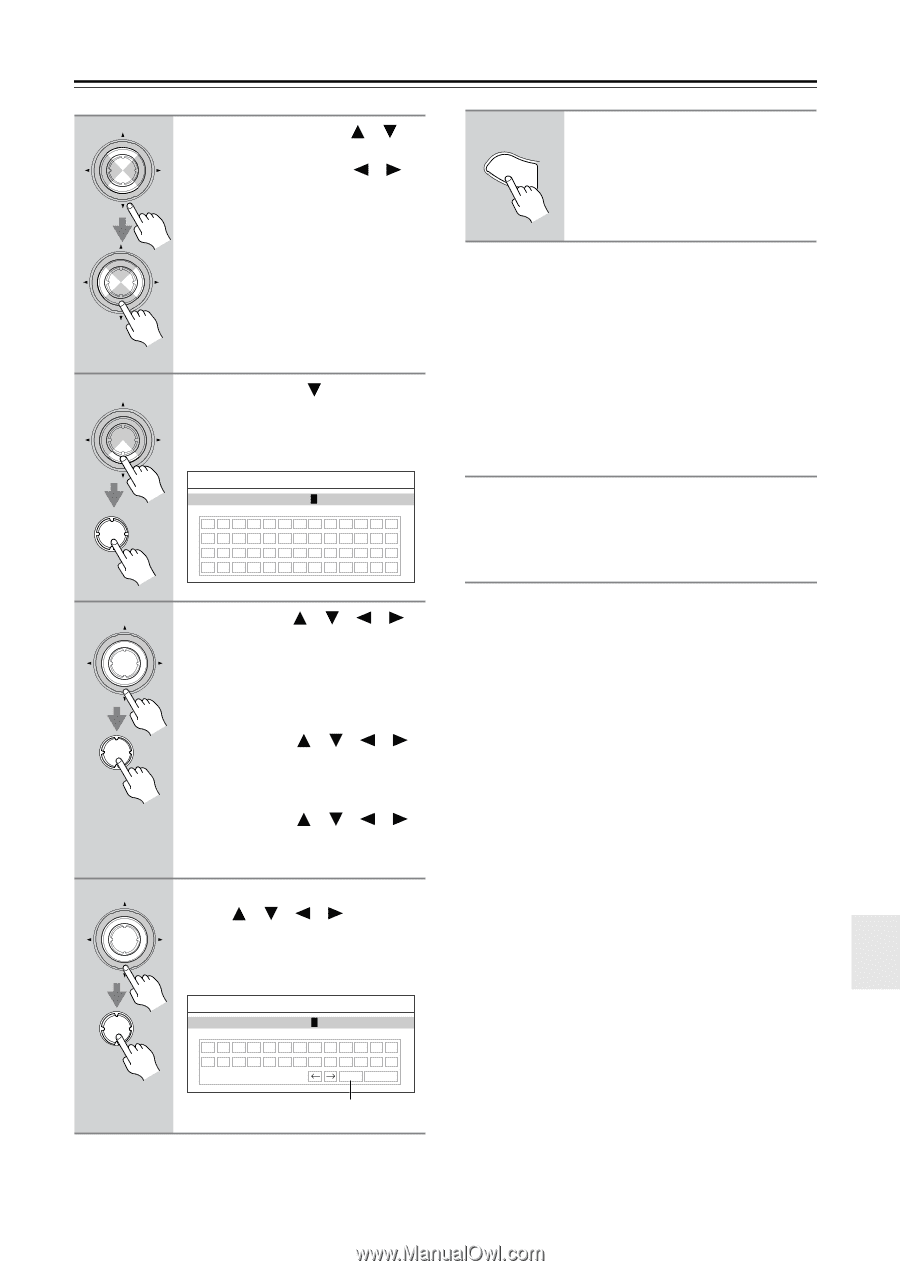
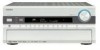
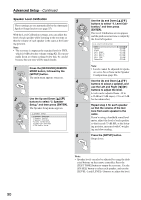
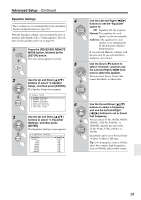
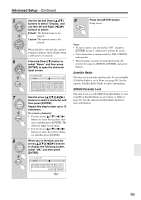
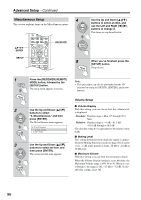
Advanced Setup-Continued 5 ENTER ENTER 6 ENTER ENTER 7 ENTER ENTER 8 ENTER ENTER Use the Up and Down [ ]/[ ] buttons to select "Display," and use the Left and Right [ ]/[ ] buttons to select: Default: The default name is displayed. Custom: The custom name is displayed. When Default is selected, the station's frequency appears on the display when a radio preset is selected. Press the Down [ ] button to select "Name," and then press [ENTER] to open the character input screen. 4-3.Name Edit Name [ ] ABCDEFGHIJKLM NOPQRSTUVWXYZ abcdefghijkom nopqrstuvwxyz Use the arrow buttons to select a character, and then press [ENTER]. Repeat this step to enter up to 10 characters. To correct a character: 1. Use the arrow buttons to select the incorrect character, and then press [ENTER]. The character input screen opens. 2. Use the arrow buttons to select the correct character, and then press [ENTER]. When you've finished, use the arrow buttons to display the following screen, select "OK," and then press [ENTER]. 4-3.Name Edit Name [ ] 0123456789 OK Cancel "OK" 9 SETUP Press the [SETUP] button. Setup closes. Notes: • To store a name, you must select "OK" and press [ENTER] in step 7, otherwise it will not be saved. • You cannot enter a custom name for XM or SIRIUS radio presets. • This procedure can also be performed on the AV receiver by using its [SETUP], [ENTER], and arrow buttons. Satellite Radio This item is for use with satellite radio. It's not available if Satellite Radio is set to None (see page 99). See the separate Satellite Radio Guide for more information. SIRIUS Parental Lock This item is for use with SIRIUS Satellite Radio. It's not available if Satellite Radio is set to None or XM (see page 99). See the separate Satellite Radio Guide for more information. 95
-
 1
1 -
2
-
3
-
4
-
5
-
6
-
7
-
8
-
9
-
10
-
11
-
12
-
13
-
14
-
15
-
16
-
17
-
18
-
19
-
20
-
21
-
22
-
23
-
24
-
25
-
26
-
27
-
28
-
29
-
30
-
31
-
32
-
33
-
34
-
35
-
36
-
37
-
38
-
39
-
40
-
41
-
42
-
43
-
44
-
45
-
46
-
47
-
48
-
49
-
50
-
51
-
52
-
53
-
54
-
55
-
56
-
57
-
58
-
59
-
60
-
61
-
62
-
63
-
64
-
65
-
66
-
67
-
68
-
69
-
70
-
71
-
72
-
73
-
74
-
75
-
76
-
77
-
78
-
79
-
80
-
81
-
82
-
83
-
84
-
85
-
86
-
87
-
88
-
89
-
 90
90 -
 91
91 -
 92
92 -
 93
93 -
 94
94 -
 95
95 -
 96
96 -
 97
97 -
 98
98 -
 99
99 -
 100
100 -
101
-
102
-
103
-
104
-
105
-
106
-
107
-
108
-
109
-
110
-
111
-
112
-
113
-
114
-
115
-
116
-
117
-
118
-
119
-
120
 |
 |