Pioneer AVIC-F30BT Operation Manual - Page 137
Changing the view mode, Setting the map colour change, between day and night, Customising
 |
View all Pioneer AVIC-F30BT manuals
Add to My Manuals
Save this manual to your list of manuals |
Page 137 highlights
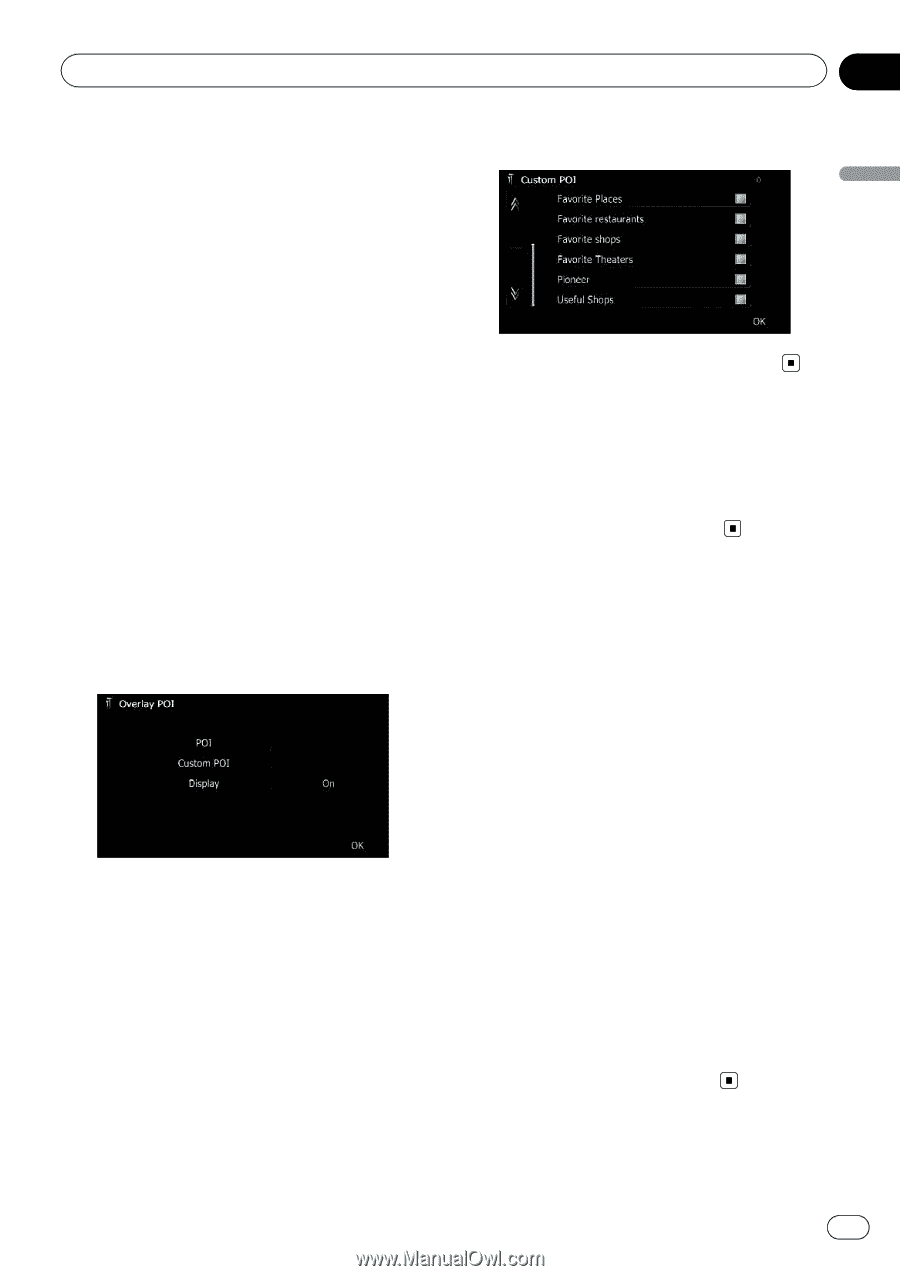
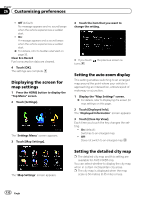
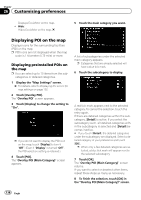
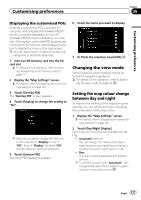
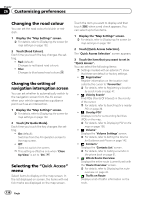
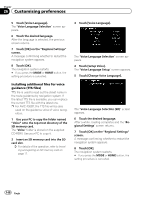
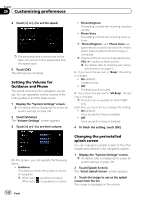
Customising preferences Chapter 26 Customising preferences Displaying the customised POIs Creating a customised POI is possible by using the utility programme NavGate FEEDS which is available separately, on your PC. (NavGate FEEDS will be available on our website.) Storing the customised POI properly and inserting the SD memory card enables the system to display the icons on the map screen. p You can select up to 10 items from the sub- categories or detailed categories. 1 Insert an SD memory card into the SD card slot. = For details of the operation, refer to Inserting and ejecting an SD memory card on page 17. 2 Display the "Map Settings" screen. = For details, refer to Displaying the screen for map settings on page 132. 3 Touch [Overlay POI]. The "Overlay POI" screen appears. 4 Touch [Display] to change the setting to "On". p If you do not want to display the POI icon on the map, touch [Display] to turn it "Off". (Even if "Display" is turned "Off", the POI selection setting is retained.) 5 Touch [Custom POI]. The list of POI categories appears. 6 Touch the items you want to display. 7 To finish the selection, touch [OK]. Changing the view mode Various types of screen displays can be selected for navigation guidance. = For details of the operation, refer to Switch- ing the view mode on page 30. Setting the map colour change between day and night To improve the visibility of the map during the evening, you can set the timing for changing the combination of the map colour. 1 Display the "Map Settings" screen. = For details, refer to Displaying the screen for map settings on page 132. 2 Touch [Day/Night Display]. Each time you touch the key changes the setting. ! Automatic (default): You can change the colours of a map between daytime and nighttime according to whether the vehicle lights are on or off. ! Day: The map is always displayed with daytime colours. p To use this function with "Automatic", the orange/white lead of the navigation system must be connected correctly. Engb 137
-
 1
1 -
2
-
3
-
4
-
5
-
6
-
7
-
8
-
9
-
10
-
11
-
12
-
13
-
14
-
15
-
16
-
17
-
18
-
19
-
20
-
21
-
22
-
23
-
24
-
25
-
26
-
27
-
28
-
29
-
30
-
31
-
32
-
33
-
34
-
35
-
36
-
37
-
38
-
39
-
40
-
41
-
42
-
43
-
44
-
45
-
46
-
47
-
48
-
49
-
50
-
51
-
52
-
53
-
54
-
55
-
56
-
57
-
58
-
59
-
60
-
61
-
62
-
63
-
64
-
65
-
66
-
67
-
68
-
69
-
70
-
71
-
72
-
73
-
74
-
75
-
76
-
77
-
78
-
79
-
80
-
81
-
82
-
83
-
84
-
85
-
86
-
87
-
88
-
89
-
90
-
91
-
92
-
93
-
94
-
95
-
96
-
97
-
98
-
99
-
100
-
101
-
102
-
103
-
104
-
105
-
106
-
107
-
108
-
109
-
110
-
111
-
112
-
113
-
114
-
115
-
116
-
117
-
118
-
119
-
120
-
121
-
122
-
123
-
124
-
125
-
126
-
127
-
128
-
129
-
130
-
131
-
 132
132 -
 133
133 -
 134
134 -
 135
135 -
 136
136 -
 137
137 -
 138
138 -
 139
139 -
 140
140 -
 141
141 -
 142
142 -
143
-
144
-
145
-
146
-
147
-
148
-
149
-
150
-
151
-
152
-
153
-
154
-
155
-
156
-
157
-
158
-
159
-
160
-
161
-
162
-
163
-
164
-
165
-
166
-
167
-
168
-
169
-
170
-
171
-
172
-
173
-
174
-
175
-
176
-
177
-
178
-
179
-
180
-
181
-
182
-
183
-
184
-
185
-
186
-
187
-
188
-
189
-
190
-
191
-
192
-
193
-
194
-
195
-
196
-
197
-
198
-
199
-
200
-
201
-
202
-
203
-
204
-
205
-
206
-
207
-
208
 |
 |