Ricoh 402011 Operating Instructions - Page 24
Setting the paper size, User Tools/Counter, Printer Features, Paper Input
 |
UPC - 026649020117
View all Ricoh 402011 manuals
Add to My Manuals
Save this manual to your list of manuals |
Page 24 highlights
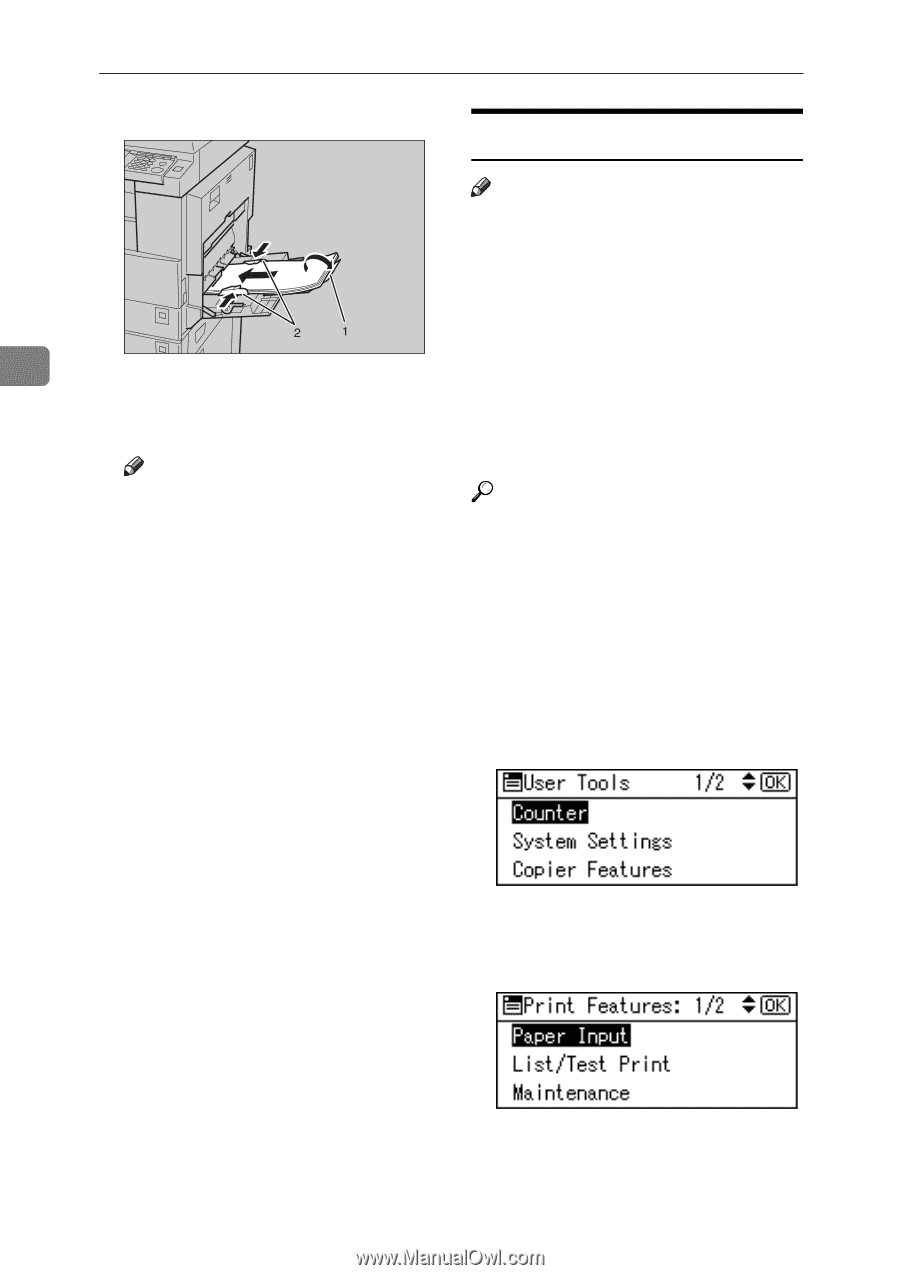
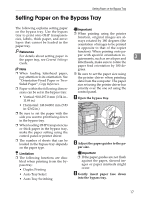
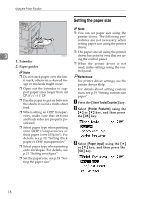
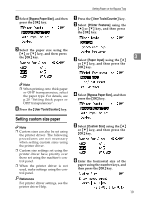
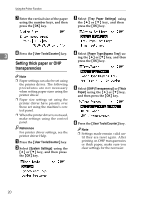
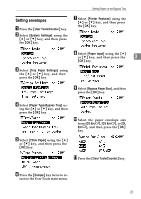
Using the Printer Function Setting the paper size Note ❒ You can set paper size using the printer driver. The following procedures are not necessary when setting paper size using the printer driver. 3 1. Extender 2. Paper guides Note ❒ The paper size set using the printer AAW020S1 driver has priority over that set us- ing the control panel. ❒ When the printer driver is not used, make settings using the control panel. ❒ Do not stack paper over the limit mark, otherwise a skewed image or misfeeds might occur. Reference For printer driver settings, see the printer driver Help. ❒ Open out the extender to sup- port paper sizes larger than A4 L, 81/2"×11" L. For details about setting custom sizes, see p.19 "Setting custom size paper". ❒ Fan the paper to get air between the sheets to avoid a multi-sheet feed. ❒ When setting an OHP transparency, make sure that its front and back sides are properly positioned. A Press the {User Tools/Counter} key. B Select [Printer Features] using the {U} or {T} key, and then press the {OK} key. ❒ Select paper type when printing onto OHP transparencies or thick paper (over 105g/m2). For details, see p.20 "Setting thick paper or OHP transparencies". ❒ Select paper type when printing onto envelopes. For details, see p.21 "Setting envelopes". C Select [Paper Input] using the {U} or {T} key, and then press the {OK} key. ❒ Set the paper size, see p.18 "Setting the paper size" 18
-
 1
1 -
2
-
3
-
4
-
5
-
6
-
7
-
8
-
9
-
10
-
11
-
12
-
13
-
14
-
15
-
16
-
17
-
18
-
 19
19 -
 20
20 -
 21
21 -
 22
22 -
 23
23 -
 24
24 -
 25
25 -
 26
26 -
 27
27 -
 28
28 -
 29
29 -
30
-
31
-
32
-
33
-
34
-
35
-
36
-
37
-
38
-
39
-
40
-
41
-
42
-
43
-
44
-
45
-
46
-
47
-
48
-
49
-
50
-
51
-
52
-
53
-
54
-
55
-
56
 |
 |