ZyXEL ES-315 User Guide - Page 105
SSH Overview, 16.5 How SSH works, Table 37
 |
View all ZyXEL ES-315 manuals
Add to My Manuals
Save this manual to your list of manuals |
Page 105 highlights
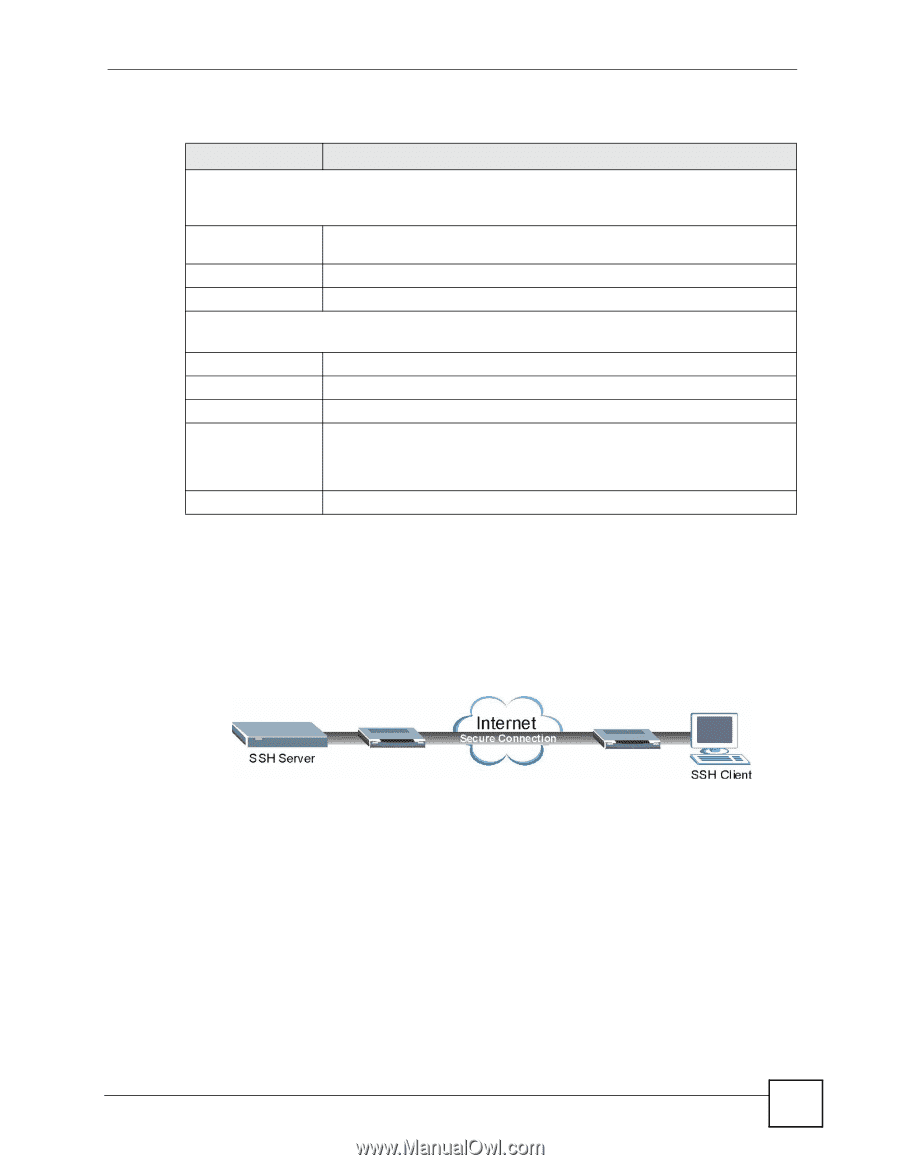
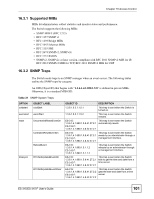
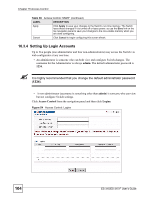
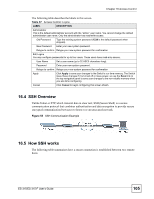
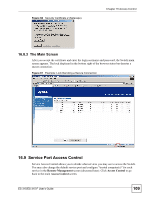
Chapter 16 Access Control The following table describes the labels in this screen. Table 37 Access Control: Logins LABEL DESCRIPTION Administrator This is the default administrator account with the "admin" user name. You cannot change the default administrator user name. Only the administrator has read/write access. Old Password Type the existing system password (1234 is the default password when shipped). New Password Enter your new system password. Retype to confirm Retype your new system password for confirmation Edit Logins You may configure passwords for up to four users. These users have read-only access. User Name Set a user name (up to 32 ASCII characters long). Password Enter your new system password. Retype to confirm Retype your new system password for confirmation Apply Click Apply to save your changes to the Switch's run-time memory. The Switch loses these changes if it is turned off or loses power, so use the Save link on the top navigation panel to save your changes to the non-volatile memory when you are done configuring. Cancel Click Cancel to begin configuring this screen afresh. 16.4 SSH Overview Unlike Telnet or FTP, which transmit data in clear text, SSH (Secure Shell) is a secure communication protocol that combines authentication and data encryption to provide secure encrypted communication between two hosts over an unsecured network. Figure 55 SSH Communication Example 16.5 How SSH works The following table summarizes how a secure connection is established between two remote hosts. ES-315/ES-315-F User's Guide 105
-
 1
1 -
2
-
3
-
4
-
5
-
6
-
7
-
8
-
9
-
10
-
11
-
12
-
13
-
14
-
15
-
16
-
17
-
18
-
19
-
20
-
21
-
22
-
23
-
24
-
25
-
26
-
27
-
28
-
29
-
30
-
31
-
32
-
33
-
34
-
35
-
36
-
37
-
38
-
39
-
40
-
41
-
42
-
43
-
44
-
45
-
46
-
47
-
48
-
49
-
50
-
51
-
52
-
53
-
54
-
55
-
56
-
57
-
58
-
59
-
60
-
61
-
62
-
63
-
64
-
65
-
66
-
67
-
68
-
69
-
70
-
71
-
72
-
73
-
74
-
75
-
76
-
77
-
78
-
79
-
80
-
81
-
82
-
83
-
84
-
85
-
86
-
87
-
88
-
89
-
90
-
91
-
92
-
93
-
94
-
95
-
96
-
97
-
98
-
99
-
 100
100 -
 101
101 -
 102
102 -
 103
103 -
 104
104 -
 105
105 -
 106
106 -
 107
107 -
 108
108 -
 109
109 -
 110
110 -
111
-
112
-
113
-
114
-
115
-
116
-
117
-
118
-
119
-
120
-
121
-
122
-
123
-
124
-
125
-
126
-
127
-
128
-
129
-
130
-
131
-
132
-
133
-
134
-
135
-
136
-
137
-
138
-
139
-
140
-
141
-
142
-
143
-
144
-
145
-
146
-
147
-
148
-
149
-
150
-
151
-
152
-
153
-
154
-
155
-
156
-
157
-
158
-
159
-
160
-
161
-
162
-
163
-
164
-
165
-
166
 |
 |